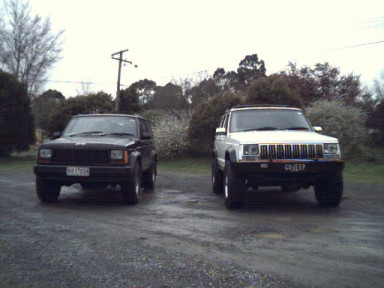
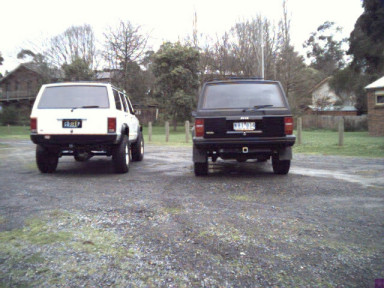
Jeepdownunder's XJ


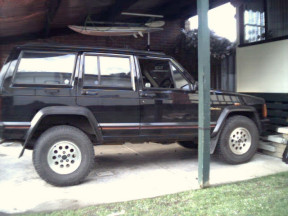
Took a few before lift comparison shots on 31"s and upcountry suspension and a add-a-leaf in the rear compared to Gojeep's XJ which has the lift that is about to be fitted.
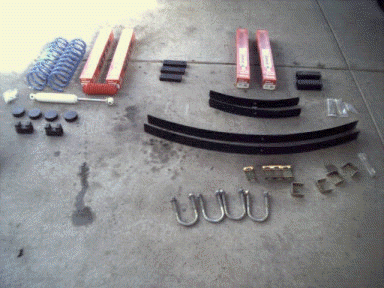
| No. | Part name | Part number |
| 1. | Lovell's coils | CFR - 58 |
| 2. | Rancho RS9000 shocks | RS 9128 |
| 3. | Transfer case spacers | See here |
| 4. | Rancho RS9000 shocks | RS 9241 |
| 5. | Rear bumpstop spacers | See here |
| 6. | Rancho steering stabilizer | RS 5401 |
| 7. | Rancho add-a-leaf | 60612 |
| 8. | OME 2 degree shims | OMECW2 |
| 9. | Hockey pucks ( rubber ) | - |
| 10. | Shock extensions | See here |
| 11. | Rancho add-a-leaf | 60913 |
| 12. | Spring clamps | - |
| 13. | U bolts | UBNB06 |
The Rancho gear you can try in Victoria, Off-Road USA in Brooklyn on (03) 9318 0366 and in Sydney, Auto Alliance on (02) 9634 2238
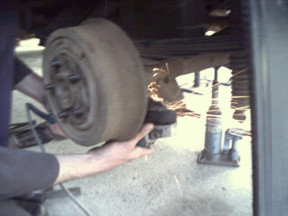
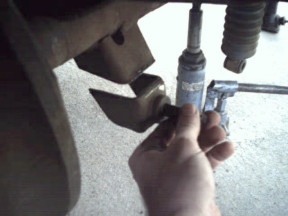
You have a choice of lowering the top mount down using a set up like Gojeep did at the front or gain more ground clearance by raising the bottom mounts up like this. This can only be done if used along with a 2" bumpstop drop so up travel does not run out. The other way is to use a longer shock with bar pin eliminators ( BPE's ) as longer shocks with the top bar through the bush are not made. You can not go a full 2" longer shock as BPE's already take up about 1" of the up travel.
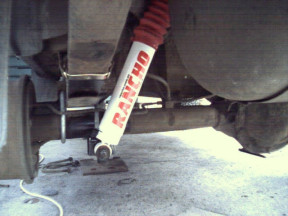
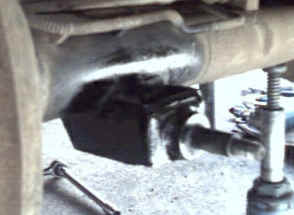
The shock mounts were cut off two inches higher than stock and welded back on again to the original mounts so no welding is done to the axle tubes themselves saving any distortion to them. You can see a diagram here and a full write up will come later.
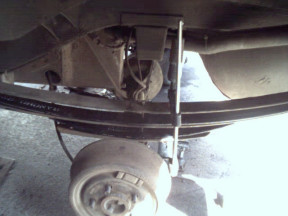
The two add-a-leaves are inserted into the pack after the
removal of the third standard leaf and in this case a extra leaf that had been
added due to the wait of a LPG gas tank conversion. The OME 2* shims where added
thin side forward to raise the pinion the equalize the angle change made by the
transfer case drop along with the new U bolts which were longer and slightly
bigger at 1/2" diameter. Then the transfer case
drop was fitted making very sure not to over tighten the bolts as the
inserts strip easily. We split the install over
two days and he drove home that night in his new Dragster.![]()
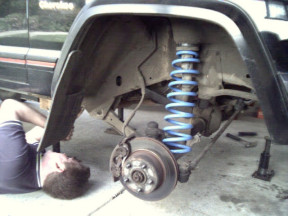
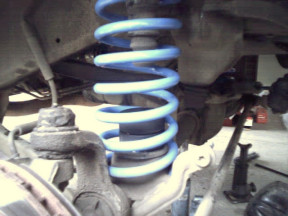
The new 1/2" spacers were fitted above the stock isolators. The left photo then shows the coils going in after just removing the lower control arms from the frame end which I am just getting ready to do. Also two hockey pucks were glued in with gutter silicon after the coil was in place as shown.
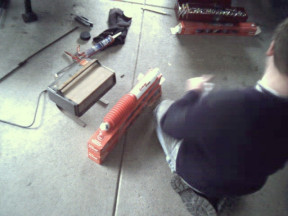
It was found to be much easier to fit the boots on after
heating them up in front of the heater first especially over the bar pins. Might not be as much of a problem
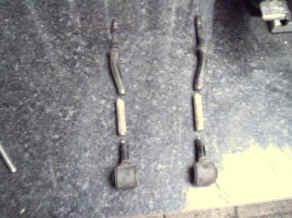
when you live in warmer climes and not in the middle of winter as we were.![]() I also extended the stock swaybar links as you must keep the end of the swaybar
square to the link to get the best performance as well as the longest bush life.
Also they can hit the coil if left short. Gojeep simply welded some bolt shafts of
the same diameter in the middle like shown.
I also extended the stock swaybar links as you must keep the end of the swaybar
square to the link to get the best performance as well as the longest bush life.
Also they can hit the coil if left short. Gojeep simply welded some bolt shafts of
the same diameter in the middle like shown.
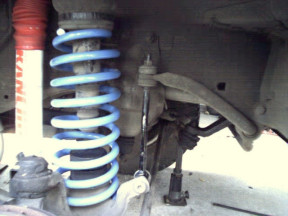
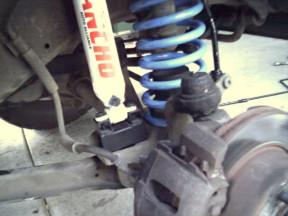
The new links are in place along with the raised shocks mounts which gives back the lost up travel ( 2" ) caused by the hockey pucks and transfers it into down travel. You can go a extra 1/2" also as these shocks compress that much further than stock.
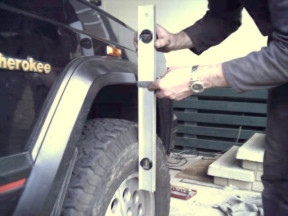
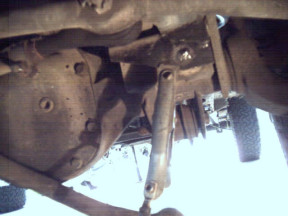
The next thing to do is check to see how much the axle has moved across due to the lift. It is already over towards the drivers side if you have Up Country suspension as the factory only make one trackbar length. Just hold a level vertical against the middle of the flare or tyre and measure back to the flare as shown or on the other side the tyre wall depending on what wheel offset and tyre size you run. On this lift of 3" at the front there was a 21 mm difference so the trackbar had to move over 11 mm ( half the distance plus 1 mm ) to centre the axle. I welded up the old holes and then re-drilled them over in the new spot 11 mm across to the drivers side. Gojeep has a story on it here with all the details.
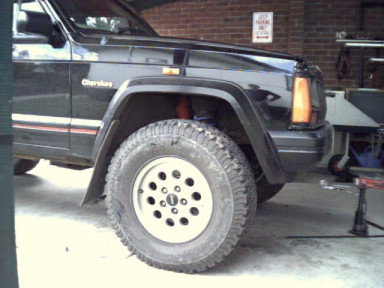
Now doesn't that look better. ![]() I got a total of 2.5" of lift from the spring as well as 1/2" from the
spacer Gojeep made ( you can use another stock coil isolator or a ARB one ). These
springs are 15 mm wire diameter but they make one ( CFR-58 HD ) that is 16
mm which will give 1/2" or so more lift or the same height if you have fitted a
bullbar and or winch. After a test drive to settle everything down Gojeep did a wheel
alignment and then took it up to speed to make sure there were no vibes and
it past the test with flying colors.
I got a total of 2.5" of lift from the spring as well as 1/2" from the
spacer Gojeep made ( you can use another stock coil isolator or a ARB one ). These
springs are 15 mm wire diameter but they make one ( CFR-58 HD ) that is 16
mm which will give 1/2" or so more lift or the same height if you have fitted a
bullbar and or winch. After a test drive to settle everything down Gojeep did a wheel
alignment and then took it up to speed to make sure there were no vibes and
it past the test with flying colors.
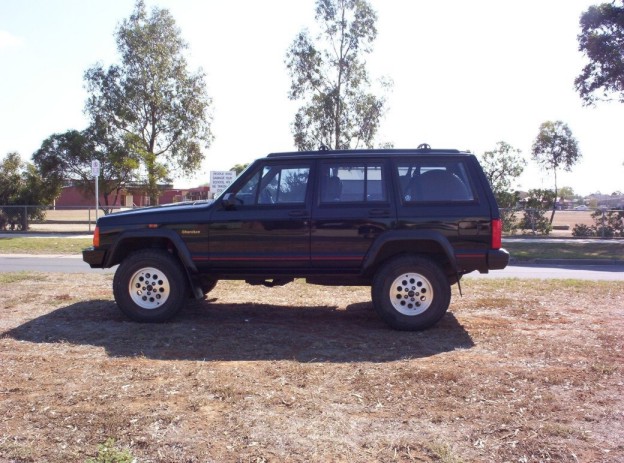
So we ended up with 4" of rear lift and 3" of front
( over a stock limited which measures 17.5" front and 17" rear from
centre of wheel to bottom edge of flare ) which is a nice rake that levels out
when loaded or towing. This means there is 1/2" more tyre to wheel arch
clearance on the back compared to the front due to the rear sitting 1/2"
lower when stock. Gojeep has 1/2" extra height overall by just adding a 1/2"
packer to the rear as well to the front plus
slightly taller tyres on 16" rims. Much better looking now with a more
'balanced' with the extra tyre height and lift height being the same. I have been very happy with the results both offroad and on. ![]() Gojeep has run the two add-a-leaf combination for 3 years now with thousands of
Outback towing miles and has lost less than 1/4" in height after all this
time.
Gojeep has run the two add-a-leaf combination for 3 years now with thousands of
Outback towing miles and has lost less than 1/4" in height after all this
time.
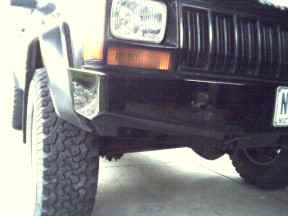
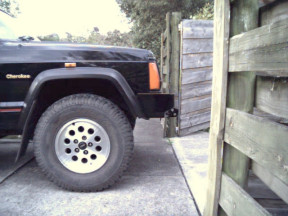
You can see also how the flare has been cut up on a angle and the plastic skirt has also been removed.
The new bar that has the front hitch added to it has now been fitted and only made a 2-3 mm difference in height to the lift. Keep an eye on this space as future plans call for roof rack and Cherokee Chief specs among other personal touches.
The latest was adding a Wildness Rack that Gojeep added a wind deflector too as well as 4 spot lights. Another 2 were wired into the front bar to complete the lighting setup. Another change was that Gojeep imported a brand new set of 5 Rubicon or Moab rims from the USA via his good friend John in Seattle along with some chrome door handles and mirrors. The grille and light surrounds were also swapped from chrome ones to tie it all together.