
Tie rod boot change
This will show how to replace a tie rod boot or the tie rod itself as the procedure is the same. I noticed that I had a bit of grease on the disc cover plate and it turned out to be a torn tie rod boot. As my tie rod had no play which can be checked by someone working the steering wheel while you watch for movement, I just went to my local auto store and bought a tie rod and ball joint boot kit. I got the medium size which they had listed would suit a CJ7 among others and as it is the same front end went with that. Xj's don't get much of a mention here in Oz as not very common. If you need the measurements then the tie rod bolt is 1/2" and the bottom flange that the boot sits on is 1 3/8". The boot will be smaller than this in measurement as it needs to be a tight fit.
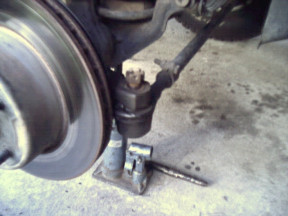
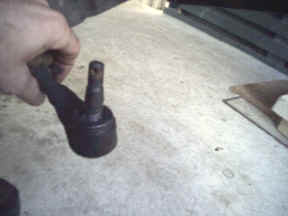
Bend the split pin straight as possible and then remove using side cutters and levering against the casting. Once it is removed undo the nut until the slots in the top are clear but do not remove further. The following technic that I use to remove it was taught to me many years ago while working at 4wd service centre and even though we had all the other tools was the fastest and best method used.
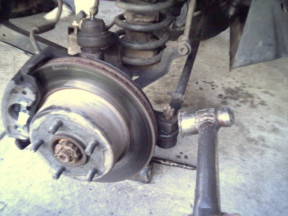
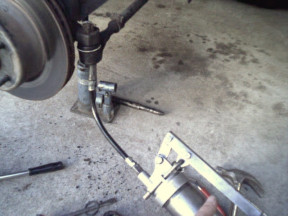
As I want to keep the tie rod I cant use a pickle fork or puller as it will damage and weaken the tie rod. I use a large hammer to give it a shape hard blow to the area shown which is the casting where the tie rod passes through. The tie rod dropped out after the second hit and this is after 7 years of not being touched. If yours has been longer or has been in contact with salt then I would recommend soaking it with a penetration oil a few days before. If it is really stubborn then some downward pressure while hitting will help.
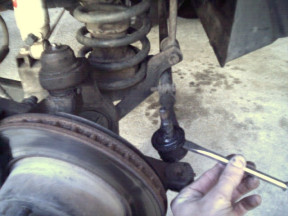
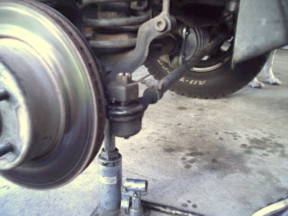
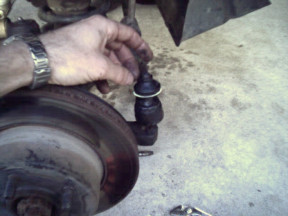
If you are changing the tie rod then count the threads showing and or measure how far in it has been screwed in to make re-assembly easier. It should be the same as the other side though. If removing the old boot, then hammer under the rubber boot with a cold chisel as shown. It has a steel ring inside and will just come up leaving a small step as shown.
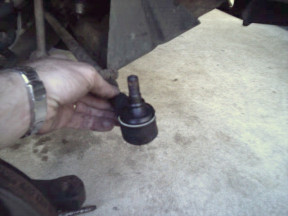
This kit only cost me $2 for two boots so much cheaper than changing the whole tie rod and was just a matter of sliding the new boot over the bolt head and over the step where the old boot sat. If putting in a new tie rod then screw it in the same amount as measured earlier making sure it is the same as the other side also.
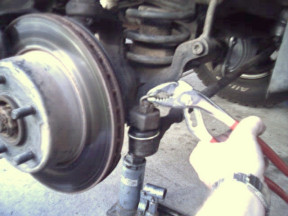
Tighten the nut back up making sure two of the slots line up with the hole and put the split pin back in and bend it over to stop it from coming out. Fill with grease until you see it start to swell and then stop. It is bad practise to keep pumping until the grease starts to leak out as it makes it easier to lose more grease afterwards. If you have replaced to tie rod then it would pay to check the toe in which is shown here how to do it.
[Index]