Fitting a new Radiator
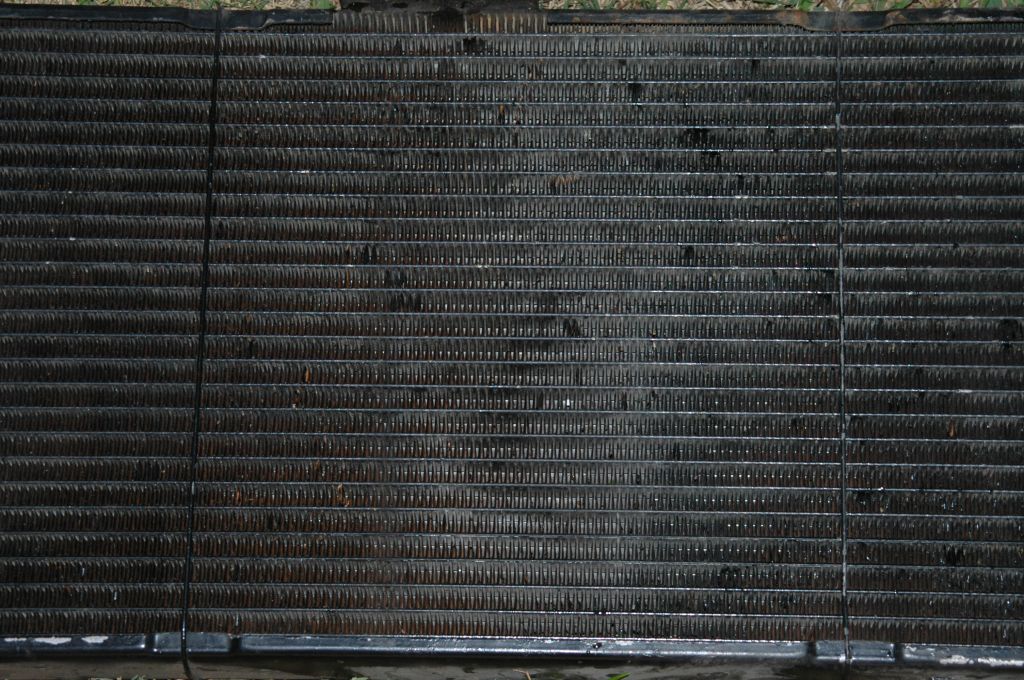
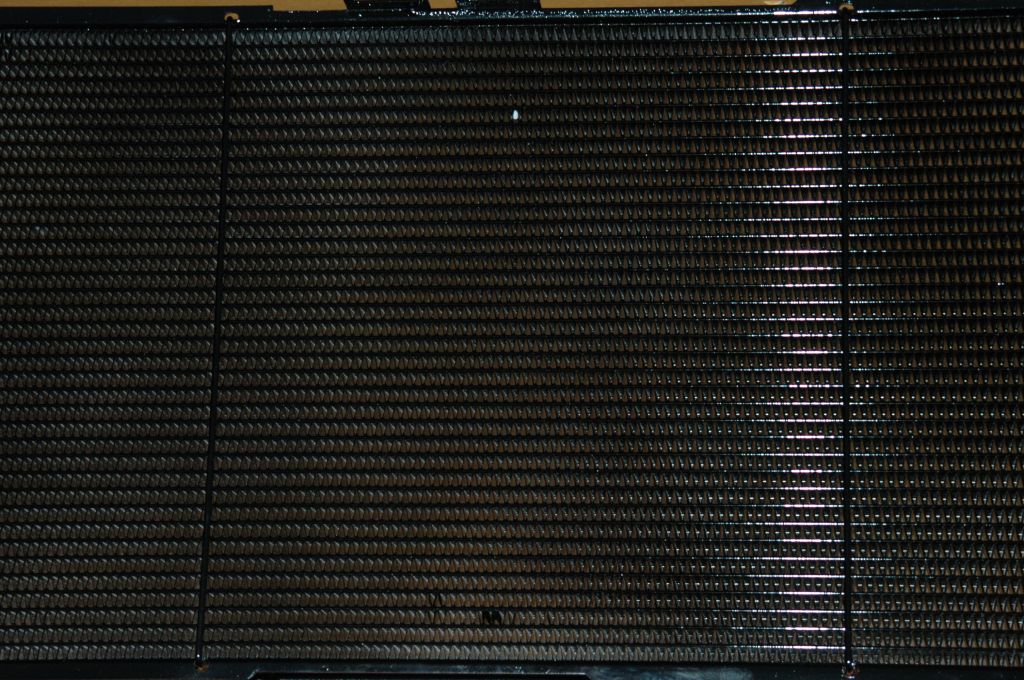
I decided to change my radiator as it would sometimes leak between the plastic tanks and the core. This is common with this setup as they get older as the O ring that seals the two together can shrink over time. I also had to be careful when towing on long grades in summer as well as not being able to run the air-conditioning when running in soft sand which I do a lot of. So I found a place here in Australia that would make me one with brass tanks and with a 3 row copper core instead of the 2 row stock one. You can see how a radiator is built from scratch here. Since then a company has started to sell brass and copper radiators for the XJ. Their web site http://adrad.com.au is here and they do sell through local radiator outlets Australia wide. The part number you are after is #JEE9001.C/A2. They sell for around $430 at time of writing this ( May 06 ). These have far more tubes per row as well with 39 verses 27 per row giving a total of 24 more tubes even though they are still only 2 rows deep. But this can be an advantage is too many rows deep can hinder air flow at low speeds.
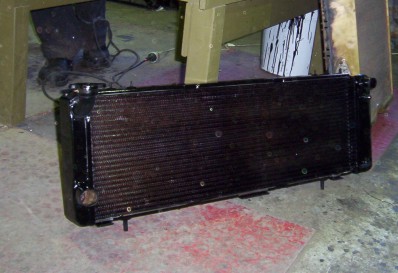
Compare the stock one on the left the Adrad one on the right one. Thanks to Markus for the information and Alex for the pictures who have both noticed much cooler running since. In fact I have had trouble of it running too cool after installing one of these. Tried three different thermostats but they seem to have trouble coping with the increased flow causing the temperature to drop a lot each time it opens and before it can close again.. Others have found fitting a Dayco DT14B thermostat seems to be the best to control it. The cooler running causes the ECU to think it is still warming up so costs you fuel so make sure you keep an eye on this and only fit the 91*C or 195 thermostat.
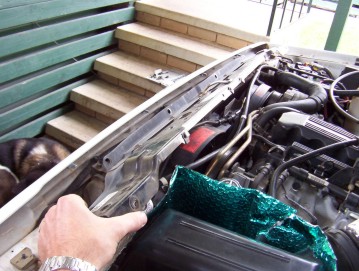
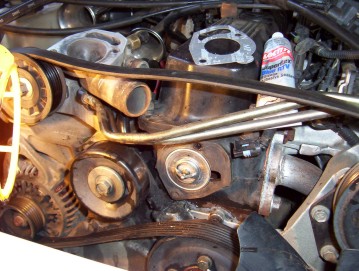
To remove the radiator you must first take off the top support panel by removing the 3 bolts at each end, the 4 that bolt it to the front panel as well as the 4 holding the two fans in at the top. Once removed you take off the upper brackets that hold the air-conditioning condenser to the radiator. The electric fan can be removed next as it will just lift up once un-plugged. The main fan shroud can also be worked out now but can be hard.

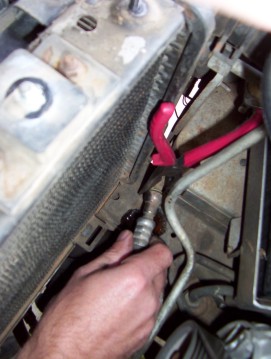
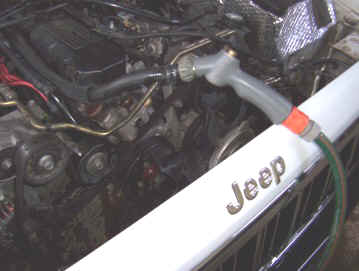
Time to remove the upper and lower hoses as well as the auto cooler lines. The top one is easy as just un-bolts but the bottom one can be a cow. The trick is the use some long nose pliers and squeeze the plastic tags that stick out of the fitting. Now this is the trick the Markus Kramer taught me and that is to first push the hose in hard and then holding the pliers tight, give a sharp pull to pop it off. Might take a few goes but it does work so long as you push it in hard first and then pull back while the plastic ears are held in!
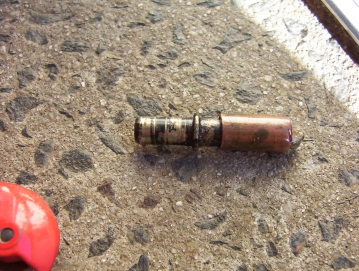
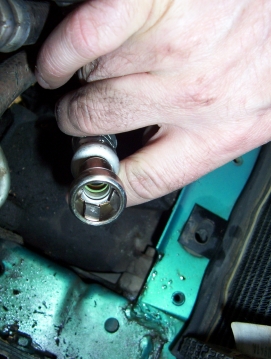
On the later models they don't have the plastic tags you can squeeze. So when I came across this the first time I actually cut through the cooler pipe with bolt cutters and then slide some copper tubing down over it and into the fitting. This pushed back the 4 metal tags that hold it in place. Should be able to do the same by splitting the copper tube and then sliding it down without cutting the cooler line. Doesn't really matter either way as the whole radiator was being thrown away anyway.
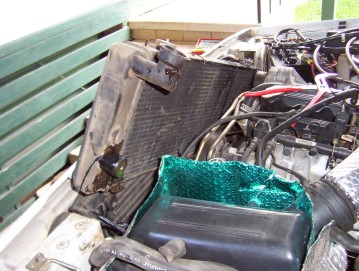
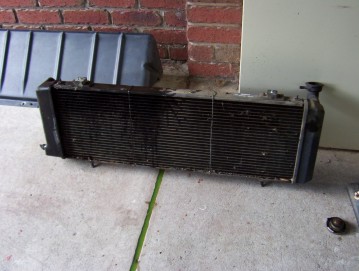
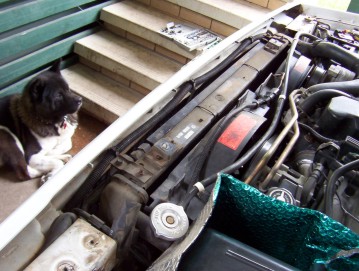
You can now remove the radiator and then see just how narrow it really is! It is only 12" high but very wide to get the area.
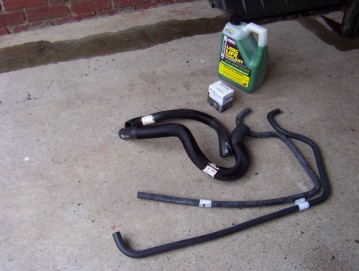
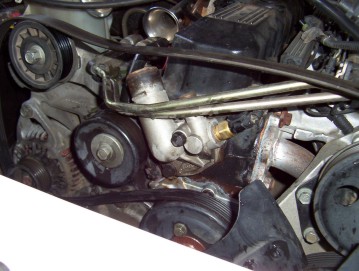
Now is also a good time to back flush the block and heater core. First turn your heater on fully and then remove the heater hose from the thermostat housing and then push you garden hose into that. You want to do it this way as any thing trapped in front of something will be pushed back and out rather than jamming further in. Also blow through the heater hose after the flushing as more water comes out so it can be replace with demineralized water/coolant mixture. As all the hoses were 8 years old now it was safer to replace them as they rot from the inside out. I had noticed that it had started to around where the hose clamps sit so it was just in time. I have kept the old ones for emergency's with the heater hoses placed behind the rear plastic panel in the back above the fuel filler and the radiator ones in my camper trailer. Also changed the radiator cap as well as the thermostat. I and some others have had trouble with stable temperatures after adding this radiator that it would run too cold and back up to normal temp and back to to cold again. Adding a restrictor that I made along with a Stant Superstat Thermostat, #45359, and it is now perfectly stable. The heater hoses are also from the dealer as I could not get aftermarket ones like the radiator ones I used.
The heater hoses are two different lengths and prices with the 6" longer one ( K55035910 ) a lot more than the shorter one( K55036952 ) for my RHD! They are also different sizes one end from the other. Remember also that they cross over behind the rocker cover so the top one fits into the lower heater pipe at the firewall and vice a versa on my RHD at least. The radiator hoses I got from Repco and are Australian made ones by Gates and the part numbers are 05-0905 for the lower and 051466 for the upper. When fitting the thermostat ( K83501426AC ) make sure that the small valve ( it is to bleed air out of the system ) is at the top which you don't get with most aftermarket ones and why I use these. Use the stock 195 degree one as well as using a colder one will not stop over heating and will increase engine wear and even upset the ECU as will detect a cold condition and it will run richer ( will run in closed loop more which does not take reading from the O2 sensors ) among other things causing more fuel use.
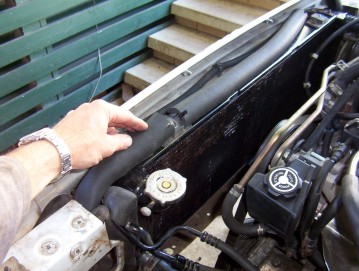
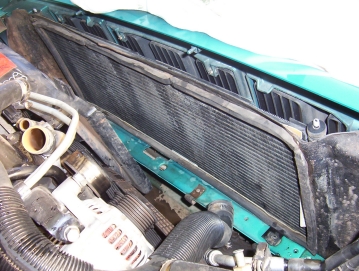
The refitting is only a reverse of the removal so easy to do. What I do recommend is to fit some rubber along the top of the radiator under the top support panel. This stops air from passing over the top of the radiator without aiding cooling what's so ever. The later model XJ's from 97-98 on have a seal that goes around the whole condenser stopping any airflow leaking out between that and the radiator. I also have added down the sides and along the bottom to force as much through the radiator as possible. The top I used foam rubber tube cut in half but else where left it whole.
Use a good quality coolant in a 50/50 mix ( Castrol or Nulon are good brands ) for best performance as the manual calls for. It will take a round 10 litres of coolant to fill the system. To drain the coolant over flow tank, hold up the hose and suck up until it gets near the end but not in your mouth! Then put your finger over the end and lower the hose and release your finger and it will drain away. Change you belt too if it has not been done in the last 100,000 kms or 60,000 miles. You can see a write up on fitting an electric16" fan to replace the viscous one once the fan bearing has been removed. I have since done a 6000 km trip in 100*F temps towing my trailer over beaches and one track alone had over 300 sand dunes and only problem I had was once on one very soft beach I had to turn off the aircon and the motor when I laboured the engine in high range for about 20 minutes around 3000 revs with 42.7*C or 109*F temps ( you are better to leave the engine running so long as you are not losing any water as it will recover quicker without loosing any water which switching off does I have since learnt! ). This was after playing on the beaches and sand dunes for 7 hours straight. After fifteen minutes I was right to start again but this time in low range and I had no further problem for the rest of that beach or the high sand dunes back to camp so looks like my new 3 row radiator and electric fan were up to the task.
[Index]