Checker plate quarters
I do a lot of travel on gravel roads with much of it at 80-100 kph which really wrecks your paint work. even with mud flaps it was still happening unless you had extra long ones which then scrapped the road every time you hit a hole or went through a dip as the suspension compresses dragging up more stones and throwing them at my trailer which the stones then bounced off and hit the tailgate. So after replacing the shattered rear window with polycarbonate and repaying the tailgate I did the next trip without any mudflaps which stopped the stones from being scrapped up and hitting the tailgate but left the lower rear quarter panel stone blasted instead. To protect that and not have to repaint it after each trip I decided to use some aluminium checker plate over it.
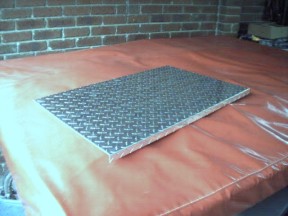
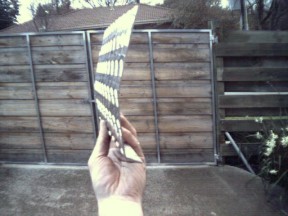
I bought an off cut which was 485x730 mm and 1.6 mm thick ( 2.2 mm total thickness ) which is enough to do two pairs. I am going to put some on my new ARB custom bumper on the ends with the left overs so it will be protected as well. It cost me $17.50 AUD. ( $9 USD. ) for that amount from my local supplier. It had a 90 degree fold on it 22 mm wide at the bottom to tuck underneath but that was too much and only needed it to be about half of that. I have made another set since and folded it myself by scoring the back with a angle grinder with a cut off wheel. Went in about halfway along the line I wanted to fold at and then pulled it over like below. To get the shape I used some project paper to make a template. Lining it up with the top crease the bottom and back was marked and cut out. The flare side was done by running my finger nail along the edge of the flare and then cutting along this crease with scissors.
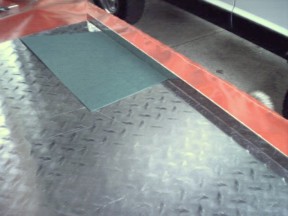
The template was then placed on the plate and marked and cut out using a jigsaw with a fine blade. The other side was done using the same template but turned over with a few small alterations to make it a perfect fit. The small fold about halfway was also marked on to the template and transferred to the plate. This fold was done by clamping along the line and pulling it over by hand. This is fairly easy with alloy at this thickness.
The slight curve between the folds was added so it followed the body contour exactly by placing the jaws about 25 mm apart and making small bends along it by lightly leaning on it.
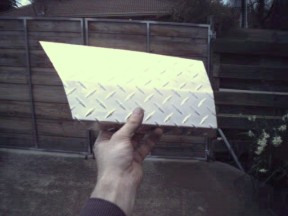

The edges were cleaned up with a file and then sandpapered to give a smooth finish.
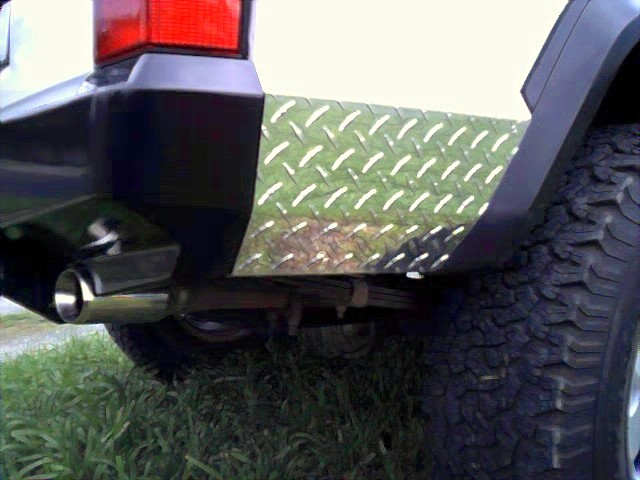
It was attached using six small aluminium rivets and a urethane sealer covering the inside to stop any moisture. Only go along the top and the sides leaving the bottom open in case any water should get in, it can drain out. I drilled the middle of the raised section the diameter of the rivet first ( 3.5 mm ), then drilled down until flush with the main surface the diameter of the head of the rivet ( 6 mm ). This makes it very hard to see the rivets and gives a cleaner more professional finish.
[Index]