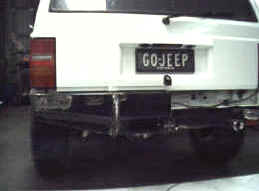
Custom ARB rear bumper
I had already made my own custom front bumper from an ARB Landcruiser 80 series bullbar so wanted a matching one for the rear as I think it looks un-balanced to have the front only. Was able to pick this up very cheaply as it had been damaged. I would never had been able to do these projects had I not been helped out with getting these at low cost in the first place. I would like to thank the guys that I got it from and also Ian Lowe at I & V Truck repairs for putting up with me while I used his equipment.
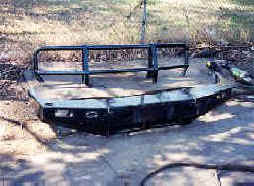

Like the front I started by cutting the top off and doing some trial fits. It had a lot of rake which would have made it stick out too much in the middle so both end sections were cut off so they could be welded back on with an angle that followed the body line more closely.
This left a wedge shape open at the back which then had to be filled with plate of the same thickness. The ends were then pulled around an extra 11 degrees so it would follow the taillight angle. To do this I cut a wedge shape out from the centre of the corner each side of the original join and also cut a slot horizontally above and below the curve. The corner was then heated and pulled around and tacked into position before being fully welded and ground smooth.
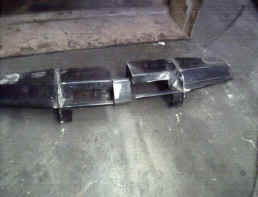
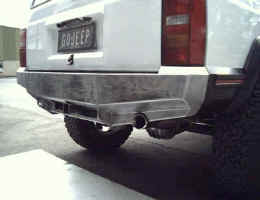
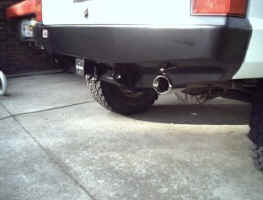
A centre section was then cut out so none of the bar was sticking out to get caught behind things or have stones ricocheting off it. A trial fit then allowed me to work out how much the side had to be bent down from 90 degrees to follow the contour of the body.
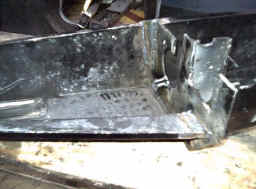
To tuck in the side an extra 10 degrees so it would follow the body line, a vertical wedge was cut out where the curve finished and the side heated and bent down. This left the bottom of the curved section sticking out so it was heated and the curved tightened until it matched back up with the rest. The indicator holes were also filled in with plate and fully welded as I didn't want them in the bar.
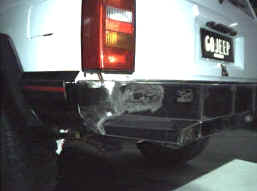
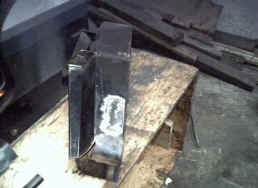
A trial fit then showed where the next body fold had to be followed so the side was cut off at this level and a new section cut from plate and welded in to reach the bottom of the bar. You can also see that I have made it fit around the Jeep towbar with the original bullbar chassis bracket having a 'U' section cut out of it to fit around the towbar. The two sections were then joined back together at this point.
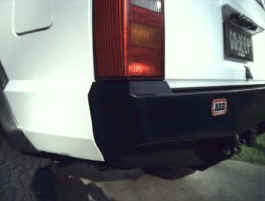
To cover the ugly space left under the taillight, steel was cut to follow the upper body fold around the light and then a top piece was added to tie it together and fully welded in and ground smooth.
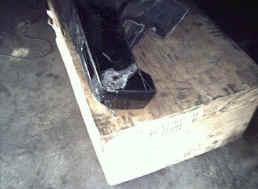
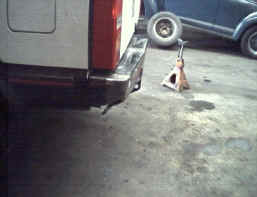
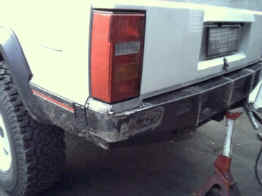
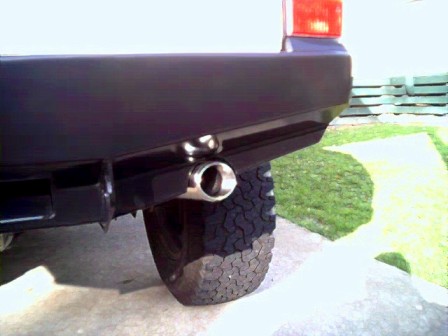
ARB powder coat all their bars black even if it is color coded later at the factory. So I had to sand this off as well as a primer, Two Pac dark green and the clear coat. The last test fit was then done before it was tacked in place to the towbar and the whole thing removed as one. It was then fully welded to the towbar and now will be taken off to the painters to have Two Pac satin black enamel baked on and all the lower body panels will have the black sections painted out back to white as well.
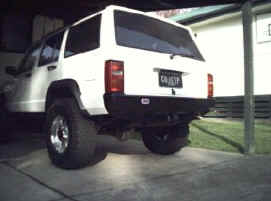
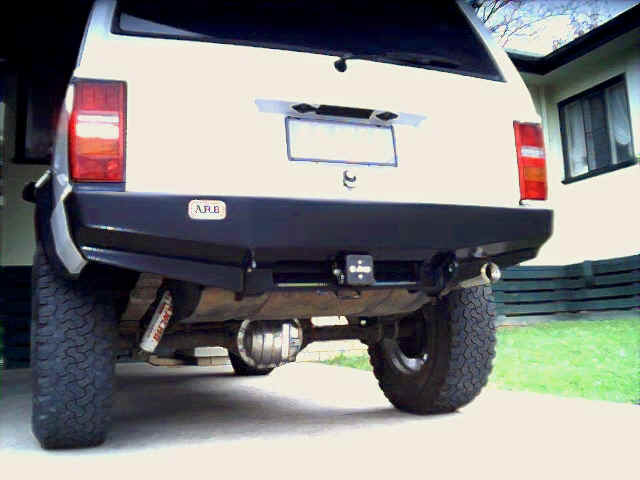
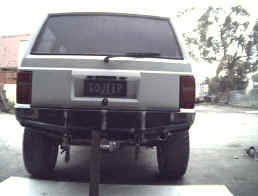
Back from the panel beaters and it looks far better than this cheap camera shows.
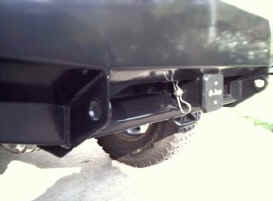
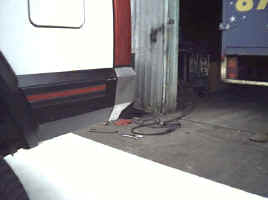
The hitch is tucked under the lower section with the trailer plug mounted out of site.

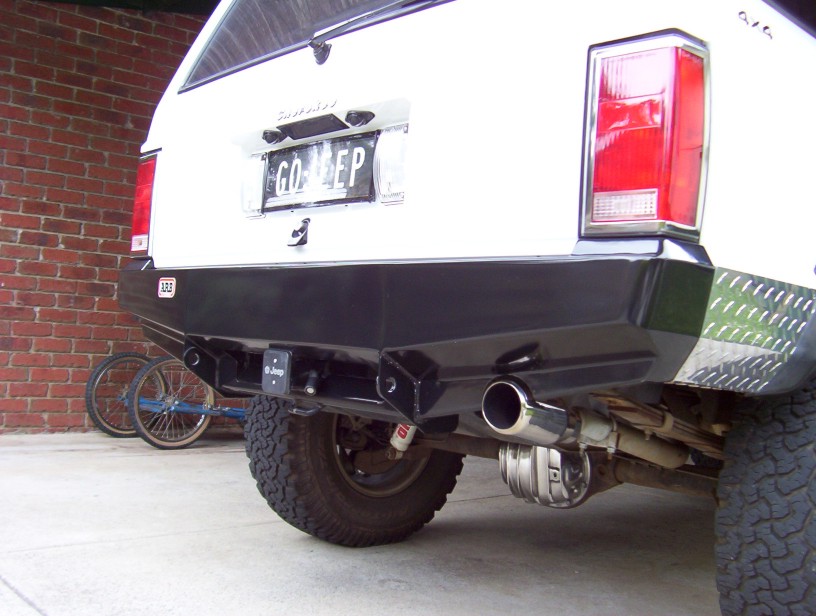
I increased my departure angle and the reduced the width of the bar to keep it away from rocks.
[Index]