Home of Ben's XJ
I began contemplating this project when Jeep re-designed the XJ in 1997. I wanted to buy a new Jeep but my beloved ‘93 was not only paid for but since I had purchased it with 30K I had done all the maintenance to it. When I purchased it off lease I immediately changed all (suitable) fluids to synthetics and have regularly from that time on. The point is that I know my Jeep and since I couldn’t afford to buy a brand new one I would be buying a used 97 + with ???? miles and even with service records probably not nearly as pampered as mine. Therefore I set out to create the look of the Jeep I wanted without giving up the reliability of the Jeep I own.
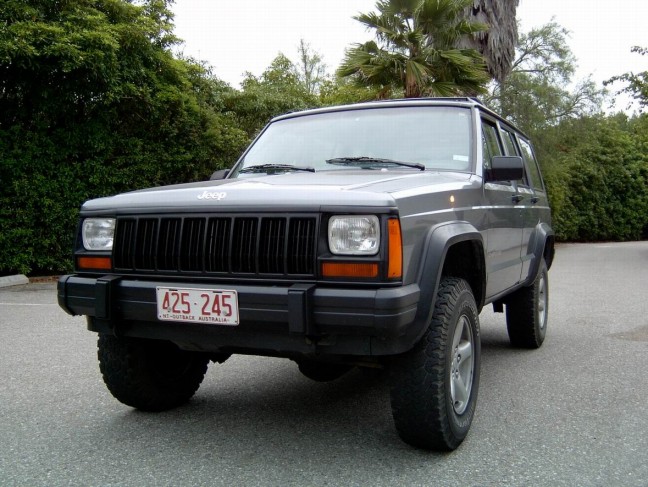
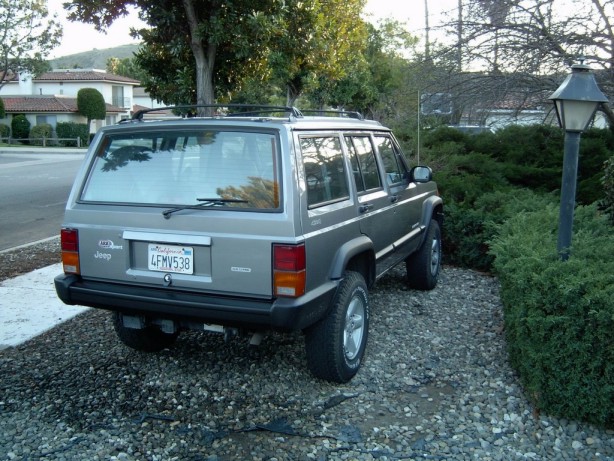
So this is before the make over.
When I began I had no idea how much work it would entail. I got great advice and information from people who had actually done the conversion. “Dillinger” and Aaron or “GenX”on the Jeeps Unlimited Forum both had successful versions of a Cherokee and Comanche.
I made a list of items and started shopping eBay and the Internet sites, trying to buy used OEM parts whenever possible to insure that the installation would go smoothly and the results would be up to my standards. Also by posting wanted ads and checking the for sale posts on the many Jeep Forums, I found people parting out their wrecked XJ’s or changing parts for after market items and managed to get a full set of FENDER FLARES AND BRACKETS from a ‘98 along with the REAR BUMPER END CAPS for $30 for example that were in near perfect condition .
Then the list below was added.
List of donor parts from various ‘97-01 vehicles:
· Complete Front Bumper Assembly and Brackets and assembly, ( $250 from wreckers inc. below ).
· Grille and Headlight Bezels, ( bought at wreckers with above ).
· Header Panel, ($150 w/shipping) on eBay.
· Front Fenders, ( $100 each ) panel shop.
· Front Splash Shields, ($45 w/shipping) on eBay
· Front and Rear Fender Flares and Brackets, ($30w/shipping) from a Jeep forum.
· Antenna Mast, ( $15 ) at dealer.
· Complete Rear Bumper Assembly and Brackets, ($130 w/shipping) on eBay.
· End Cap Support Brackets, (approx. $7 each) from the dealer.
· Body Side Molding, ($35 w/shipping).
· End Cap Support Brackets rear, (approx. $7 each) from the dealer.
· Power Mirrors, ($30 w/shipping) on eBay.
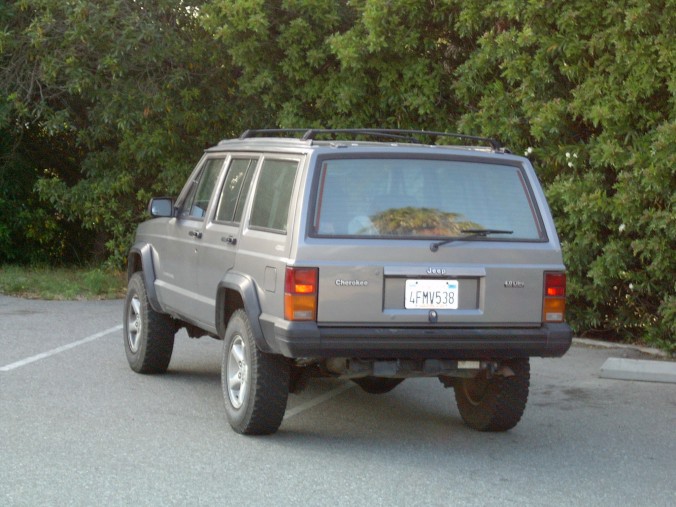
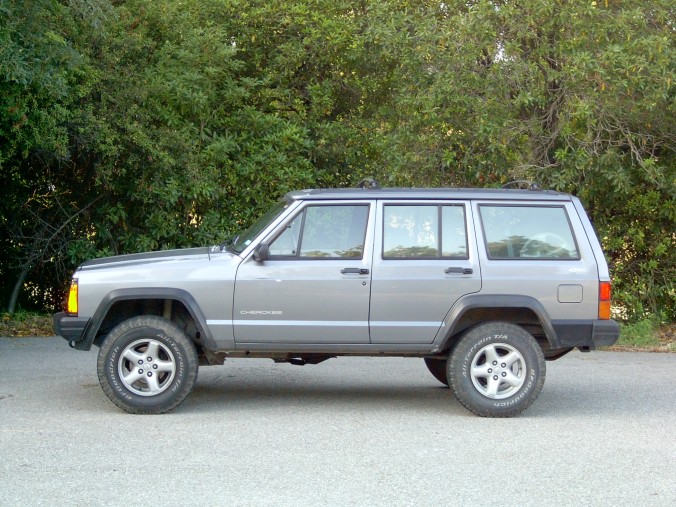
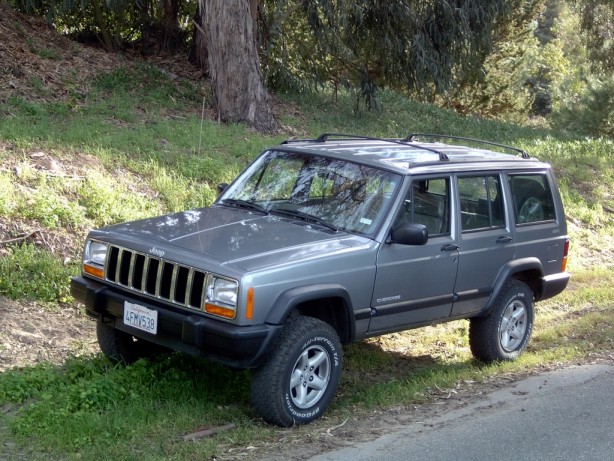
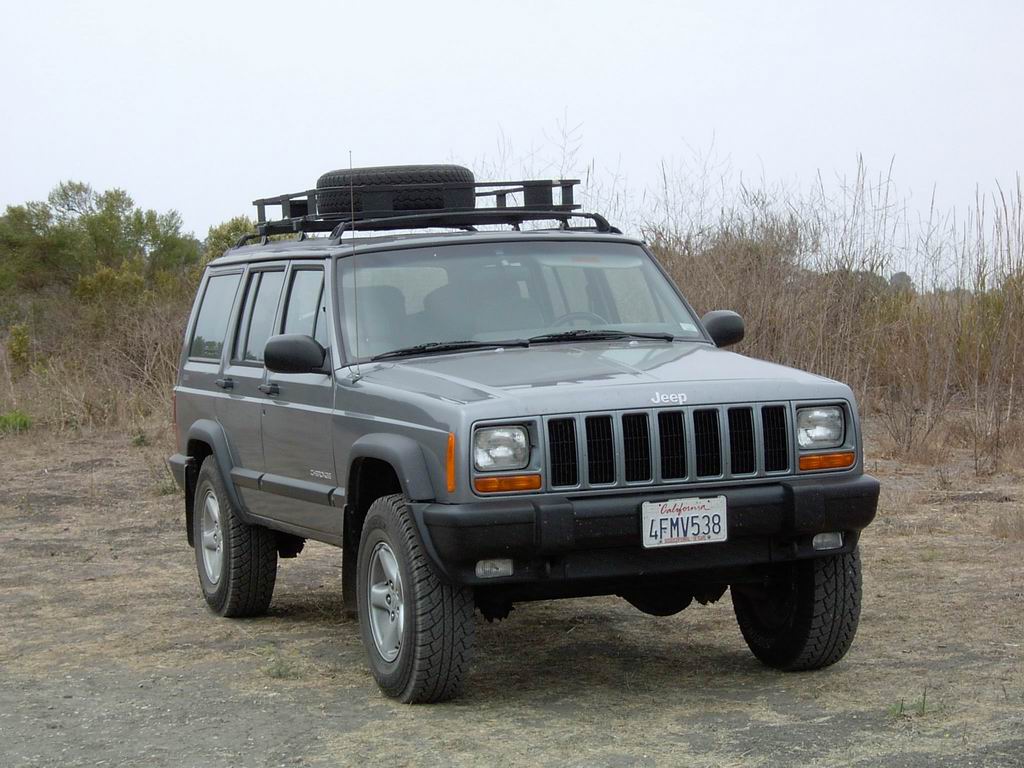
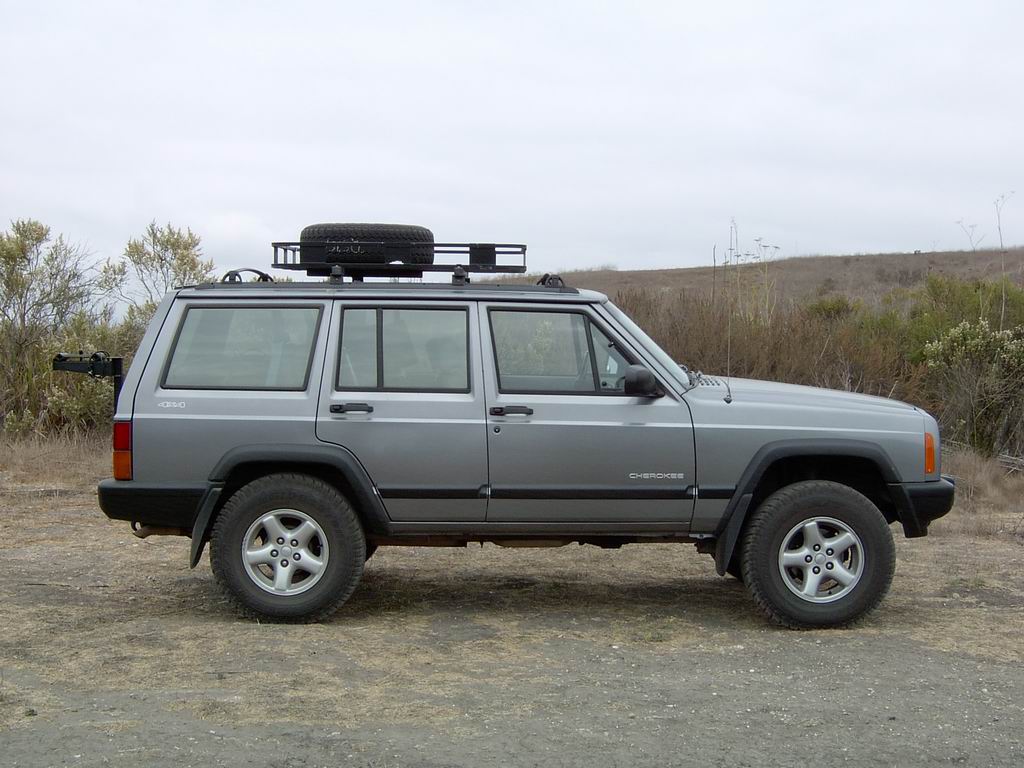
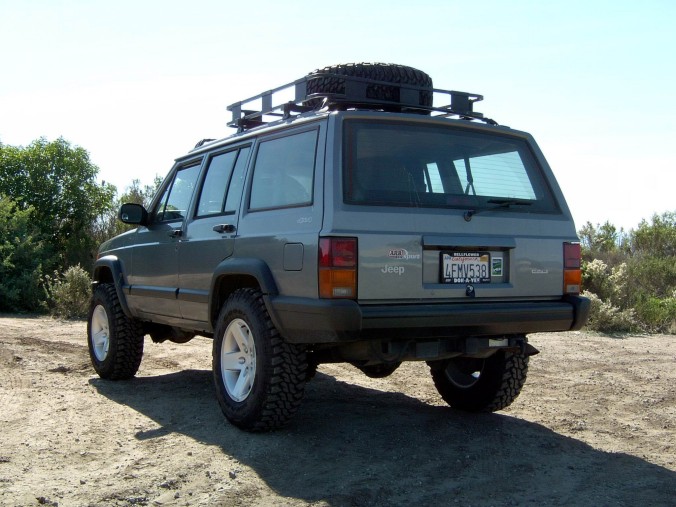
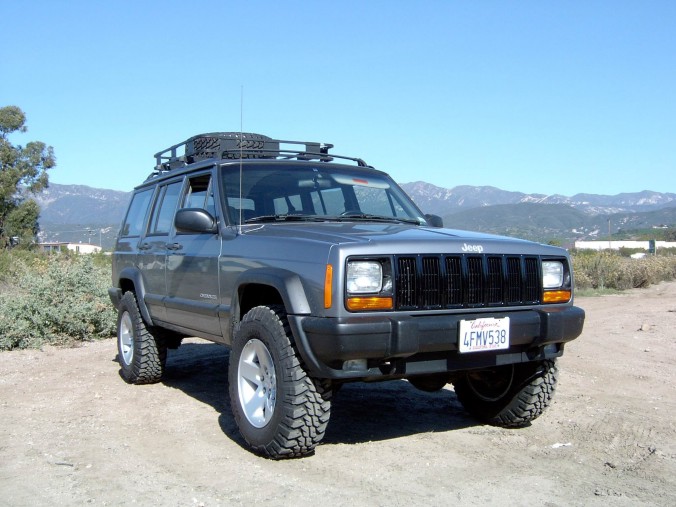
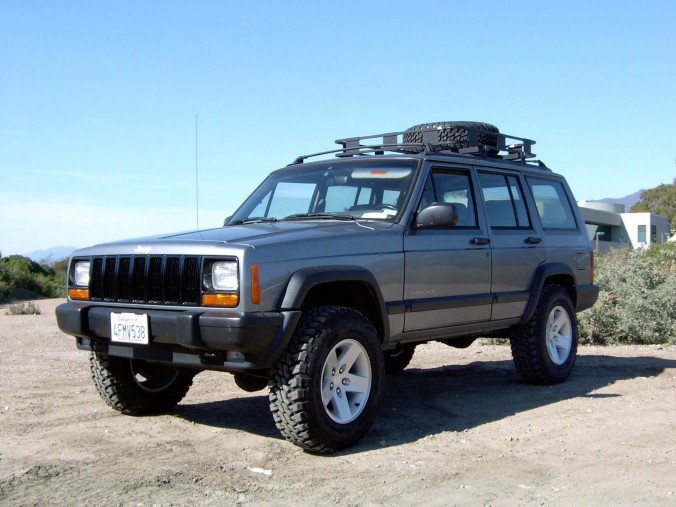
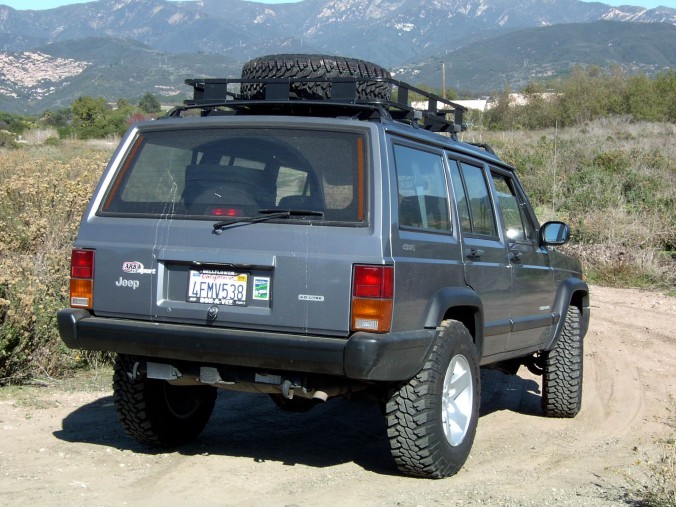
And this was the result.
If you have removed and replaced parts on your Jeep and are the least bit mechanically inclined you can do the entire project with simple hand tools in your driveway in a weekend. Everything bolts right on except for the rear bumper end cap support brackets which I will cover later. Start your dismantling process by spraying all your bolts with PB Blaster or WD-40 a day or two before and begin by removing the bumper, grille, lights, header panel, fender flares and fenders. Replacement is opposite of removal (be sure when installing your new fenders that you back-spray them on the corners and edges that will show once installed unless you had them entirely painted before hand. The best advice I can give is to keep everything a little loose when you’re putting it all together because you will want to line everything up correctly bit by bit. The fenders can be a little tricky because you’re dealing with several different bodylines at once. Go slow and take your time. Adding a little grease to all fasteners at this time is a good idea too.
Before installing your header panel and /or grille you may have already noticed that pre-97 XJ’s had (1) bulb in the front signal lenses, after ‘97 they have (2). What I did was buy (2) extra sockets and spliced them into the existing wiring so both filaments light and flash accordingly. The headlight sockets for the pre ‘97 Jeeps have a larger base and you will need to do some trimming to your header panel or replace the light sockets with the OEM or smaller style in order for them to fit properly. I opted to trim the inside of header panel to allow for more space behind the turn signal lenses, which was easy with a small saw to the fiberglass. For the OEM 97+ FRONT BUMPER, you must include the newer style BRACKETS for both front and rear and they bolt right into the existing holes on the body. For the LOWER VALANCE PANEL (the plastic piece below the bumper and between the end caps) it is important to obtain all the correct screws and bolts for the new front bumper. Most bolts / screws interchange but some you will need when attaching your new front bumper caps and valance). GRILLE, SIGNAL LIGHTS, HEADLIGHT BEZELS and all the above were found at the local wreckers for $250. Not bad considering they were in great condition. I also had a set of Rusty’s tow hooks previously installed and was glad to see that they lined up perfectly with the slots on the new end caps.
I also found a set of OEM 97+ FRONT FENDER SPLASH SHIELDS which are not absolutely necessary to replace but will make the installation easier as you will need to trim your pre-97 splash shields to accommodate the new fender flares (notice the notch between bumper end caps and flares). The rear wheel well also has splash shields but I used my originals and it worked just fine with minor trimming. Moving onto the rear bumper, you will need to purchase REAR END BUMPER SUPPORT BRACKETS unless you find some at a wreckers in which case you need to bring along a cordless drill to remove the pop rivets. When fitting them, you only need to hold the end cap in place to find the correct alignment for the brackets, mark the holes and drill and attach with rivets. It will become clear once you see the inner side of the end cap in relation to the bracket. There is also a new BUMPER TRIM (approx.$12 @dealer) or valance that you will want to purchase to attach between the top part of the rear bumper and the body. Because of the shape of the new bumper your existing trim will not fit properly.

The 97+ POWER SIDE MIRRORS I fitted are not necessary but definitely enhance the appearance. Just please don’t ask me how to wire them because I misplaced my diagram. There are a few shots and comments on Gojeep's write up on mirrors here about swapping some in. I also added the late model BODY SIDE MOLDING which was purchased used and required removal of old adhesive and re-applying 3M adhesive tape. All I can say is I never want to have to do that again!
After collecting most of my parts I took my Jeep to a good auto painter I know and told him what I wanted to do. After telling me I was crazy, he then proceeded to help me find a set of aftermarket 97+ FENDERS ($100ea.) and he assured me they would be first rate and they would be delivered to him at no charge and he would sell them to me as long as I agreed to have him paint my Jeep. ( I highly recommend you replace the fenders even though it is possible to do the conversion with the originals by blending in the header panel after back filling the top corners with fiberglass for the best possible result ). I said deal, and he said $650. To this I declared he was crazy and he began to explain what was needed to make the paint job look perfect. Because my paint is a metallic he could not simply paint the fenders and let me install them. Rather they had to be painted on the vehicle and the panels and hood all needed to be blended for a uniform look. We then arranged a date and I proceed to dismantle.
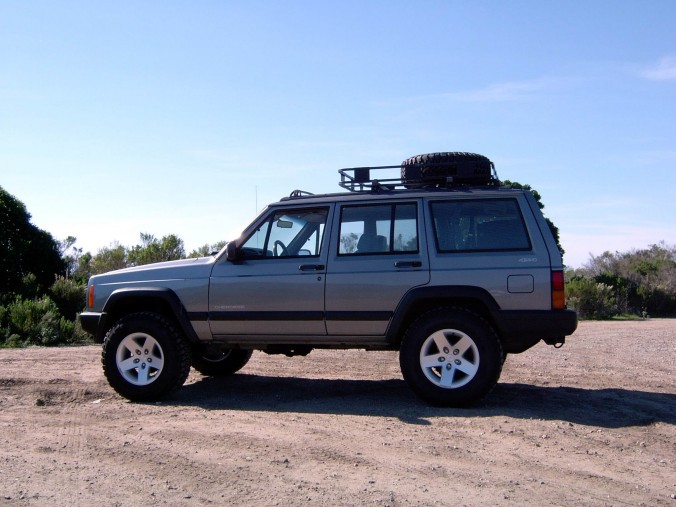
Overall, my installation went smooth and when I picked up the Jeep from the paint shop I was very pleased with how nice it looked. They buffed the rest of my panels so everything looked uniform. The last few pictures also show the addition of Wrangler Rubicon 16x8" wheels with 245x75x16 Goodyear MTR's. You can also see three different grilles that I have tried throughout this page as well. I wish to thank my good friend Marcus, (GOJEEP) for his constant support, helping me with my Jeep over the years and allowing me the space on his site.
I’m happy to answer any questions regarding the conversion here: butch93105@cox.net