Changing Mirrors and glass
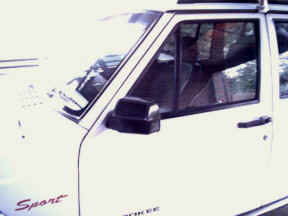
In my quest of being different to other XJ's around me, I have followed the Classic chrome grill theme that mine came with in the adding of chrome mirrors that only came on XJ Laredo's. These never came to Australia so it was thanks to Pioneer truck wreckers in Delta ( 1-970-874-8442 ) and Tony there who posted them over for me, ( very appreciated ). The only thing is that I also had to swap the glass from mine over as not only are ours heated but the "objects are closer than they appear" would be on the wrong side. The mounts are also set up on RHD's differently so that there is more angle on the passenger side so they need to be swapped too. Of course if you are doing this to a LHD than you wont have any of these worries. I ended up only using the mirror housing and if you bought manual mirrors you can swap your electrics into them. If you are swapping to electrics from a manual I have been told that if you have electric windows already then the wiring for the mirrors are already there and you just have to buy the controller. Otherwise get the wiring loom as well.
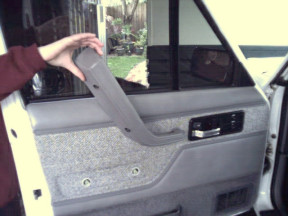
First remove the three screws from the door handle surround and the two from the arm rest. You then must lift up the arm rest as shown until the top fixing releases. Use a large screwdriver to pry out the 'Christmas trees' as they call them in the trade by levering from behind these fixings between the plastic collar and the door to stop them from being pulled through the door trim.
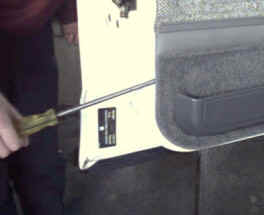
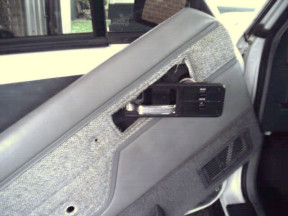
Once all the fixings have been released the door trim needs to be lifted up to un-hook it from the slot at the bottom of the window. I then slide the door trim over the handle as shown to save removing the door links and wiring. The other photo shows a close up of the 'Christmas trees' that hold the trim in place and also the collar that you lever against when prying them out. This is also a good time to turn the speaker grill upside down if you want to direct more treble from the speakers upwards to your ears!
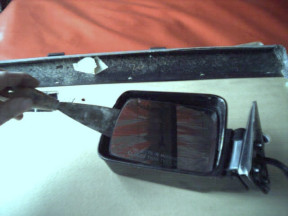
There is just one self tapping screw to remove to give you access to the three torx bolts that you need to unscrew to remove the whole mirror. You should also unplug the wiring first and you can get to that by pulling the plug though the spot where the electric door locks and windows are. To remove the mirror glass, which can be done on the car if that's all you are doing, put a scraper behind the glass including the plastic backing it sits in like shown and lever up until you can get as many fingers in behind it. Then pull up evenly and the glass will just click out. This only works with power mirrors and the manual ones you have to smash the glass or you maybe be able to heat it with a hair drier to soften the glue before prying it out. I'm told by Jeepzz that on the late model mirrors you can push the mirror glass up and slot it out that way.
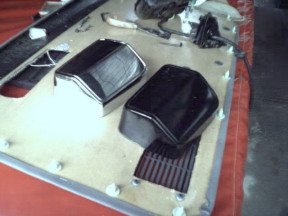
The yellow arrow points to the cross that holds the glass in place and it is only two 'U' shaped plastic retainers that hold it in place. The other two posts are what the does the adjusting and they come out with the glass. Now it is just a matter of taking out the three screws that hold the electric motor drive in place and the screw for the spring. You can see the black and the new chrome housings about to be put together with my internals.
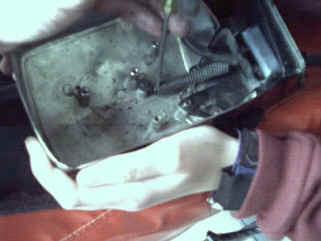
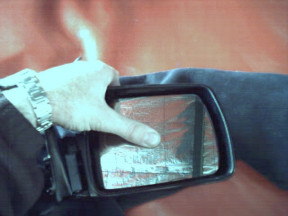
When putting the spring back make sure that you put it the right way with the main spring body being as close to the mirror housing as possible otherwise the motor drive will not sit flat on the mounts. Once the motor drive is back in you can click the glass back in by lining up the adjustment posts first and then by feel you place the cross over the 'U' shaped retainers and then pushing evenly in the centre of the glass as shown.
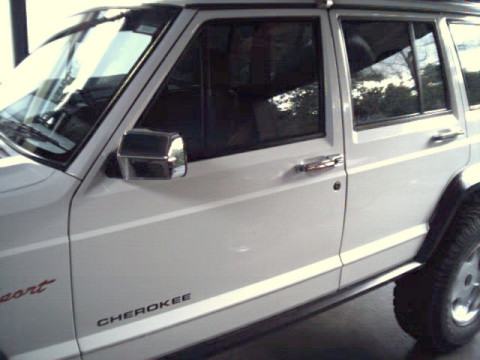
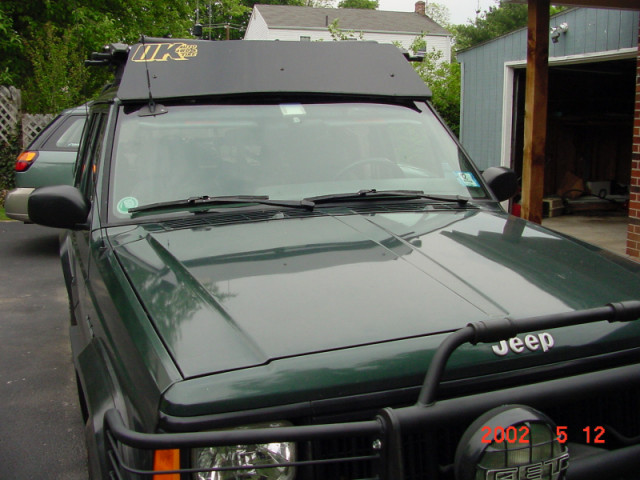
Then it is just a matter of feeding the wire back in and plugging it in and replacing the bolts. Make sure that it all works before putting the door trim back in and your done. Goes very well on a white car I think as it blends in more and along with the chrome door handles that I added at the same time it matches in well.
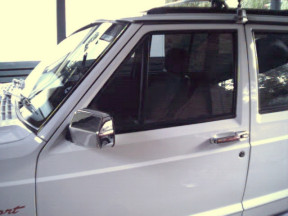
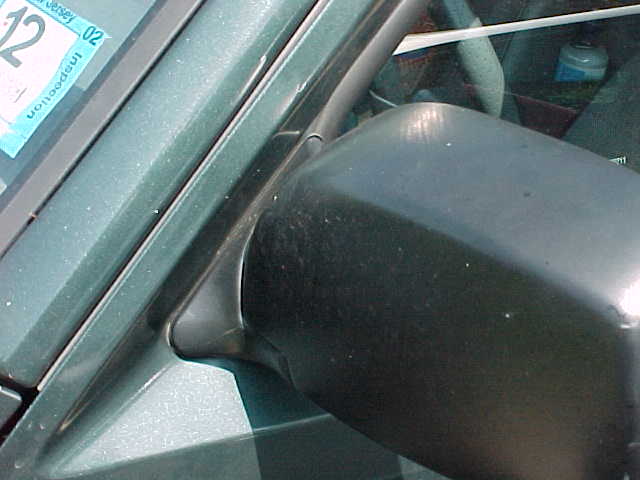
Below is what '99 mirrors look like on a '94 as done by
Kent Owen ( Enjoyinglife121 ) and
the comparison shot supplied by 85xjjeeper on
the right.
He swapped 99 mirrors onto his 94. While
he added heat and power to the mix, just adding a newer manual set would be a
piece of cake. The same amount of effort as involved with a stock swap. It's
just the 3 torx screws like shown above. As for availability and price, He was
quoted $250 USD. (each) from the dealership. He ran over to a junk yard and
picked up a set for $150 (a pair) that were in perfect condition. Granted these
were heated/power, so I would think it could be done cheaper by fitting manual
ones.
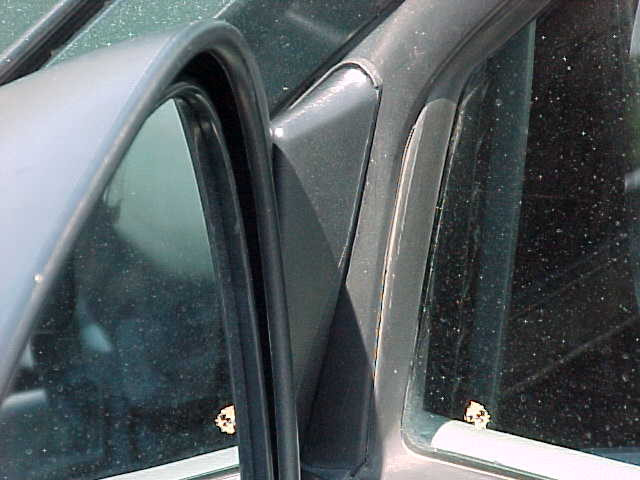
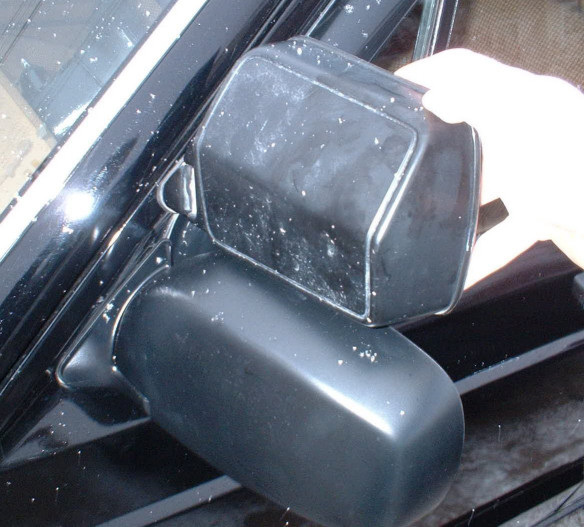
The mounting is bigger then the earlier mirrors base, but the door still accepts the bigger base without a problem. The trailing edge of the base did overlap his window moulding a bit but it still looks good. These later model mirrors are bigger with a more curved appearance but keep in mind that most of the extra will be on the other side of the quarter vent support frame on the drivers side but all of the passenger side will be uninterrupted.
[Index]