Intake and Airbox Shielding
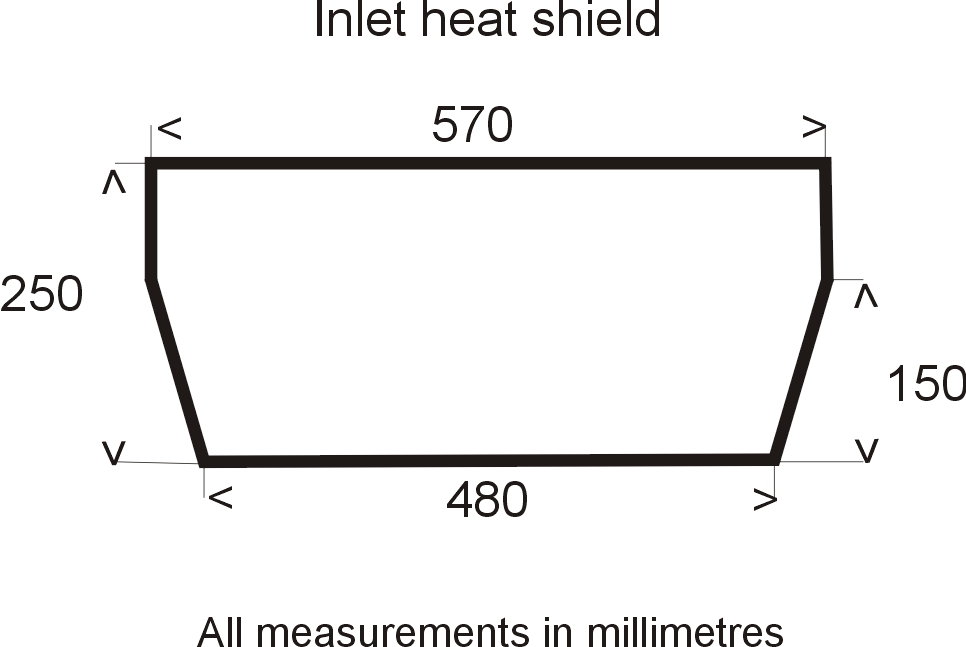
Inlet heat shield
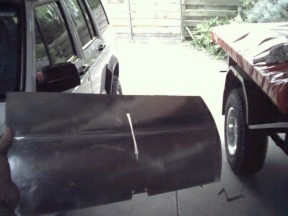
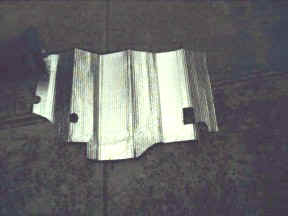
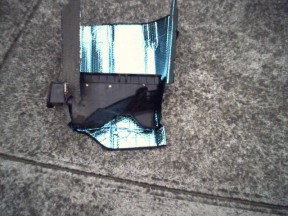
I used some scrap aluminium that was a reflector for a fluorescent light and cut it to the above shape to place in between the exhaust and the inlet manifold. You can also see a small cut out for the fuel bracket that holds it all in place.
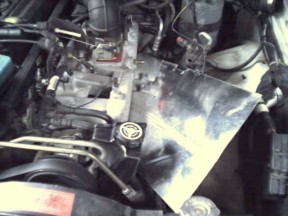
It takes a bit of flexing to get it to go in there but it ends up jammed along the between the two and held in position by the bracket that holds the fuel lines in place which positions itself in the cut out shown above. This will reflect a lot of exhaust heat down and away from the inlet as well as helping under bonnet temperatures. Dino Savva from Saudi Arabia used the above information and took before and after measurements to see the changes. they were all taken at the same time of day with the same 95*F ambient temperatures:
Idle: Without heat shield-increases in
seconds to 160+*F. With heat shield-much slower rise in under hood temp.
20mph: Without heat shield 157*F. With heat shield 132*F
40mph: Without heat shield 139*F. With heat shield 122*F
60mph: Without heat shield 127*F. With heat shield 121*F
Remember there is a 1% horse power and torque drop for every 10*F rise in intake temperature!
Airbox insulation
Last time I did this I used thermal tape but after buying three rolls it is fairly costly. So I used a windscreen sun shade that has the foil on both sides that you can get from places like Kmart. But instead of gluing it to the airbox I wrapped it around and cut holes for the intake hole ( the extra round one is for my intake hose that goes to the top of the firewall where my map sensor is which is used when doing deep river crossings and the front hole is blocked off ). It follows the contours of the inner fender and around the wiring harness and down to the frame.
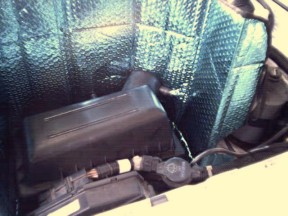
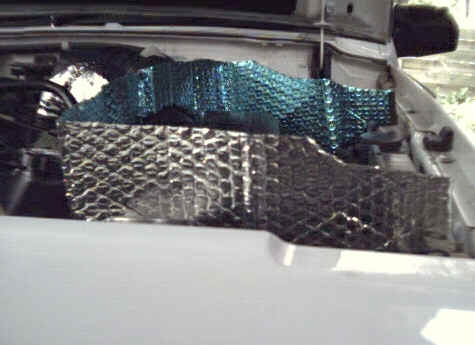
Holes were cut for the intake and vacuum hoses and were marked buy pushing against the ends and then cutting around the imprint. The top of the shielding was then cut to follow the underside of the bonnet around the supports so it is sealed off against it. This was done by lowering the bonnet and seeing where it would touch and repeating until the final shape was achieved. If it is left a little long it wont damage the bonnet as it soft enough.
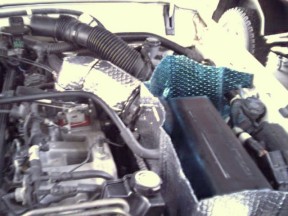
The intake hose was also wrapped in it and held in place with nylon ties. This leaves the whole air tract now protected from the heat and will help in gaining a bit of horse power and economy and cost next to nothing for the whole lot.
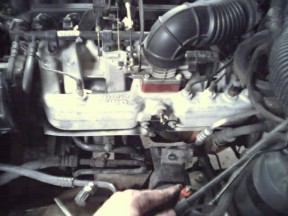
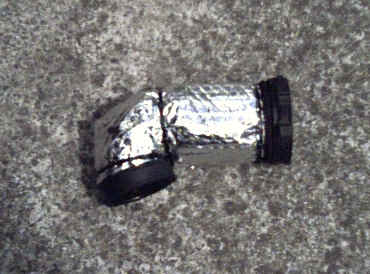
Those with the large intake plenum box would do well to remove it and replace it with a pre 96 intake hose. It is like a giant heat sink and you will get a little better power and mileage swapping to the earlier intake hose. If you can't get a hold of one, Ben Doorn found that a intake hose off a HJ60 Land Cruiser Diesel shown above works well. Only required the airbox end to be softened up in boiling water to get it to slip over.
Also the intake heat shield will be of use to those with later model XJ's ( or like me that run their injectors and intake ) that have the rough idle problem after re-starting on hot days. Below is the explanation from Jeep and their cure for it. I have never had this problem occur but had the shield before fitting the late model stuff.
1803103 - 4.0L ROUGH ENGINE IDLE AFTER RESTART FOLLOWING A
HOT SOAK
Date: 09/05/03 (supersedes 1802702 dated 09/06/02)
Model Year(s): 1999-2004
Description: NOTE: This bulletin applies to vehicles equipped with a 4.0L
engine. This bulletin involves the installation of a fuel injector insulator
sleeve.
Details: Customers may describe a 20 to 30 second rough idle following the
restart of a heat soaked engine. This condition may be most noticeable when the
engine is restarted following a prior 10 to 20 minute heat soak in hot ambient
conditions of approximately 32 C (90ºF) or higher. This condition may be
consistent with short city stop-and-go driving trips and can be
aggravated by the use of fuel with a high ethanol content. Depending upon
various conditions a MIL may occur due to DTC P0303 - Cylinder #3 Misfire.
This condition may be caused by heat from the exhaust manifold that following
engine shut down migrates to the area around injector #3 and causes fuel vapour
to form within the injector. This in turn may cause a momentary misfire of
cylinder #3 until the fuel vapour is cleared of injector #3. The insulator
sleeve lowers the injector #3 temperature to a point below which the fuel will
not normally vaporize.
If vehicle exhibits a rough idle, and if a misfire of cylinder #3 is observed
following a 10 to 20 minute hot soak, perform the Repair Procedure.
Parts required:
56028371AA Ignition Wire Shield
Repair procedure:
1. Cut insulator sleeve, p/n 56028371AA, to make two (2) insulator sleeves
about 25-30 mm (1 in.) in length. See diagram.
2. Install one sleeve around injector #3, with the slit on the upward facing
side of the injector. Install the other sleeve with the slit on the downward
facing side of the injector.
3. Confirm sleeve is flush to intake manifold surface around injector.
4. Check injector #3 wire and ensure that the injector is rotated to a 2
o'clock position (from driver's side of vehicle).
[Index]