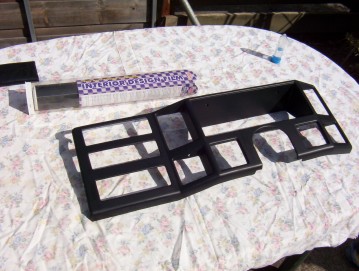
Carbon fibre dash overlay
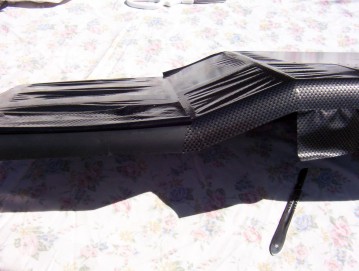
I saw this product at a auto parts store ( Repco #19960 ) and thought it might give my old interior a lift. It is a carbon fibre pattern that came in red, yellow and black and I picked the latter to best match my interior. This one was made by SAAS and it cost around $20 AUD or $14 USD. but PoPilot has since found some in the US on eBay made by Avery as well.
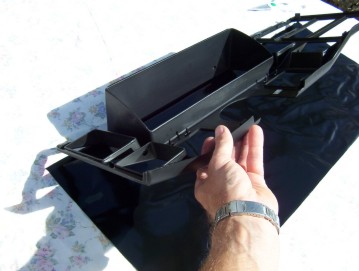
After removing the dash panel which you can see how here, I gave it a very good clean with pure alcohol to make sure it was clear of dust and grease etc. I then cut out a piece about 2" bigger all round and peeled back about two thirds of the backing paper. Lying it face down I then positioned the dash panel squarely over the top like shown and laid it down flat without pushing on it.
I peeled back some of it to give a bit of tension to it only worrying about the areas that would be stuck down. Remember it is actually good to have slack in the cut out areas. It also pays to do this on a warm to hot day as it makes it all more flexible and easier to pull back sections until you get it right. I then pulled the last part of the backing off to finish the rest. I wished I had someone on hand for this section as found it quite hard on my own to keep some tension and square all at the same time.
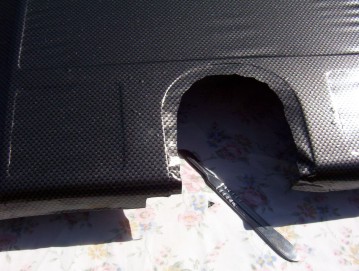
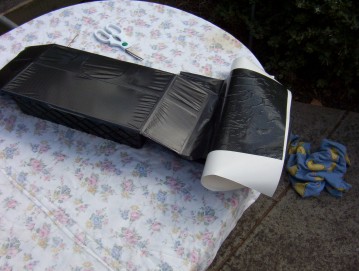
The next part is to fold in over the ends. You need to cut in the corners and cut small wedges out on outside corners which I then used on inside corners before pulling them over. I left a small amount of overlap for a better finish. For the part around the column I left about 10 mm all round as shown above.
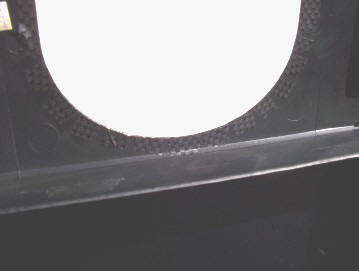
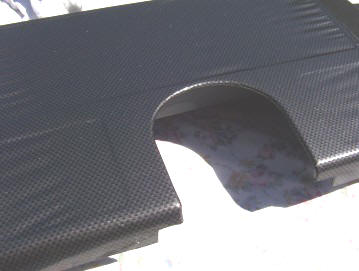
Then made cuts around the curve stopping the thickness of the plastic short of the face. Pulled them around to the back and stuck them down. It is flexible enough to mould around the edge so you don't see the cuts from the front.
[Index]