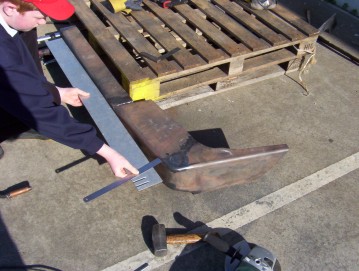
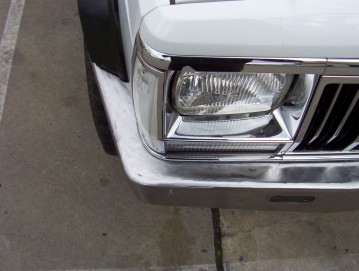
A helper here shows how angle being checked after the first tacks were added to fit the centre section back to the sides. The 40 mm of offset that lined up with the outer edge on the turn/parker light worked out to be the start of the curve plus 25 mm toward the centre. The wedges were then added and welded in fully and to insure good penetration a gap of 2 mm was left in the join before welding or a V ground in if no gap was there. The straight edge was also used to check that the top was perfectly level as well before welding off.
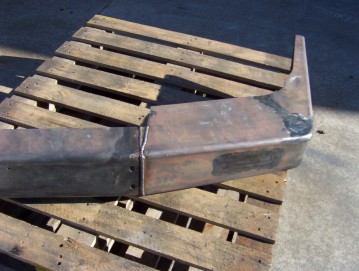
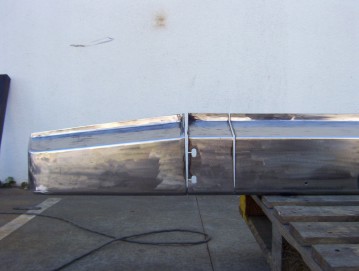
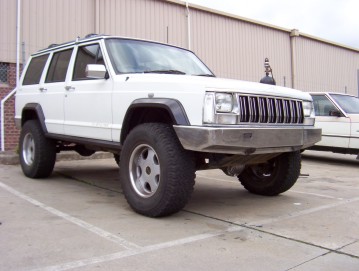
The whole job was then sanded smooth to remove grinding marks etc. The total width of the bar is still to be done as well as the length of the end pieces to what is shown here.
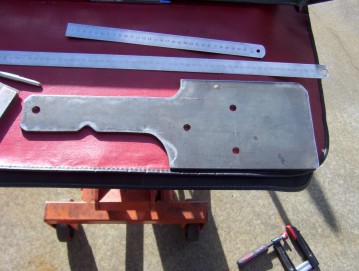
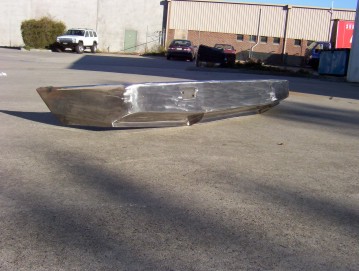
I made the frame brackets next from 150 x 8 mm plate ( 6 mm or 1/4" or more than enough it you are not fitting a hitch that will be used for winching off ). I used the same design as tow hook brackets. I thought about leaving the plate at full width all the way and using the steering box bolts as well to stiffen that area. But if you hit something the force would go straight into the steering box mounts a well and could rip them out spreading the damage further! Once I had the mounts in I could rest the bumper on them and determine how much had to be removed from the centre of the bar.
I cut along the plate dividing the end section from the middle part leaving it attached to the side section. I had to remove 125 mm to get it to the right width so that the ends would line up with the edge of the flare.
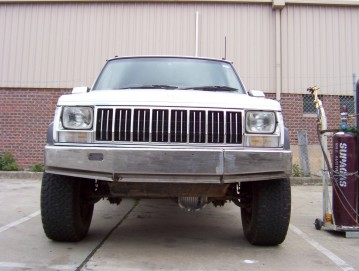
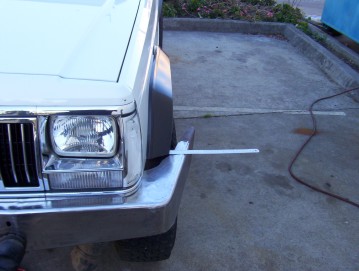
Here you can see the test fitting. I was not happy with the overall look yet as felt it needed more reduction in the ends to give it less of a slab of RHS ( rectangle hollow section ) look! So it was out with the 9" cut off saw again!!!
[Index]