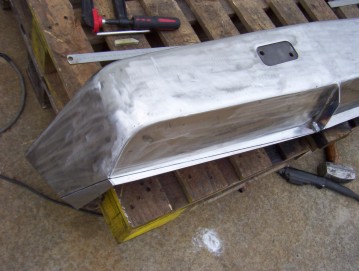
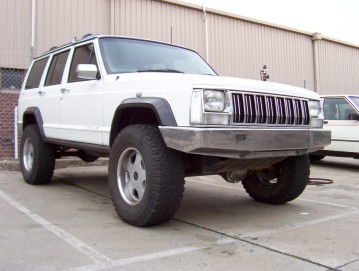
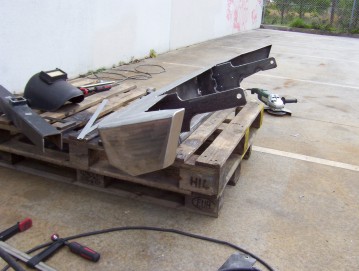
To make the ends look slimmer and give more clearance in front of the tyres you can see what I decided to remove along the front and down along an existing crease line on the sides. The photo on the above right shows the difference with only the one side done.

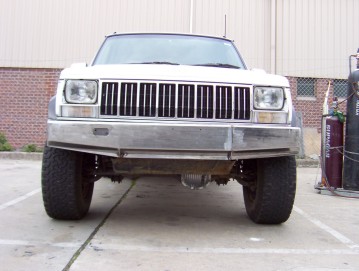
I am now happy with the overall look with both sides now done. You can also see how it follows the grille curve from above. The bumper at the edge of the start of the panel ( No.1 ), the edge of the turn signal ( No.2 ) and the centre of the grille ( No.3 ) are all equal in distance which in this case is 52 mm or 2".
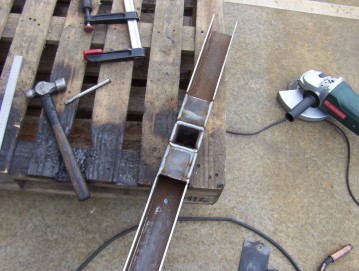
Once I had it perfectly positioned I tacked it to the mounts after loosing the bolts as much as I could without them moving. This is because if left tight it will be harder to remove the bar and re-fit later on. The next step is the fitting of the hitch. I had one off a Landcruiser laying around so cut that up. As you can see I have cut the back face completely off. This is because this is the side I will be welding against the inside front of the bumper. As that is also 3 mm thick, like the wall thickness of the hitch, it just replaces it, ( otherwise it would have been a total of 6 mm of thickness across the front face of the towbar/bumper ). This removes un-necessary weight without any loss of strength and keeps the crash pulse lower stopping the airbag from going off too early. Little weight has been added as the width of the hitch ( 75 mm ) is similar to what was cut off the centre section of the bar width as well as what was removed from the bottom. I also recessed the centre section a further 3 mm and welded in plates to replace what I cut from the bumper shown further below.
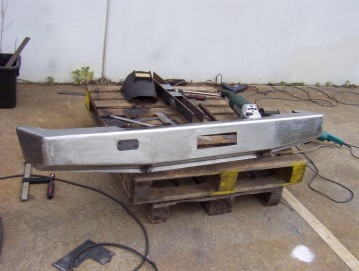
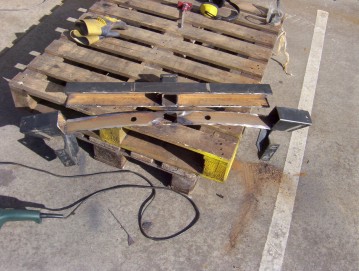
With the bumper and brackets tacked together it was removed so that I could fully weld them in. The ends were marked off to the the right length and cut I then welded in some end caps to finish them off. Next thing done was the cutting out of the front hole for the hitch access as well as the recess for the number plate bracket.

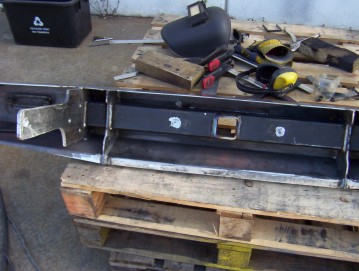
With the hitch sitting in from behind you can see how the plates welded each side of the hitch hole now fill in the large hole cut out above. This leaves a nice 3 mm recess for the number plate bracket shown later. This view above right shows the hitch in place and as you can see it is in the middle of the bumper so the pulling forces are directly in line with the 'frame' which produces the least amount of stress on it.
[Index]