ZIRGO FAN SWAP
by Chuck (JC95)
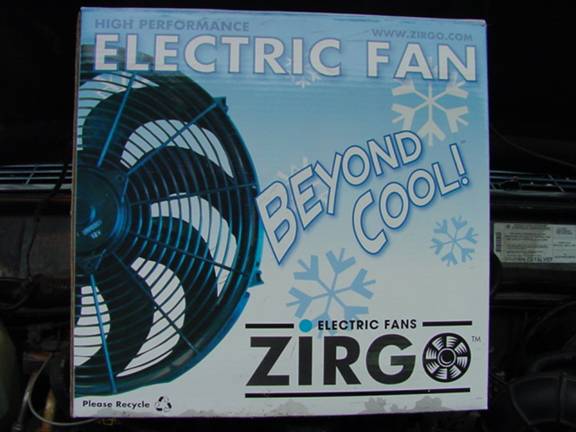
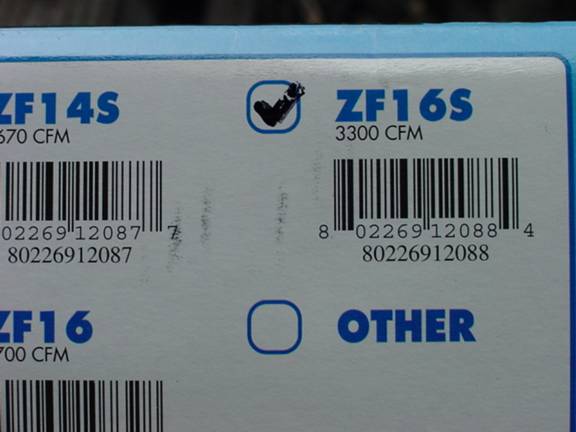
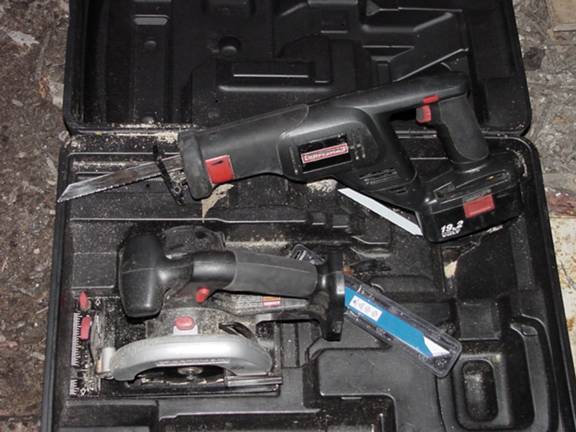
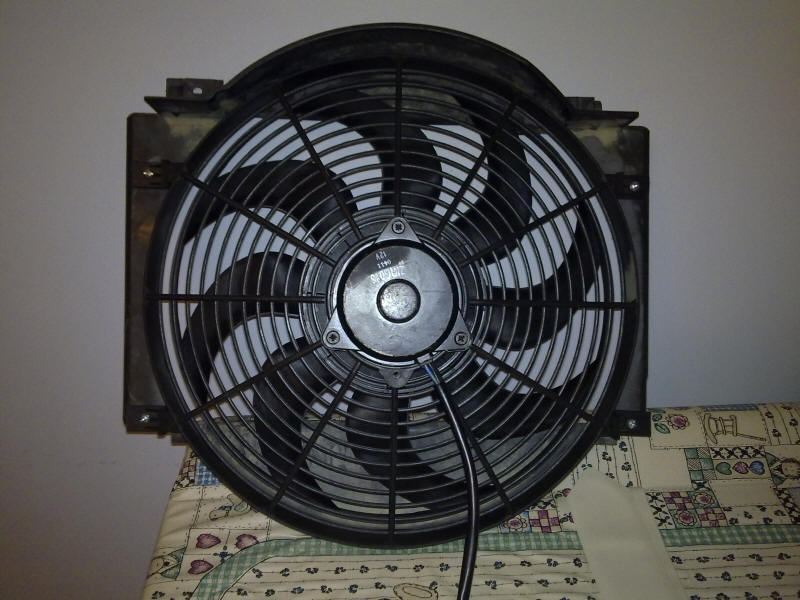
Ok, first let me start by saying I did this mod for the fuel mileage it touted I would save so I have no idea about HP gains but have heard a conservative 5hp from the sources on NAXJA and defer to their tests. I decided to go with the Zirgo 16” 3300cfm fan simply because of the CFM rating, I had no idea the amount of fabbing I would end up doing. Here are a few pics of the fan in the box and the model no.
AND
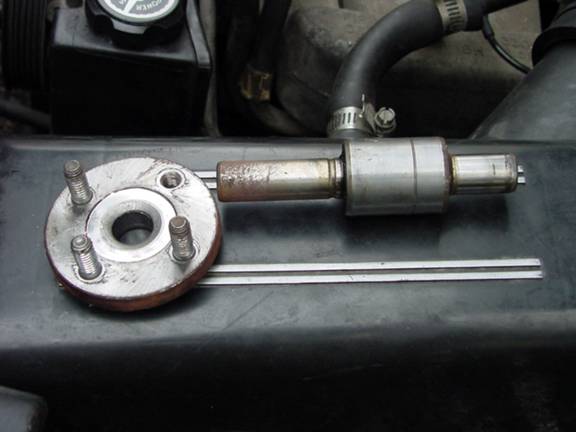
I am not normally a fabricator ( although I have done some in the past ) so it took me some time to decide how to mount the fan due to its large size but once I had the concept in my head I followed a clear path to completion, its not hard but does take some time and tools. I used a 5/16 wrench for the MAIN and AUX fan shrouds and removed them. I then took the old fan blade off with a 10mm wrench. I found my belt adjustment on the power steering bracket (I have a 95) and I removed the belt. Next I removed the A/C from its mount. The next step is to remove the A/C bracket and rent a puller and pull the fan mount off the shaft. Once you do that you drive the bearing and shaft out the back from the front.
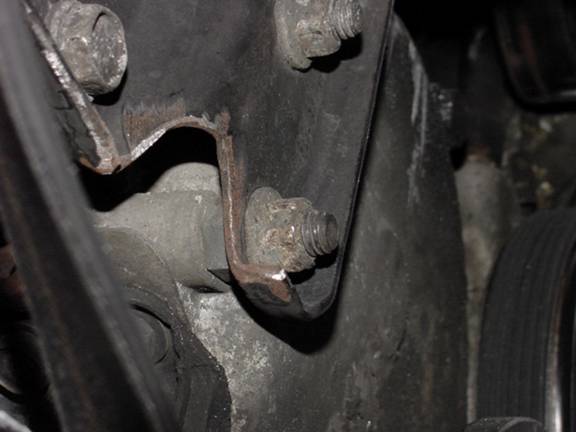
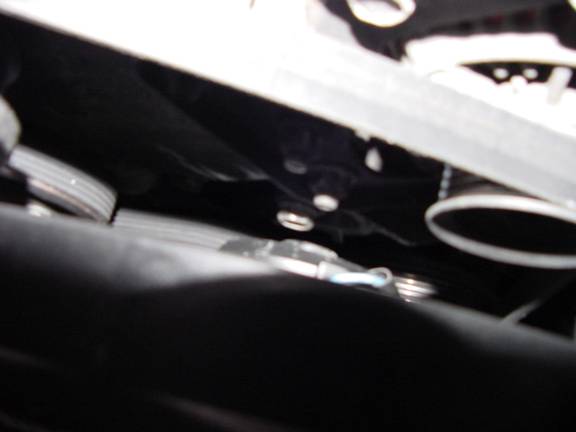
I neglected to cut mine while it was off so had to do it on the Jeep – it isn’t easy but can be done as long as you shield the alternator from shavings and blow the shavings out afterwards.
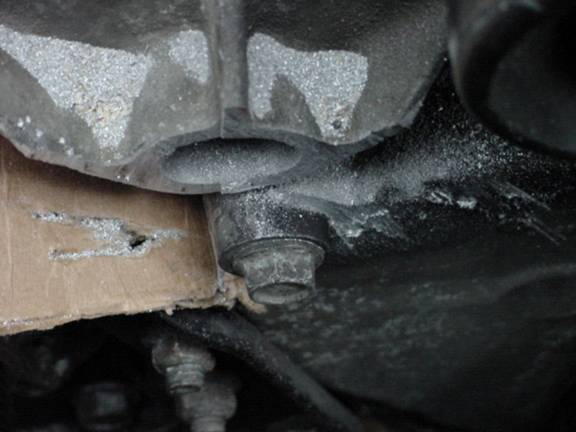
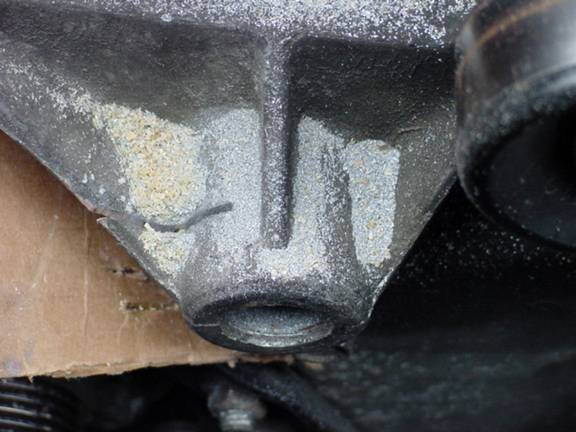
If you take this route try and not cut into the boss for the bolt directly below the bracket like I did!
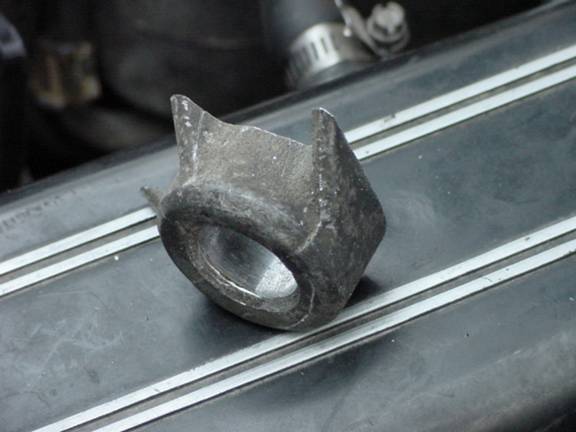
Here is a picture of the piece I cut off: its about 1” wide.

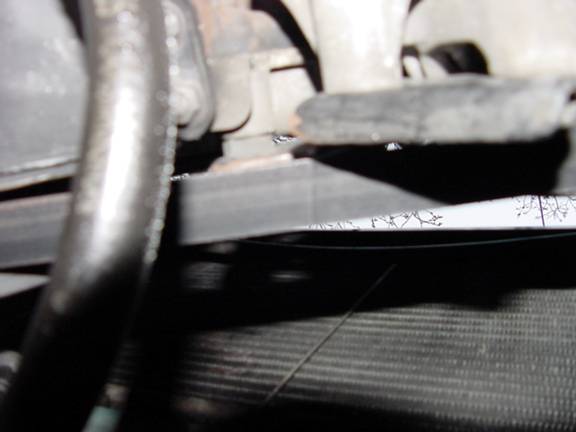
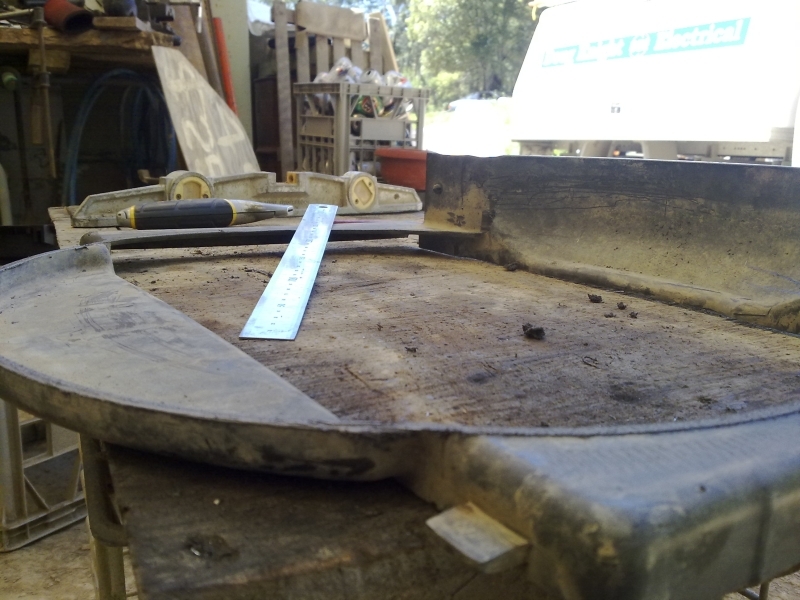
I had decided to mount the fan onto the shroud because it actually fits into the radiator support and would give a better “pull” on the air so I needed to “trim the shroud”. I trimmed off the top arched piece because it would not fit onto the new fan and mount into the compartment easily. I am going to have to cut that piece out and try and “fill-in” the open space at the top of the fan.
As you can see in order to mount right in the shroud it also overhangs a bit at the bottom and sides; I think calking would clear up this problem but since it is in the radiator air stream I decided to let it go and just worry about the top.
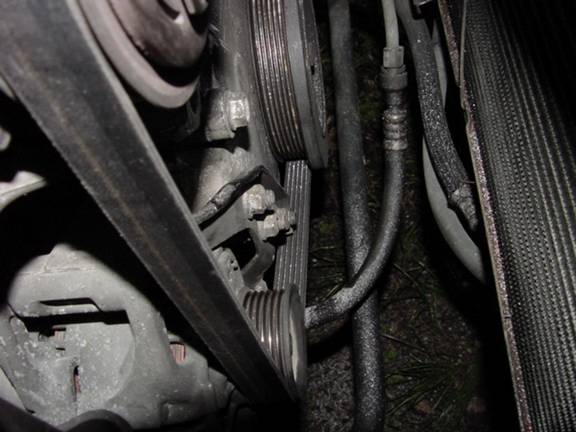
Your next step is going to be to notch the Alternator bracket to run the new belt since your fan idler won’t be there any longer. I found a Kelly Springfield belt P# 827k6 fit nicely but as long as it is between 2050 and 2100mm you should be fine.
and with the belt:
Once you are this far your almost home free. The fan and shroud are next. I have no pics of the mount but I used 4 small nuts and bolts to mount the fan to the shroud and cut them off in the back so it wouldn’t rub against the radiator.
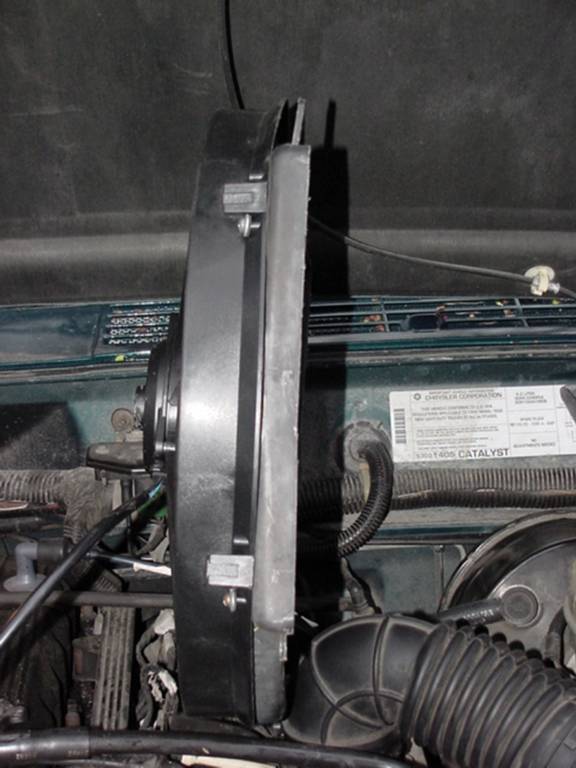
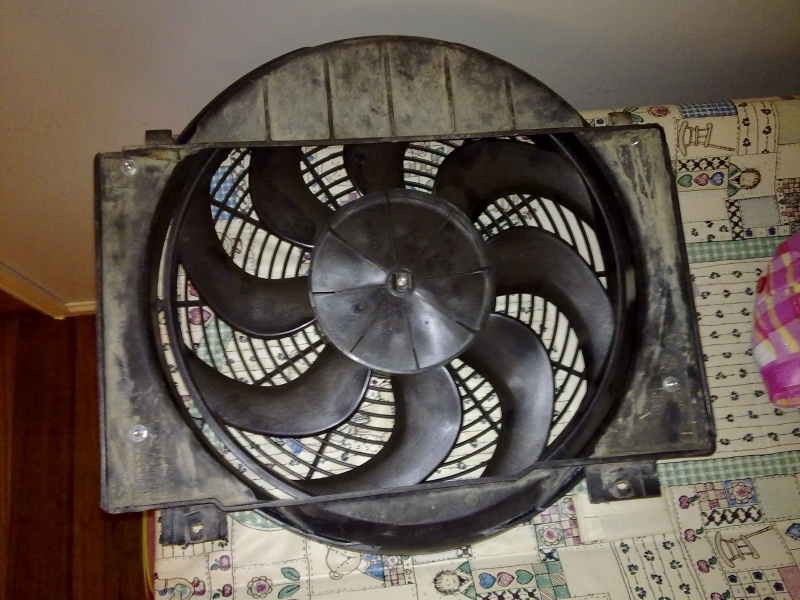
You only have a maximum of 4.5” from the edge of the radiator support to the edge of the fan motor when it is mounted onto the shroud as seen here:
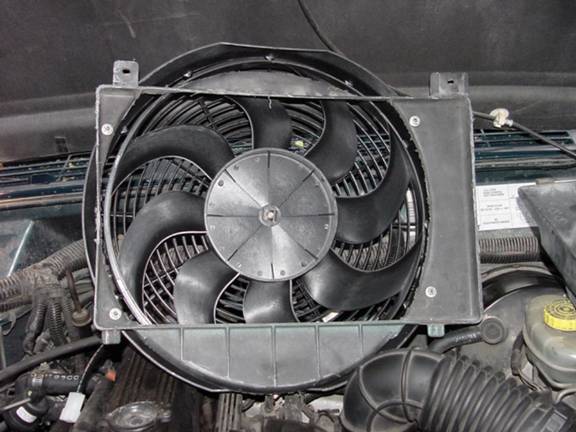
It is a tight squeeze but it will fit if you put it in from the airbox side and work it into place; remember to use zip ties and tie the wire up to the top where you can work with it!! Once you get the fan assembly into place it should look similar to this: As you can see there is not much room to work! Put your AUX fan in and wire it up your favorite way. There are so many ways to wire it I have left that for the real NAXJA gurus!
For any questions you can email me at: junkbox2a@yahoo.com
Hope this helps others out there, I think this would be an awesome mod/replacement for the older single fan Jeeps!
GOOD LUCK! Chuck (JC95)
Like to add some other pictures of a way that Yumpet from Ausjeepoffroad found to be a better way of mounting this fan to the shroud after the first way broke the shroud after a short time in use when he did it as above.
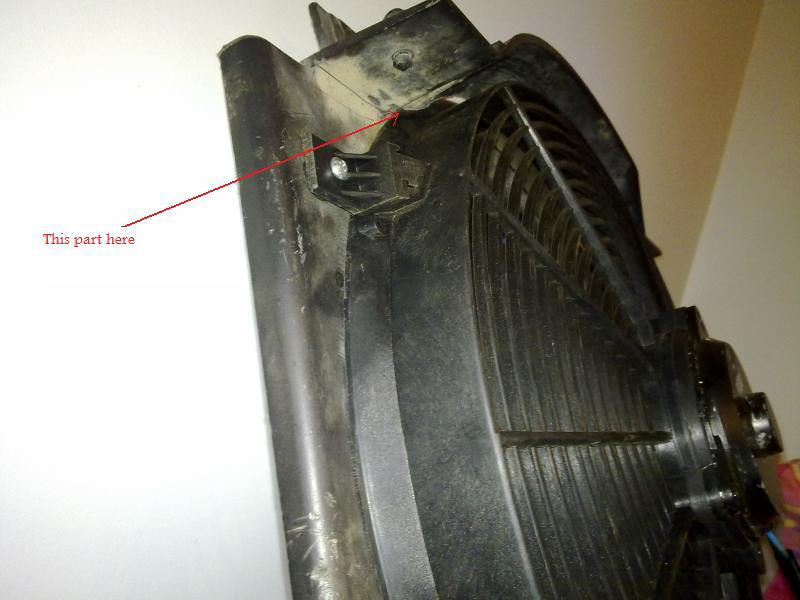
First he shaved off the lip around the sides and bottom to the level of the main base. Then cut some of the top shroud out to allow the original lip to slid into it
That allowed him to slide the fan up as far as needed so he could use the original mounting points and brackets that are supplied with the fan