Boring the throttle body
I have read much about installing bored throttle bodies on the XJ, TJ, ZJ, etc ( they are all the same throttle body on the 4.0 six ), like on Jason's site and the one Turbo city sells among others and they give better response even more so after you have fitted free flowing exhaust. Most take your throttle body on an exchange bases where they sell ( ~$225 usd. ) you one that has already been bored out and you get a refund ( ~$125 usd. ) after you return yours. I don't have this option in Australia and found that all they do is remove the inward taper from below the butterfly so that it is the same diameter all the way through. Others had done this themselves with the same results so I thought I would do the same. I believe that the lip that you remove is to make taking off smoother as it effectively blocks one side of the butterfly off on the first few degrees of opening so the air only goes past the top side. It also explains why I felt the most change at small throttle openings and it is great to have that stock response back again even though I have re-geared but you still loose a bit because of the increased weight of not only the tyres but vehicle as well.
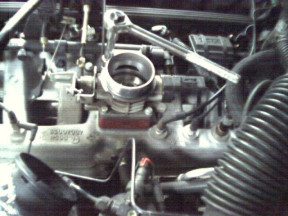
Note that this is only for '91 and on models that have the HO engine. There is an adaptor available to change the old Renix throttle body to a HO one from this site here as well as spacers for both types.
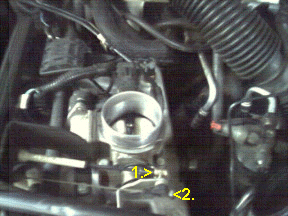
After removing the intake hose the throttle cable ( No.1 ) is levered off sideways and the cruise control and auto kick down cable ( No.2 ) is slid off in the opposite direction of the cable. Remove the four bolts and unplug the sensor cables from the body ( pre '96 two and post '96 three sensors ).
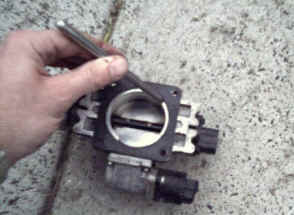
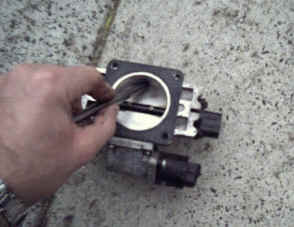
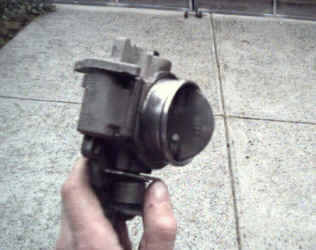
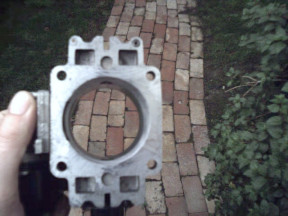
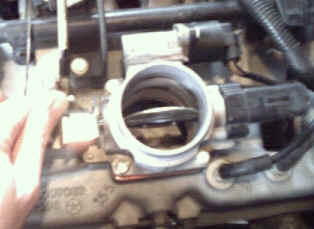
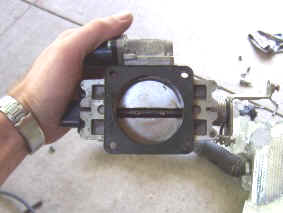
With the gasket still in place it is easy to see what will be removed as the exposed aluminium ring you see here is what is to be ground away. Scribe around the inside of the gasket as shown and also lightly scribe where the butterfly sits as well as you must not go higher than this or you will get all sorts of idle problems. What you are removing is only a ridge that you will easily see at the bottom of the throttle body and does not extend beyond the bottom of the shaft hole.
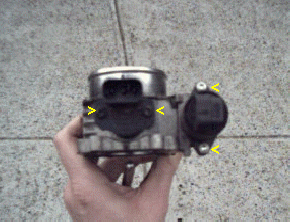
Remove the four torx head screws to remove the sensor screws arrowed and also the two butterfly screws that are in the shaft. Now these screws can be quite hard to remove and have learnt that taking them out while still attached to the intake with a hot engine makes it far easier. Then turn the throttle to fully open so the butterfly can be slid out from the shaft slot. Do not play with the sensors at all as it can take a while for the computer to set it all back up again later and you will have a high idle speed until then.
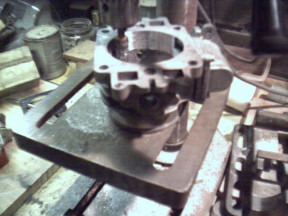
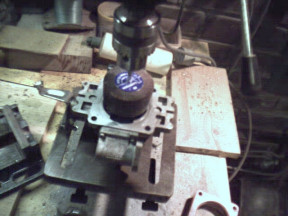
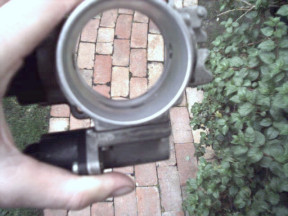
It is easier if you have use of a drill press but others have done it just with a hand drill. Just make sure that the grinding is done close to square ( a slight taper from the 60 mm centre section out to the intake hole size is even better ). I first used what I call a rotary file or burr bit with the height set no lower than the scribed line around the butterfly done earlier. I just followed the scribed line around the base and it came away easily and then followed with a 60 mm flap wheel in 80 grit. I have seen another use a 50 mm plastic drum that sandpaper is slid onto and starting with a 60 grit and then finishing off with a 120 grit paper. Now some have gotten a whistle after fitting a bored throttle body regardless if they have done it themselves or bought it. If you get this you can round the edges of the hole in the side of the bore that is for the sensor and it goes away I have been told and now some companies are doing this as well. You just make it out in the left photo above.
The stock hole at the bottom is around 55 mm ( 2.17" ) and the bored diameter at the bottom is now 62 mm ( 2.44" ) as I tapered the bore slightly like the top of the throttle body so it will flow better from the 60 mm centre area around the butterfly out to the same size as the hole in the gasket and intake manifold. I ran water through the holes to get rid of any of the aluminium filings before washing it out in petrol. Compressed air and carburettor cleaner would be better if you have it but make sure what ever you use is O2 sensor safe. Pay attention to cleaning the small bearings for the throttle shaft and re-grease them with high temperature bearing grease when dry.
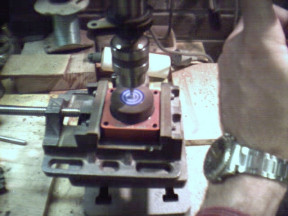
I also had a Poweraid throttle body spacer so that needed to be taken out as well otherwise doing the above would have been a complete waste of time. The gasket was placed on the spacer and both sides were scribed. I found this aluminium to be much harder than the throttle body so first just roughed it out with a large half moon metal file. Once I was down to the line I used the rotary file to make sure the hole was nice and square all the way around before finishing off with the flap wheel.
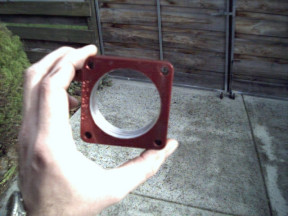

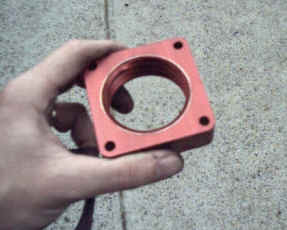
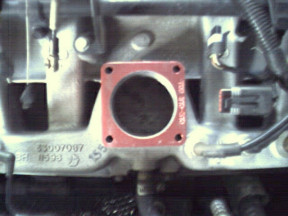
The above photo shows the finished spacer with the helix bore removed ( it does nothing as other brands without it work just as well if not better! ). There is no need to do anything to the inlet manifold as it already has the hole the same size as the gasket as you can see in the photo.
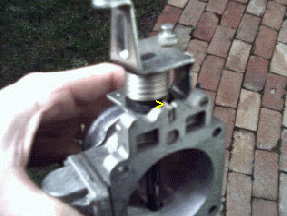
The spacer now aligned perfectly with the intake hole size so time to fit the throttle body. When re-assembling the throttle body make sure you fit the end of the throttle shaft spring into the slot in the base as arrowed. After this add the sensors back on as it is easier than doing it first. The butterfly can now be put back with the throttle fully open and tighten down all screws nice and tight.
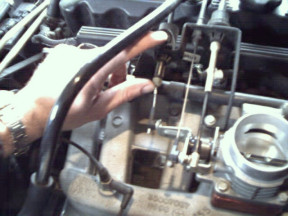
Replace the bolts and open the throttle fully to make sure it all aligns perfectly before tightening down. Do not over do the bolts as it is only aluminium that you are screwing into. Now it is the one size all the way through and all there is to do is attach the sensor wires back on. It would be also a good time to adjust the auto cable by pushing down on the button under my index finger and pushing in the cable housing in front of my thumb. Now open the throttle fully and the housing will come back out to the right position.
Also it is worth erasing the old ECU or PCM memory.
When you start the engine it will be running off a set of pre-programmed tables that come with the PCM from the factory. When you get the engine up to operating temperature, the PCM will start to collect data for the “Adaptive Memory”. The PCM will collect data for Adaptive Memory for the first 50 Warm-up Cycles.
I did a 500 km run to a race car meeting and it returned the exact same economy as the last trip and I did notice more top end power when overtaking on hills. I still have stock exhaust at the time and would expect an even bigger change by the modification if I had already changed it for a free flowing one as there is no point in getting more air in if you cant get it out any quicker than stock and vice versa as it all has to be in balance. Since doing this modification I have also installed a much freer flowing exhaust and the difference is fantastic from idle all the way to full throttle without the slightest flat spot along the way. You can read all about the 'exhaust for torque' here.
[Index]