Strip and Clean of the Starter Motor
If you play in mud holes a bit, you will end up with the starter motor playing up. But unless it is a very high mileage one, most just need to be pulled apart and given a clean and they are as good as new again. Not much too them and way more cost affective than getting a replacement one. This is only and strip and clean for if your starter has been effected by mud and water and not worn out needing replacement parts. But I would look at pulling it apart and have a look anyway because in most cases this is all that is needed for those with less than 200,000 kms on the clock.
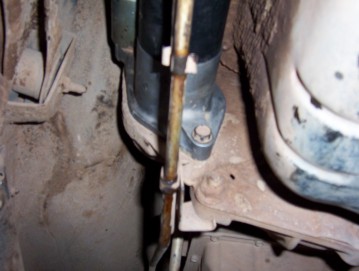
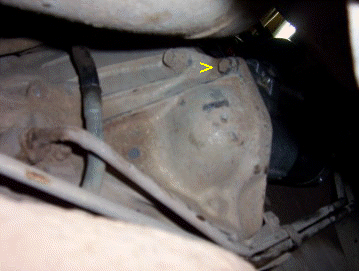
The first thing to do is disconnect the battery as the cables on the starter are live and you don't want them arcing out on the body work. Then disconnect the cables from the starter itself. Once that is done you are free to remove the starters two bolts. There is one in the front of the bellhousing as shown above left, the other larger bolt is at the back of the bellhousing, ( arrowed ).
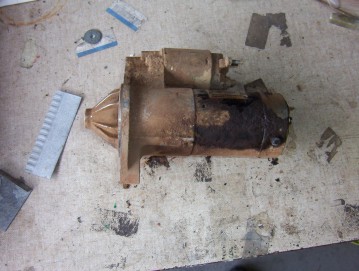
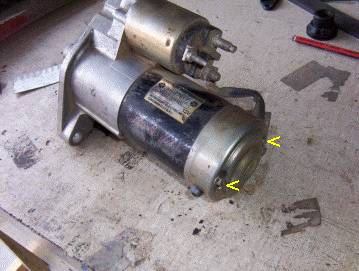
Once you have it out you should give it a good clean before pulling it apart so the nothing inside gets contaminated. As you can see from left to right, it already looks a whole lot better. This was so covered in mud that the first two shots, showing how to take it off, were taken after I had done the strip and clean so you could see the bolts in the photos! The two bolts arrowed are the only things holding it together and are next to be removed.
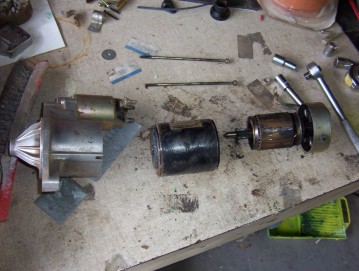
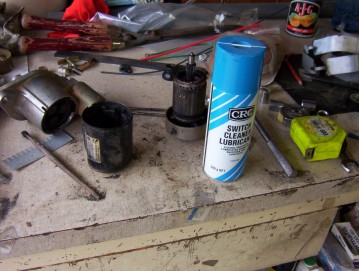
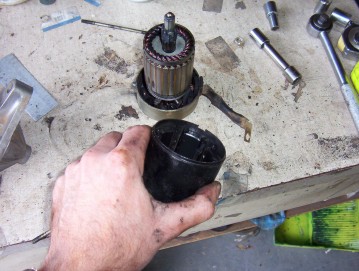
As you can see in the background, the two bolts are quite long that keep it all together. Separate into the three sections shown so that the clean up can begin. I used CRC Switch Cleaner Lubricant which works very well.

You can see in the first shot how the muddy water has got in and rusted the parts. By spraying it with the cleaner and working a tooth brush over it and even a scotch bright pad, it cleaned up nicely. Inspect the brushes as well and they can wear down quicker once mud has contaminated the starter and very easy to swap over if worn down.
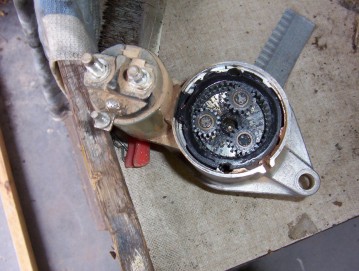
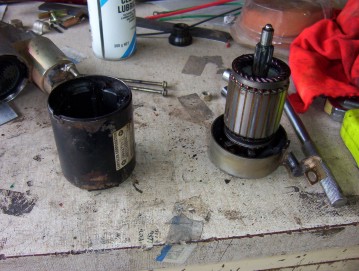
The gear box was also cleaned with it and then re-greased afterward using lithium based grease. All parts were cleaned thoroughly and then put back together and re-greased where necessary. Notice also the notch in the right picture. Make sure that lines up with the cable exit when re-assembling. That is all that is too it in many cases.
[Index]