
Fitting in a 32" Spare Wheel
Carrying a full size spare became necessary once I added the Detroit locker in the rear and also the larger 12" brakes I have front and rear as my 15" stock spare rim would not clear them. My options were building a swing-a-way spare but ruled that out as hinders rear view vision which is very import to me with all the trailer backing I do. Also hinders rear entry which I use a lot when camping as have a ARB fridge freezer mounted in the back then and would not swing out past my A frame trailer mounted box. Effects the ride and handling as well ( the more weight and the further it is behind the rear axle, the more it acts like a pendulum causing wallowing and rear sway ). Next option was fitting it to the roof but clearance under trees and carparks are a problem and it increases the centre of gravity making tipping over more likely as well and causing more body roll. Also mounted on the roof increases gas mileage and wind noise. Wanting to keep the spare out of the elements the option left was fitting it inside. Laying it on the floor is a good idea but would be in the way of my ARB fridge even if a false floor was over it. So I set about making it fit in the stock location.
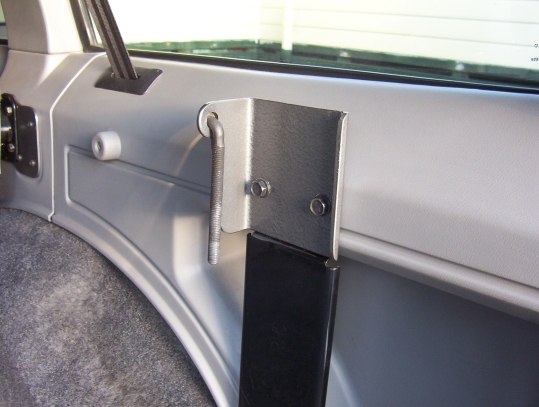
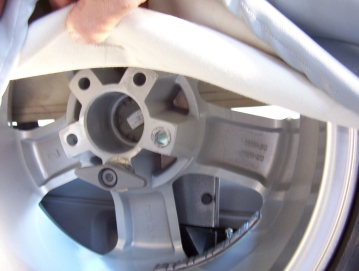
The first I did was using a rubber mallet, I lengthened the dent in the wheel arch that the tyre rest in a bit. I also made a new bracket for the holding rod to get it up to the correct height to fit into the lower wheel stud hole. It also needed to move further towards the front to be in the centre. I made it from some 4" SHS and raised the hole for the rod 60 mm and brought it out 45 mm so it was still long enough to go through my wheel. Each wheel will be different. The next problem to over come was that the distance between the tailgate and the top of the seat is too short so made some relocation plates for the upper seat brackets.
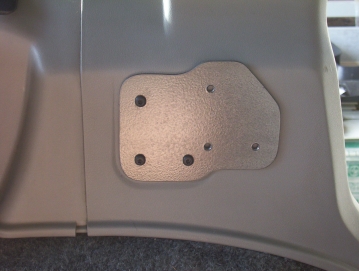
The plates were cut from 1/8" steel which is far thicker than what the inner body pillar is made from. There is not enough clearance for thicker plate but it is well suited to the job needed for it. The three holes were shifted 55 mm or 2-1/8" forward and 12.7 or 1/2" up at the same time. The three holes for the bracket were tapped to suit 1/4" UNF high tensile bolts. These are a size up from the originals and were cut flush with the back of the plate.
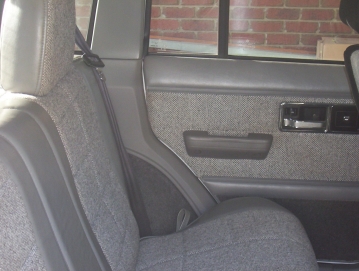
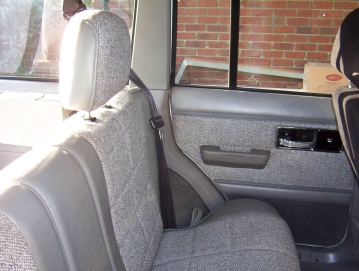
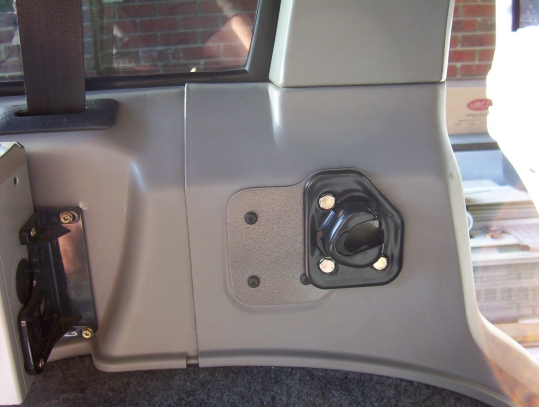
You can see in the above two pictures how the seat is now tilted further forward. It lines up now and at the same angle as the chamfer in the plastic door pillar trim. It is tilted a further 10 degrees. I also swapped in my old front head rests as the rear ones tilt further forward. The more upright position might not be the best for adults on long trips but have seen worse in the back of dual cabs. Remember that tilting it further forward does not reduce leg room at all.
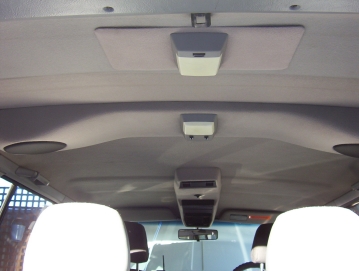
Another thing that was needed to clear the taller tyre was the sound bar. What I did with this is move it forward to just in front of the upper seat belt mounts. Worked out well as there is a roof support there that I could screw the light fitting into which also holds up the centre of the sound bar. I used my old centre light from before I fitted my roof console so now have map lights as well for the rear passengers. The wiring was just extended but also split so the old light still had power. This was mounted on top of a thin metal plate to cover the the large hole in the headlining left and covered in material taken from a sun visor out of another Cherokee at the wreckers. I was just able to use the standard retaining rod with the bracket design I came up with to hold the wheel in place.
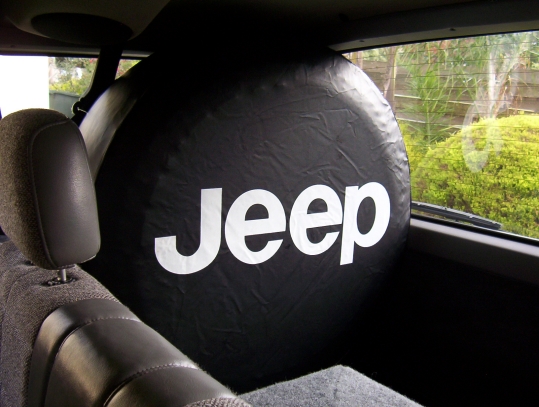
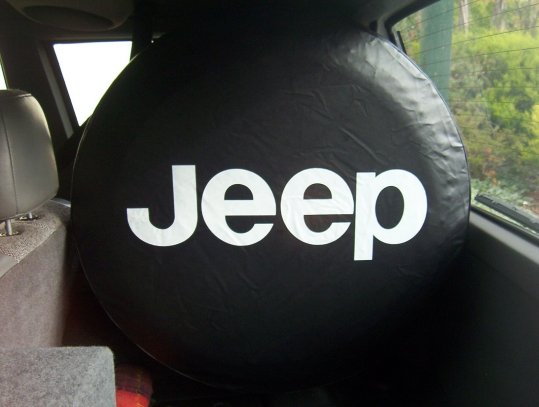
So you can mount a true 32" tyre in the back. I have also gained useful extra room in the back with the seat back more vertical which will more than offset the space lost with the extra width of the tyre. I quickly modified a new cover for the tyre as you cannot have one that covers the mount it sits on. You need to be able to peel away enough of the cover once in position to get to the hold own nut. I also use the space within the wheel by filling a small back pack with a snatch strap, a D shackle and receiver shackle mount held in place by a shock cord.
[Index]