
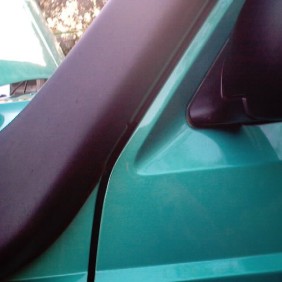
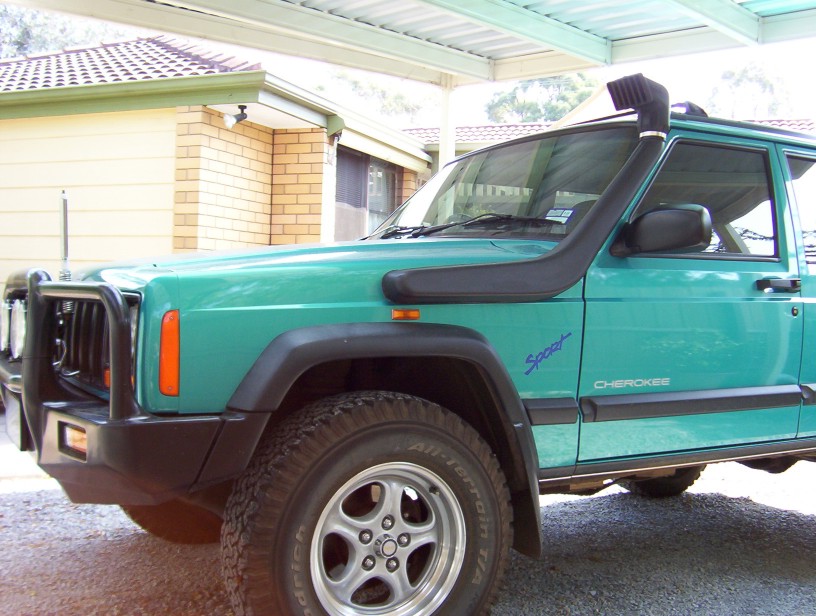
The A pillar bracket which needs to have a 90* bend put in it 1" from the pillar mounting end. Just place in a vice and hammer over. Use scrap plastic or soft jaws to save marking it. Then place the snorkel on the guard with A pillar bracket loosely attached. Fit the guard bolts with panel washers to hold the snorkel body in place after lining up the with the A pillar. Then using the A pillar bracket as a template, mark the drill points against A pillar for the self tap screw plugs. The photo above gives a good shot of how it sits. The pillar support bracket is made from stainless steel and tucks under the weather strip and the stainless self tapping screws are mostly hidden underneath it. If you don't want to do this, you can just cut the bracket 1" shorter and drill new holes to allow it to be fastened directly into the side of the A pillar.
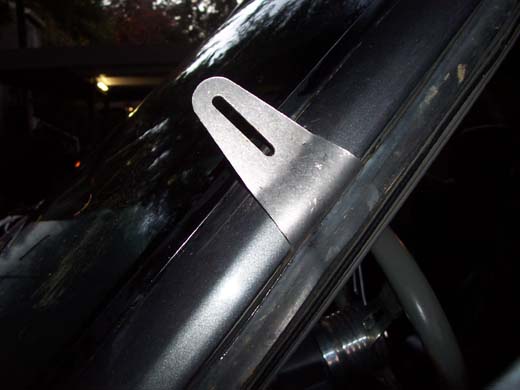
These images here are from Tim Boone's XJ and was the first in the States to have the newly changed snorkel fitted ( or any other Airflow XJ snorkel for that matter ) when I brought one over for him to try. Went on really well. He later made a change that I show here with the pictures he gave me. He wanted the snorkel to sit even closer to the A pillar so a bend in the bracket was done as shown above to achieve that.
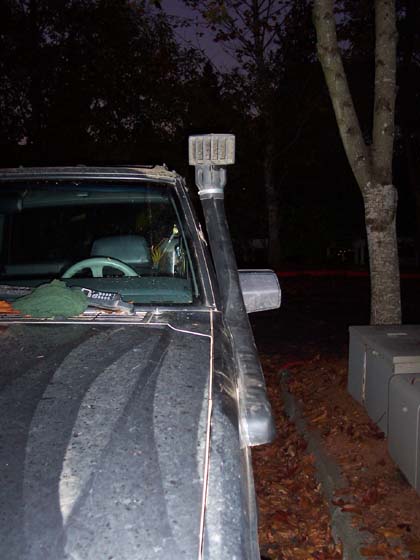
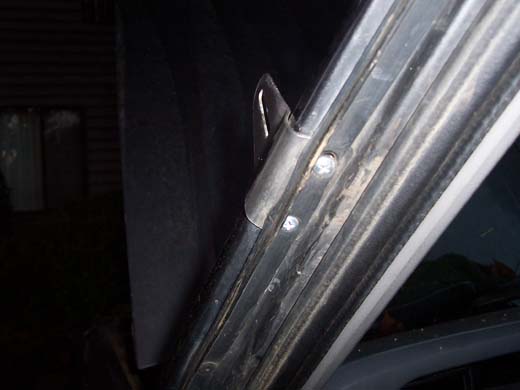
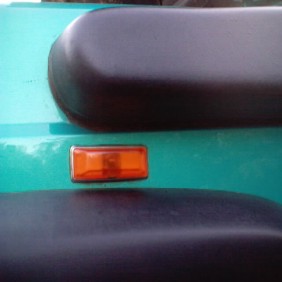
Above shows the before and after the A pillar bracket modification. The only thing is that the head now sits on an angle but may be levelled if some self tapers are fitted to keep it straight before the hose clamp is fastened.
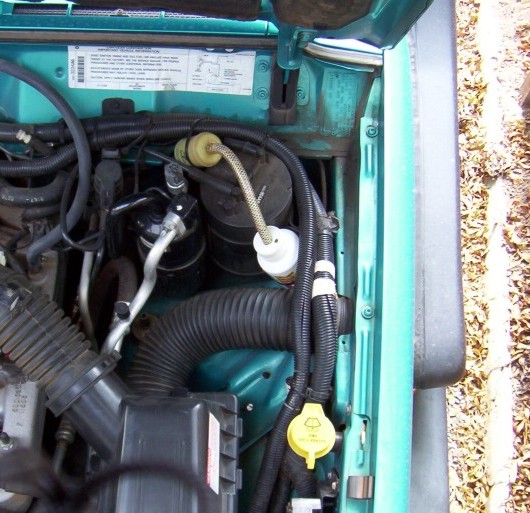
So all that is left to do is slide on flexible hose onto snorkel outlet with some polyurethane to ensure a good seal and then fasten with a clamp. Bend hose through 90° attach the flexible hose to the adaptor inlet after cutting to length with some polyurethane to seal and fasten. Attach the head and refit the washer bottle if you removed it and replace the inner guard.

Just a note here. I am not a fan of sealing up the very small drain hoses at the bottom of the airbox as any water that may have got past the snorkel head drains need to escape some where. If the water is under the hood this high than it would have stalled due to the electrics being underwater as well. It also takes a long time for the water to come through those holes and fill the airbox anyway. Just try floating the airbox in water to see what I mean! Now what I would also do to improve airflow through the air filter even more is bend some sheet steal in a arc from the back floor of the box where the snorkel hose enters, to the top of the front of the box to smooth the transition into the top of the airbox.
Now to finish off the snorkel install, polyurethane can be applied to seal between guard and snorkel. This is done by taping around each and applying a bead between tape lines and then removing tape after smoothing with your finger dipped in turpentine or what ever is recommended by the sealant manufacturer. Leave the very bottom join free of sealant to allow any moisture to drain away from underneath. You can then brighten up the snorkel using Armorall or similar.
[Index]