
Seat Re-padding
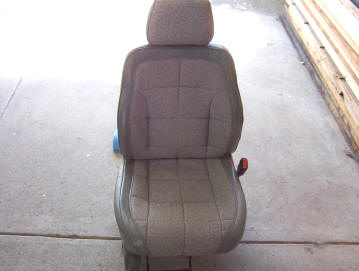
I found like most XJ's that my seat was sagging on the door side from getting in a out. I could then feel the seat frame itself. As I have done once before with my first XJ, I choose to re-pad them where they had dropped until I could afford something better. Now these seats may look a little different to those in the rest of the world as Australia gets ZJ front seat fitted standard since 1995. But having seen a few other shots of the standard XJ seats apart, they look to be held together the same as these.
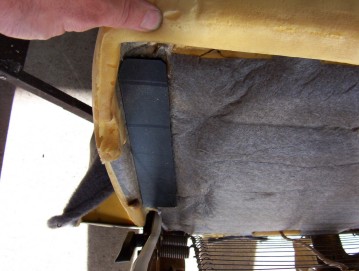
If you look closely at the shot above, you will see the left side of the seat as you are looking at it is a good inch wider past where it should stop at the piping compared to the other side. This is where the foam went after flatting out. Underneath the seat you can see the long clear plastic U shaped piece clipping over a wire support at the edge of the upholstery. Just pull this off the wire with your fingers to remove it from both sides and the front.
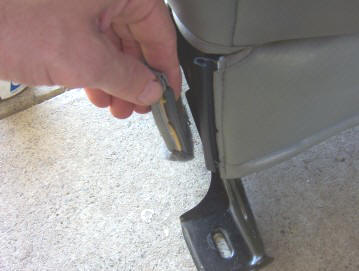
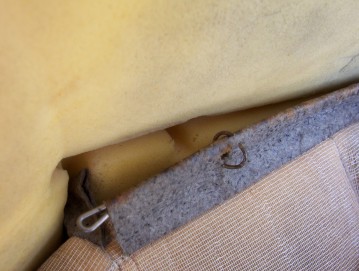
The side piece that cover the frame sides from being seen, just un-clips by pulling back on it away from the seat back. You will now be able to peel back the upholstery about 10". Then to release it further you have to use two pairs of pliers to remove these metal clips by bending them apart. You can see the notches in the groves shown in photos below how many there are. These can either be re-used or just use some zip ties in there place which is much easier.


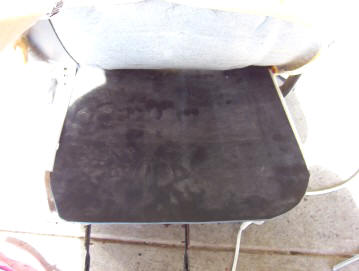
Once you have them all out you can lay back the upholstery as shown as there is no need to remove it completely unless you want to throw it into the washing machine as some people do. To cut away the bulging foam from the door side I found an electric carving knife works really well. Otherwise use a bread knife to do the job.
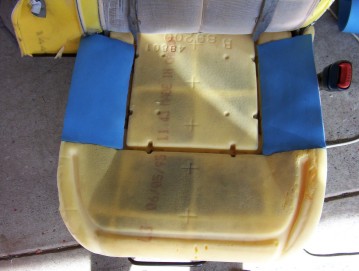
The best foam to use when re-padding is sleeping mat foam from a hiking store. Most of it is 8 mm thick and has a good density. I cut away some from the other no sagged side as well before adding the same foam to keep it level and the density the same on both sides. You can add it in as many places as needed and I even extended the front of the seat a bit on my other XJ to give better un-thigh support. Just don't get too carried away as you still have to be able to stretch the cover back over. I just used a contact glue to hold it in place around the sides but found the centre section ( not shown ) would be held in place by the metal wires in the fabric once back in place. The right photo above shows also how I glued in a bit of 3 mm plastic to spread the load over the frame edge below it. This was a big reason for my discomfort as the foam sagged.
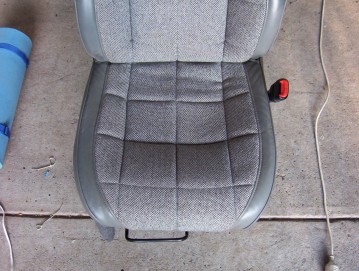
I went even further and placed a large piece of 5 mm rubber over the wire supports to firm the seat up some. The right shot shows now how it does not bulge past the piping any more. Then it is just a matter of putting it all back together and bolting them back in. Onto the other side to repeat the process.
It has served me well over the years I have had it like this extending my comfort zone on our long Outback trips. One day I still hope to install some Recaro's as these will never be a substitute for such a pair.
[Index]