Changing door handles
In my quest of being different to other XJ's around me, I have followed the Classic chrome grill that mine came with in the adding of chrome door handles that only came on XJ Laredo's. These never came to Australia so it was thanks to a good mate Bill from Kansas City to again help me out and get a set for me from a wreaking yard and post them over ( very appreciated ). These handles are of much better quality as are a cast steel compared to the light weight and hard to clean moulded plastic of the standard ones. Now if like me you use only the new handles along with the hardware from your old ones you can grab the best ones from any door as they are all the same once you remove the plate with the lever from them.
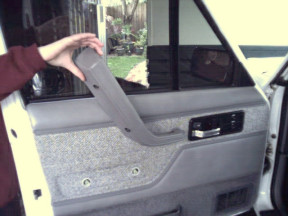
First remove the three screws from the door handle surround and the two from the arm rest. You then must lift up the arm rest as shown until the top fixing releases. Use a large screwdriver to pry out the 'Christmas trees' as they call them in the trade by levering from behind these fixings between the plastic collar and the door to stop them from being pulled through the door trim.
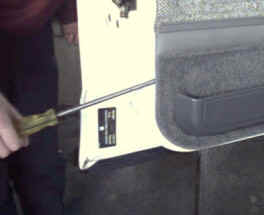
Once all the fixings have been released the door trim needs to be lifted up to un-hook it from the slot at the bottom of the window. I then slide the door trim over the handle as shown to save removing the door links and wiring. The other photo shows a close up of the 'Christmas trees' that hold the trim in place and also the collar that you lever against when prying them out. This is also a good time to turn the speaker grill upside down if you want to direct more treble from the speakers upwards to your ears!
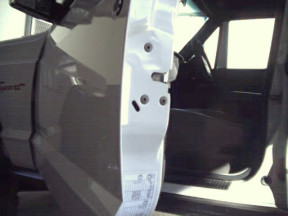
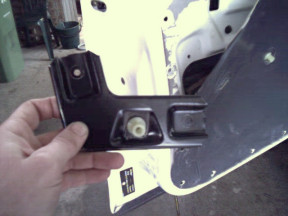
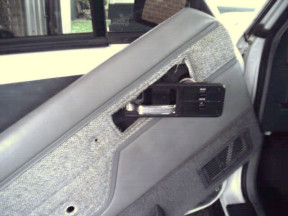
Both the front and back doors need the three torx screws removed that hold the lock in place so you can remove the handles. On the front it is so you can lift the lock so you can release the linkage and in the back door it is so you can get to the nut that holds the handle on after the access plug is taken out. Pull back carefully the door lining no further than needed to get access. You will also get some more room for your hand if the arm rest support is taken off as shown. Now remove the access plug that is above the door lock screws and then with a 10 mm 1/4" drive and extension your can remove the two nuts. The front door linkage can then be removed after the lock is lifted and the handle pulled out enough to release the linkage clip and then the linkage itself is pushed out. In the back door you can do it from inside the door before un-doing the nuts.
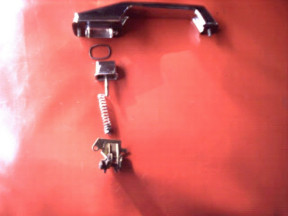
The picture above shows the how it all pulls apart with first the O ring over the button, button, spring with bush and lastly the plate with another spring and the lever and linkage attachment. There is just one screw that holds all this in place but make sure you re-use the screw from the chrome handle as it is tapped and not a self tapper like the plastic handles. It is just the linkage plate that needs to be swapped over if you mix matched the handles to get the best ones. I even turn over the buttons on some to hide any scratches. Make sure that you use the gaskets from the chrome handles and put a bit of grease on the button shaft when re-assembling. Then lift up the lock from the inside and re-attach the linkage before bolting it back together on the front doors and after on the back doors.


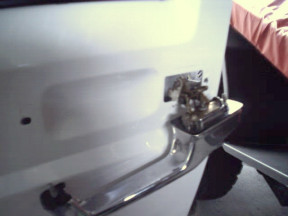
I think it looks really good on a white or light colored XJ and gives it more 'class'. I also swapped in the Laredo chrome mirrors to tie it all together as think they look incomplete when both are not fitted even though I have seen some from the factory with one or the other fitted! The mirror swap is also written up here.
[Index]