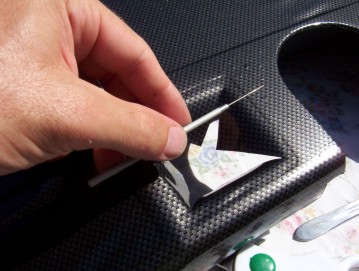
You will get some bubbles and I used this probe from my wife's dissecting kit to slide under the film to the bubble and then work out the air with my finger as I pulled it back out. They are the easiest to get to when you make your cuts to do the cut out areas. Smaller ones can also just be picked with a pin in the middle and you work around the edge of it with your fingernail towards to hole until it is all gone.
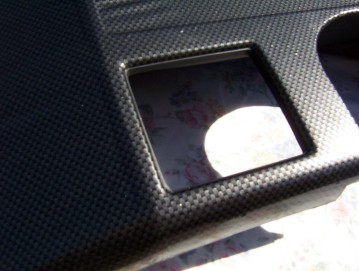
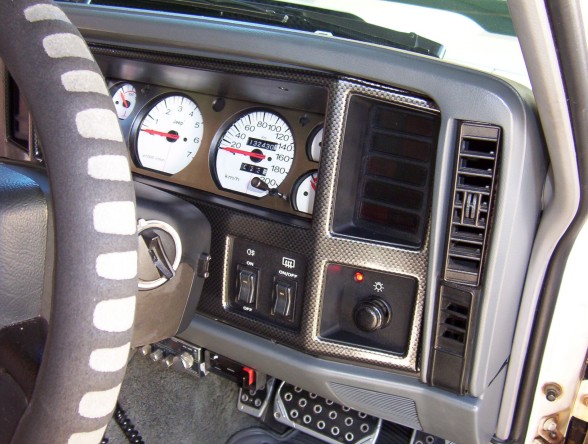
The cut out areas were done by cutting from the centre right into the corners continuing to the face of the panel. Pulled down on each flap working my fingernail into the ridge running around the openings. I then used a scalpel right in the corner and pulled off the left over pieces.

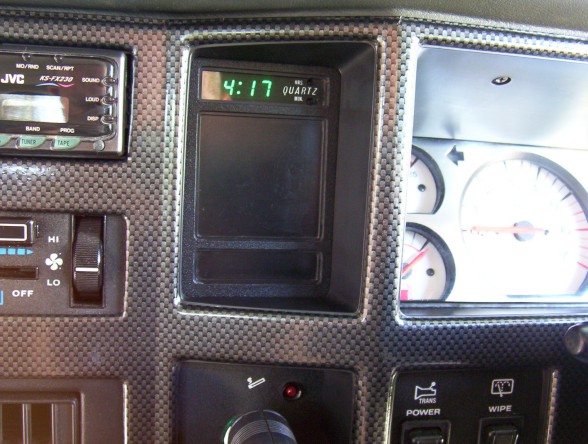
The three openings around the heater controls etc were done differently. I still cut into each corner but then pulled it all the way around and stuck it onto the back of the panel before cutting off the excess leaving about 10 mm stuck down.
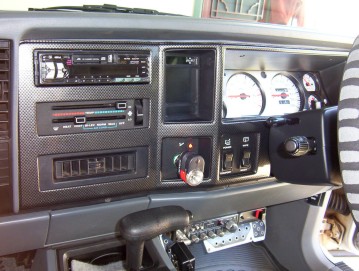
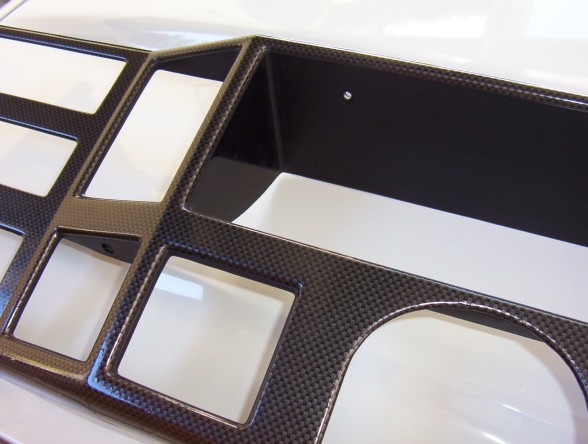
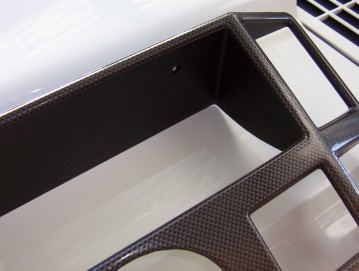
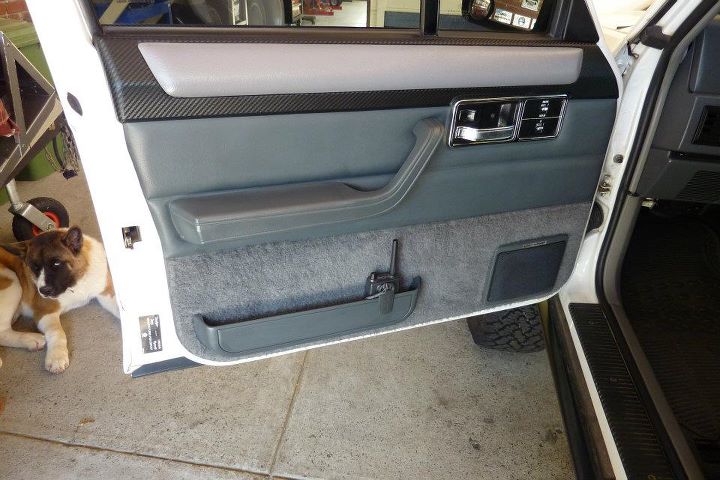
So there you go. Was worried it might look too ricer and was prepare to pull it off if it looked tacky but don't think it does at all and just gives that individual look to the interior.
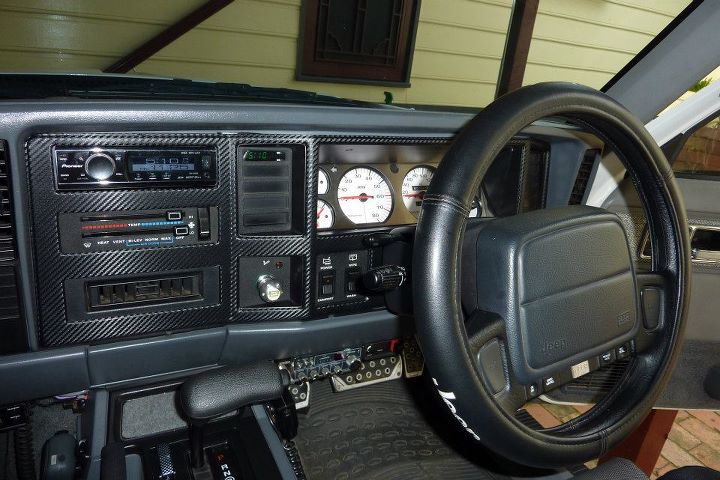
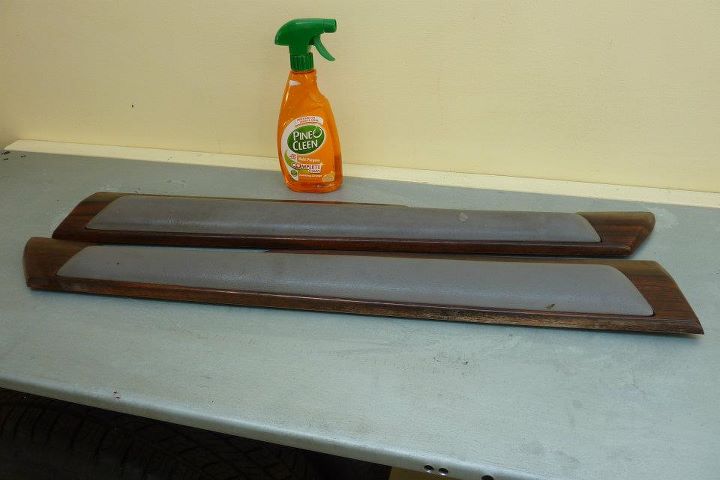
Just recently changed to another carbon fibre film that has the pattern on an angle instead. I also picked up some old Limited door trims that I covered the wood grain in the matching pattern.
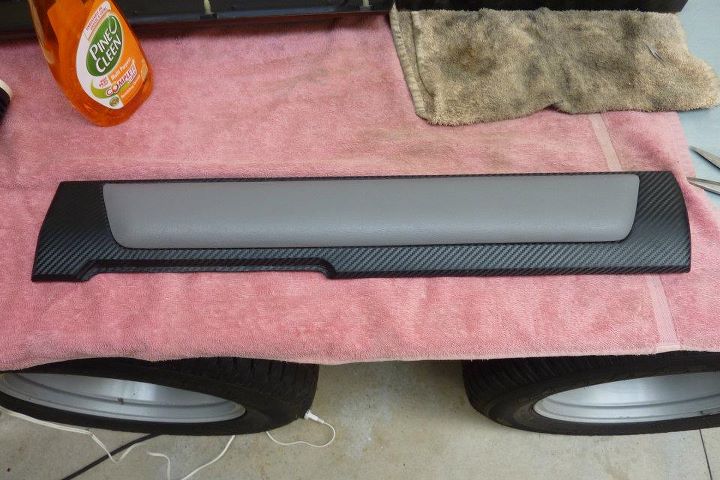
Came up pretty well considering how bad they were to start with and ties more of the cabin together. I used a hair dryer this time to heat the film and it worked much better and was easier to sick down without bubbles with my wife giving a helping hand as well.
[Index]