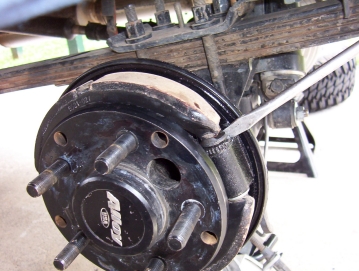

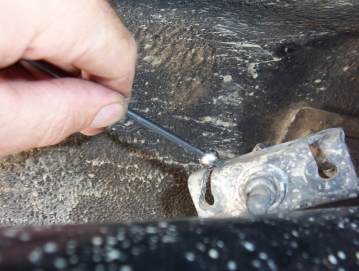
Next is to set the handbrake at the correct adjustment. Simply use a screw driver as shown on the picture above left. Just fit and remove the rotor and adjust until you can pull on the handbrake lever so it only comes away from the backing plate the thickness of the screw head behind it or 5 mm-3/16". The rotor should still be easy to rotate and make sure it sits hard against the axle flange. Remove any rust on the centre spigot that maybe preventing it to fully seat it not. I used a Dremel with a small grind stone which worked really well. Also clean off any paint over spray or marks from the shoes by giving them a light sand. Fit the whole handbrake system before the calipers in case you have to make further adjustments to the handbrake shoes to make sure they pull evenly once the cables are fitted.
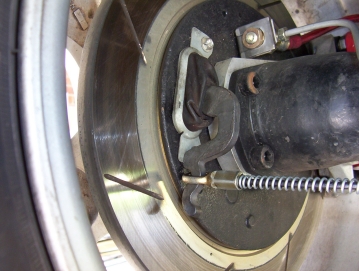
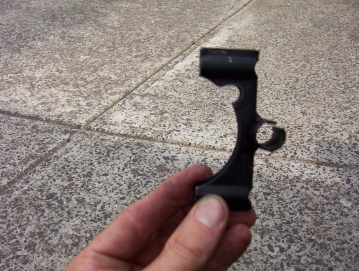
The handbrake cable is just hooked on into the position or the arm as shown. Fit the pink one with the extra white plastic ferule to the left side. Place the U bolt over the axle approximately where it will end up. On TJ's, fit it between the coil bucket and the control arm bracket but there is no colour coding as no left and right for TJ's. Drop the inner through the bracket slot between the white plastic ferule and the end of the outer on the pink one and between the spring and the outers end on the on the yellow side. Make sure you widen the slot enough to drop the inner through without marking it with a cold chisel
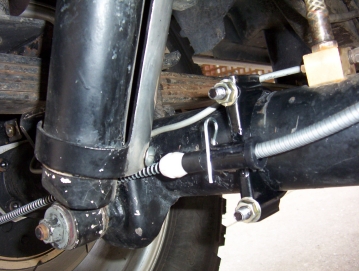
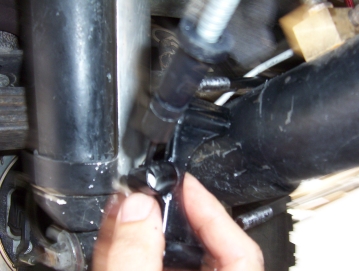
On the D44 axles you may have to squeeze the U bolt together a fraction to fit the bracket back over. Slide the U bolt toward the brakes until you just force a little curve into the spring as shown. This will leave some tension on the spring making sure it always releases the arm completely. Tighten up the nut evenly but do not over tighten. The bracket should end up vertical. Place the R clip in place.
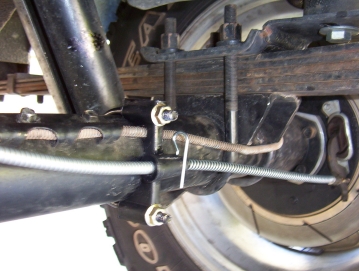
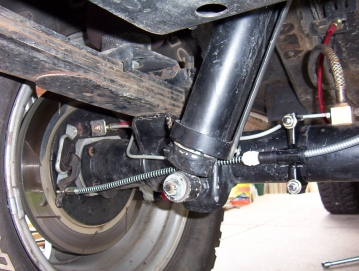
On the right side I filed in a slot into the bracket for the brake hard line to pass through. This was better I thought than passing the line over the bracket. I also, on both brackets, squeezed the slotted tube back closed around the outers end as much as possible. Then placed the R clip into place on the yellow cable which does not have the extra white ferule of the other side. Using the pink cable on this side would cause it to interfere with the brake hard line support bracket on XJ's. You can also see the slight curve forced into the spring to keep in under tension in the above shot.
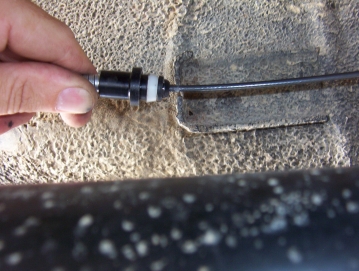
Place the end of the cable end through the bracket and pull the outer back until you can fit it into the stock bracket. I chose to run the left cable into the right floor bracket and vice a versa so they cross over each other. Tighten the adjusting nut for the cables until you see the handbrake arm start to lift off the backing plate. Pull up on the handbrake to force the cable to settle in its brackets and ends and repeat the adjustment until the arm returns to the same adjustment you started with. i.e. about 1 mm gap between the arm and the backing plate. If one side pulls up earlier than the other you can remove the rotor to adjust the shoe until even making sure it still spins freely when handbrake is not on.
[Index]