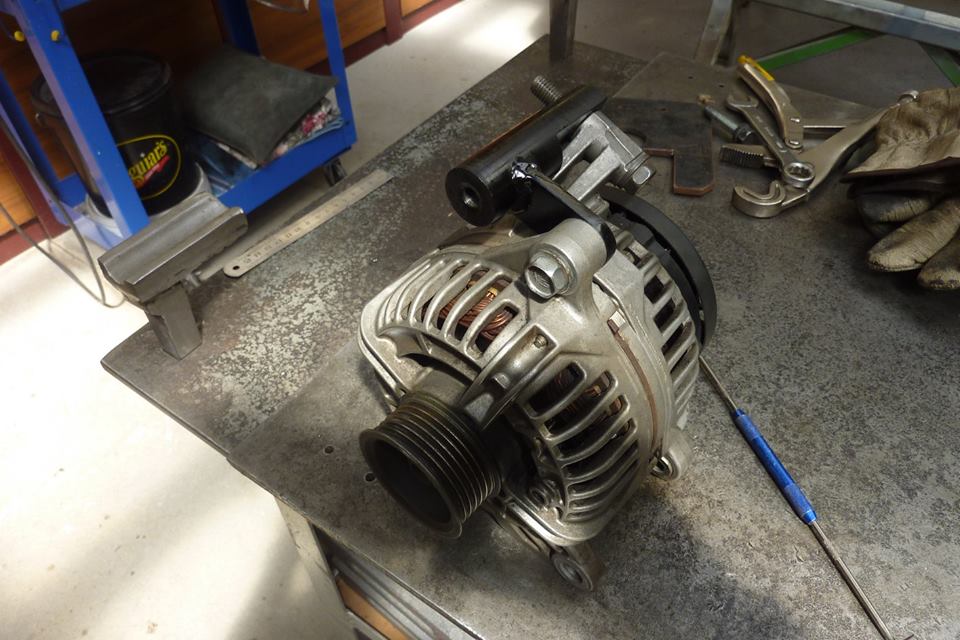
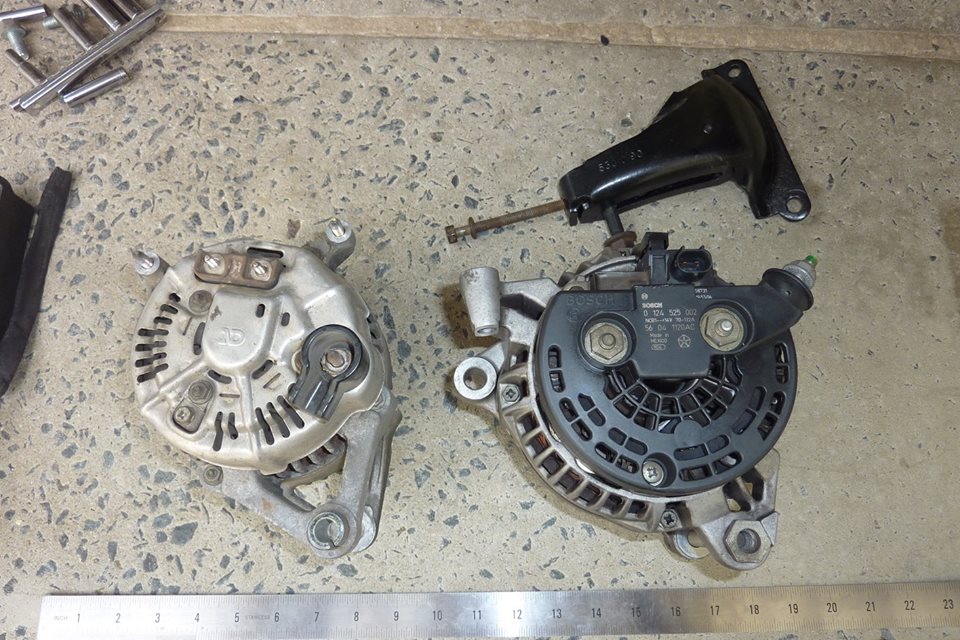
The brace in place and bolted through the main boss so very strong now. Now the differences in the OBDI of the left original alternator verses the new OBDII on the right. Can also see just how much bigger physically it is as well to take all the extra copper windings. This makes 70 amps at idle compared to 90 amps max for the old one!

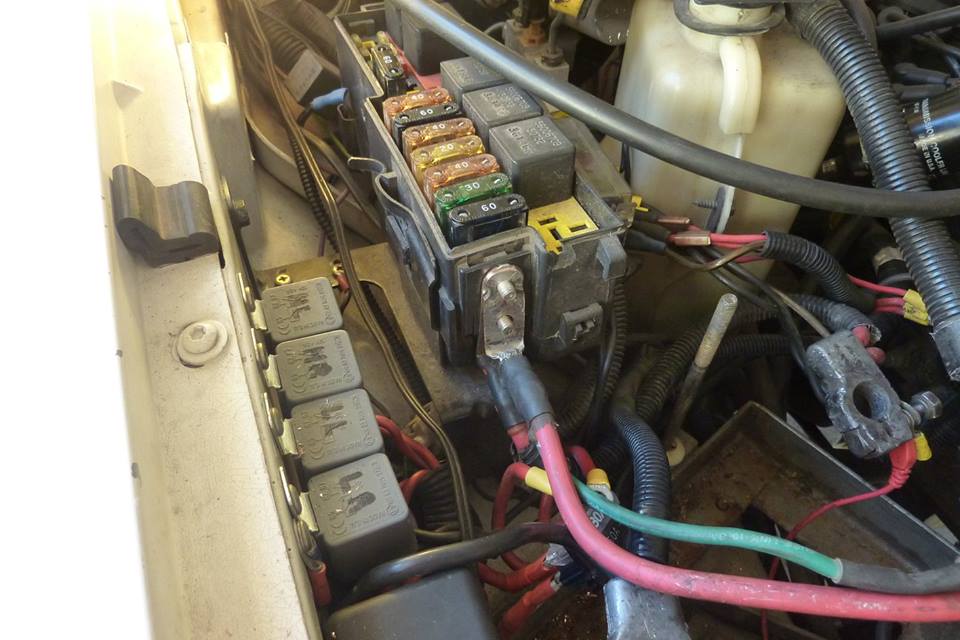
I snagged as much wiring as I could including the main positive feed wire. It is rated for that alternator so you know the gauge and the green fusible link is made to handle it. You must increase wire size with a higher amp alternator! Now contrary to many statements you read on the internet, you can just leave the old alternator wiring in place and connected to the main positive post on the alternator and through the stock fuses. Electricity is like water and will take the path of least resistance. Otherwise every little wire you connect to the battery would have to be capable of taking the maximum amps of the alternator! Read this. https://alternatorparts.com/do-i-need-a-bigger-battery-wire.html I modified the donor end of the cable with the fusible link to fit the front of my fuse box and the other end to the positive post. You can also run directly to the battery as well from the alternator.
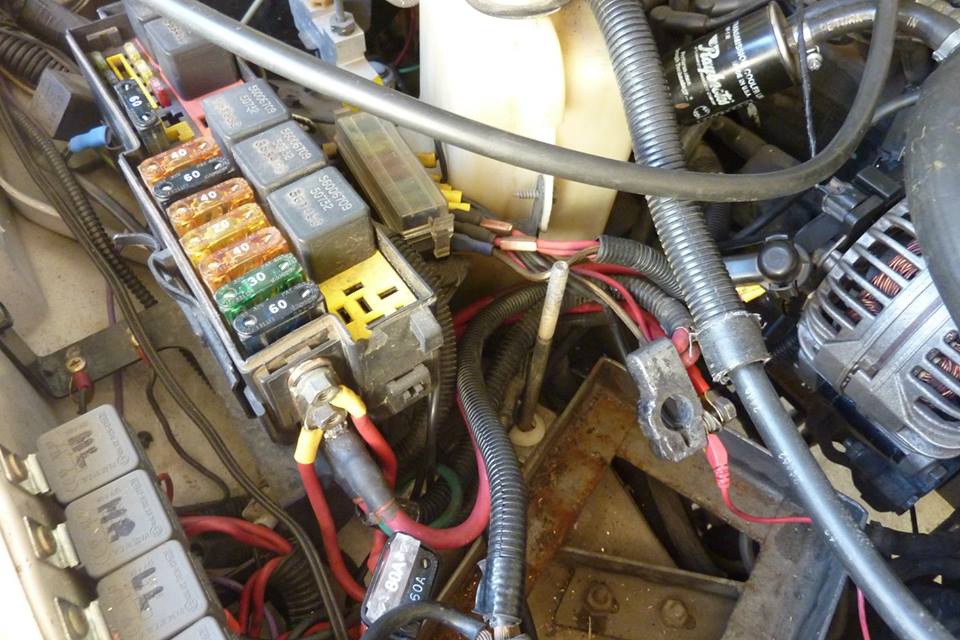
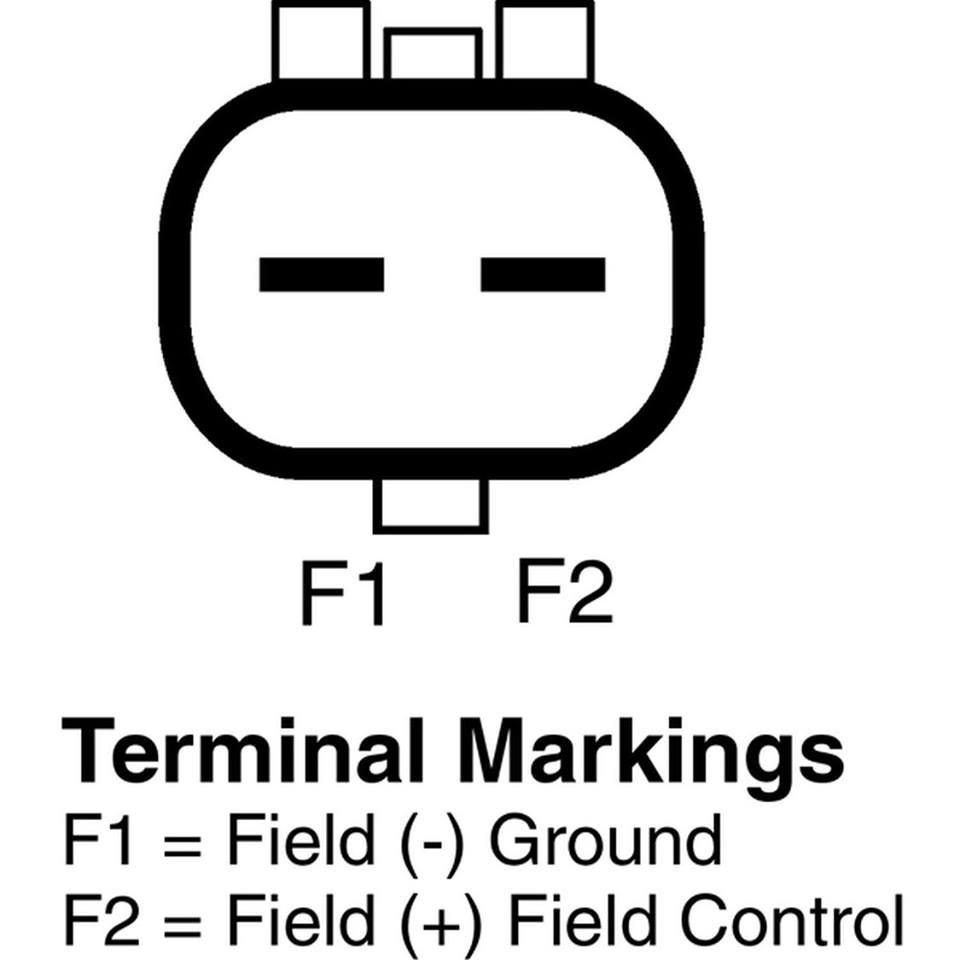
I used the original second lead to run back to the battery to increase the current flow there. That way it doesn't matter where most of the current is being drawn from, it has the extra capacity. Leaving the original wiring in place means you have additional 90 amp capacity as well. Now for the fun bit between the two alternators and the OBDI and OBDII in the Jeeps. This is the socket on the alternator as you are looking from the back. The left had a solid green wire to fit in the original plug which I also took with wiring attached. The right was grey with a red trace.

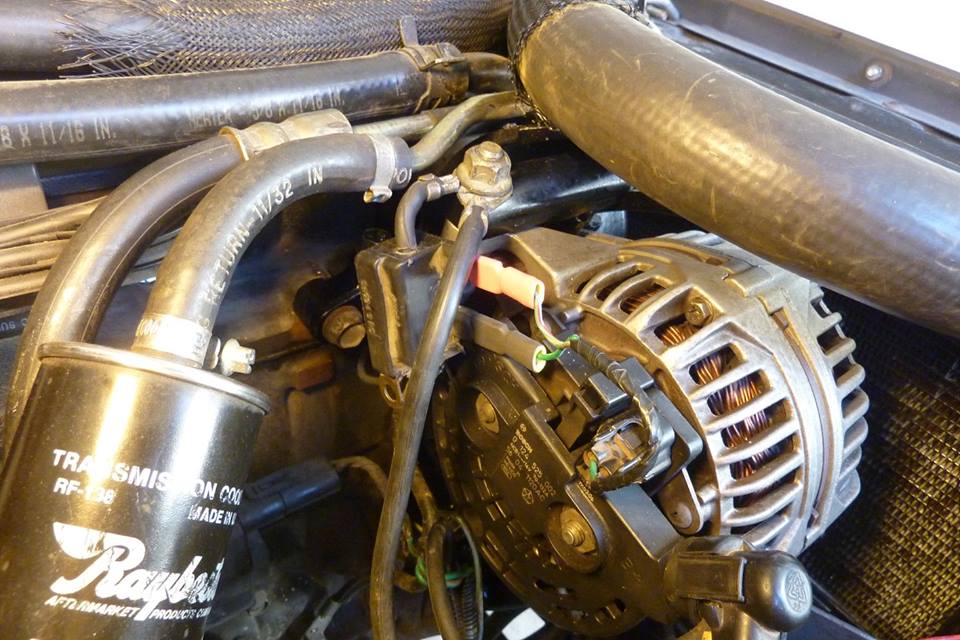
Now rather than cut off the moulded plug from the original alternator, I decided to leave it intact in case I even go back to sell it or this alternator was a dud! The moulded plug arrangement had a big black cable from the block going through the plug and out the other side which grounded the alternator rather than relying on the mounts. I fixed that to the adapter mount I had made along with a new ground cable running back to the negative post of the battery. This was also taken from the donor and was the same gauge as the positive charge wire. They must be both added to get full amperage. If you upgrade one you have to upgrade the other. The bottom of the moulded original plug shown here had a mounting terminal which was not connected internally to anything. I just left that and used the negative cable to hang the whole thing. Now the two small terminals left are the field wires. The negative field wire was also a solid green and I used a 3/8" spade terminal to connect the solid green wire from the new alternator to that. The positive field wire was connected to the other one.
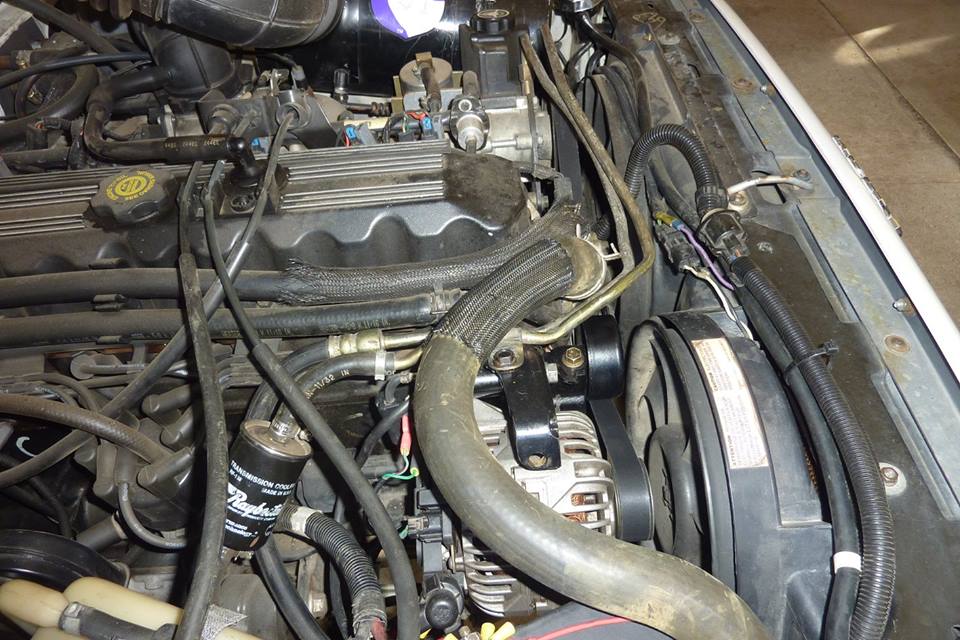
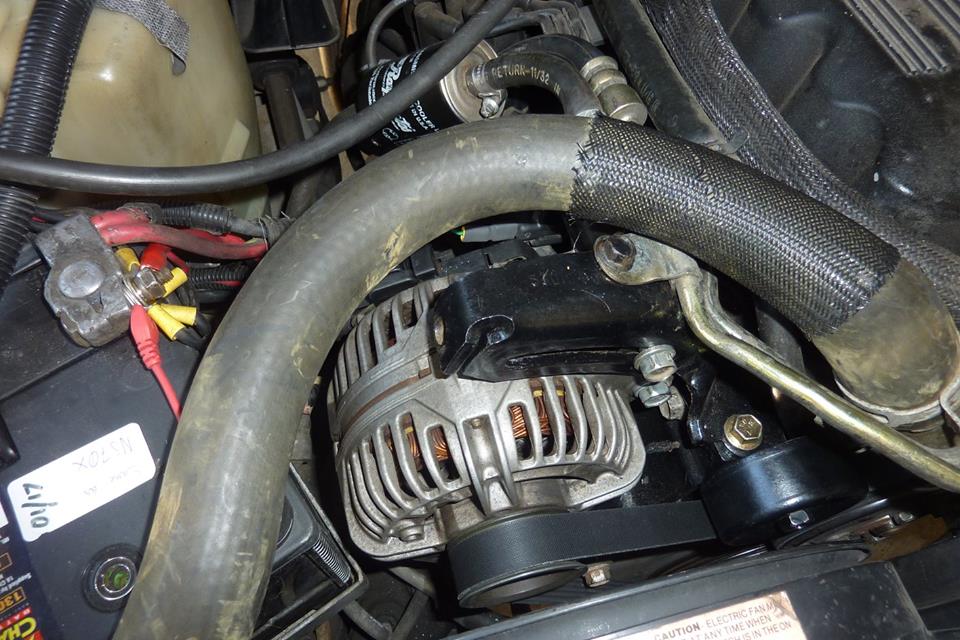
So there it is all in place and working perfectly. There was just enough room between the new alternator and my bigger battery to fit it all in. The belt did stretch once it broke in and got a bit close to the battery, so rather than buy a shorter belt, I just swapped the smooth idler pulley with a larger one that was the original on my 95.
[Index]