Re-drilling the trackbar mount.
The higher you lift the more the axle will get pulled towards the drivers side as the trackbar which located the axle left to right has further to reach. You can buy adjustable trackbars/panhard rods from Rusty's and RE etc. and at Whiteline for RHD's or do it this way shown below. I have run the system on a number of XJ's over the last 8 years with no problems at all be it customers I have done or my own with the many hard ( over 100,000 ) Outback miles in that time.
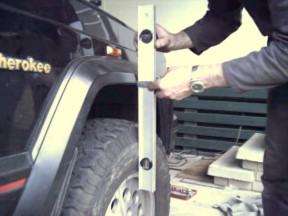
The first thing to do is see how much you have to move the axle across by so you can re-centre it perfectly. As shown above, use a level against the tyre or flare ( what ever sticks out the most ) in line with the middle of the wheel and measure the gap. Compare this to the other side and then half the difference. eg. 3 mm on the drivers side and 23 mm on the passengers side. 23 - 3 = 20 Half of that is 10 mm that the bar needs to move towards the drivers side to make it even. Depending on your tyre size and offset of the wheels you may have even have for example, +3 on one side and - 23 on the other. In that case you would add them together for a total of 26 mm which is halved to 13 mm difference.
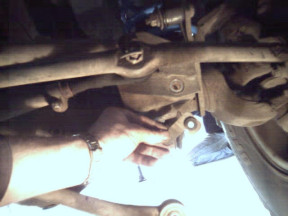
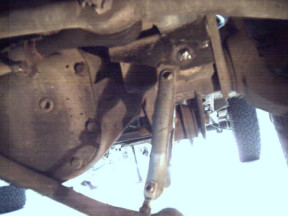
Remove the single bolt ( No 1. in top picture ) that holds the trackbar in place. Take hold of the tag you can see in the same picture ( No. 2. ) to remove the nut. Measure from the outside of the mount to the centre of the hole so you know how much to move the hole later. This RHD one was 33 mm across and 18 mm up from the bottom.

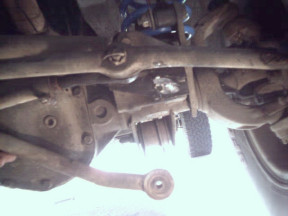
As I only had to move it 10 mm it was too close to the old hole so I welded it up. I clamped a piece of brass ( or copper ) behind it to make it easier to weld up as the weld will not stick to it. The back one you cannot do that so is a bit harder.
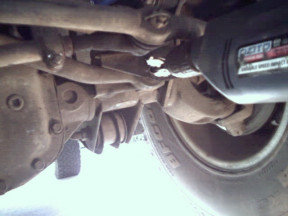
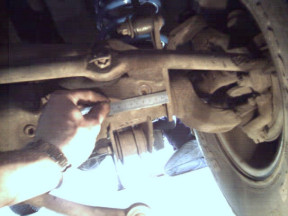
Grind it smooth and then measure out the new location which for me was 43mm across and 18 mm up. Just drill the first hole with a pilot drill first then open up to the diameter of the bolt. Place the trackbar back in place and line it up with the new hole. The easiest way to do this is to get someone to move the steering wheel until it lines up and get them to hold it there. Then put the drill bit through the new hole and the trackbar and drill through the other half of the bracket ( but not the axle housing! ). I found this way the best as it is hard to align the two holes up otherwise.
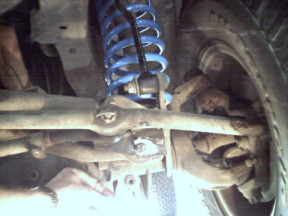
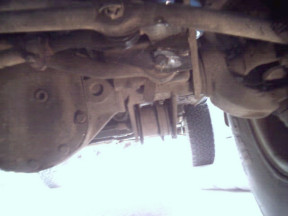
This shows it all back in place and it only needs a spot of paint to finish it off. Due to the angle of the trackbar you should add a extra 1 mm if you want it to be exact. But if the suspension is new I would not add the extra 1 mm because as it settles it will drop a bit and be perfectly aligned. One thing to look out for on LHD's is that the more you move the axle across with this method or longer trackbar is that it will move it closer to the exhaust pipe on full compression. I have always raised the bumpstops by adding in some hockey pucks on top of the spring perch with gutter silicon to clear the guards so has not been a problem. On RHD's you can crush the auto cooler lines if the bumpstops are not altered. Remember to check the trackbar bolt after a few days for tightness.
[Index]