Changing the rear main seal
If you going to have a oil leak some where starting first on a Jeep, then it is most likely to be the rear main. Mainly due to the fact it is a two piece design but that also works in your favour come changing it as you don't have to separate it from the transmission. Only parts needed are the seal, pan gasket and a little sealant. For a dealer to do it it is very expensive due to the labour involved but it not such a difficult job as it is a messy and time consuming one.
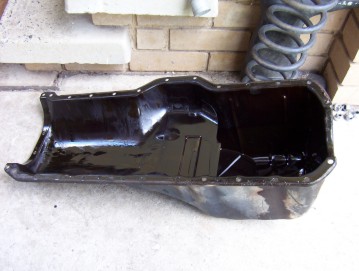
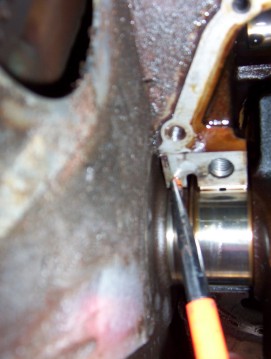
You can start by draining to oil and I did mine the day before to reduce the dripping while working on it. Some remove the starter if you find it is in your way and you cannot get to the sump bolts along side of it. Depends what socket set you are using. Once all the bolts were remove I just gave the sump a sideways hit with a rubber mallet and it dropped right out. The older Jeeps in the USA may have the old cork gasket which can harden over time and make this part hard needing screw drivers or cold chisels wedged in to lever it out. Dropping the steering out of the way will help access if this is the case. Also the more lift you have will make it easier to drop the sump out and jacking up the front by the frame will give more room to drop out the sump past the rear pickup. My sump was nice and clean but clean yours if any build up is in there from using poor quality oil that is not changed regularly or in a cold climate. To remove the lower half of the rear main you only need to take out the last bearing cap by removing the two bolts arrowed. May need a breaker bar to do this. Newer Jeeps will also have a bearing brace that sits over all the bearing caps and needs to be removed first. Then the rear bearing cap can be removed as above.
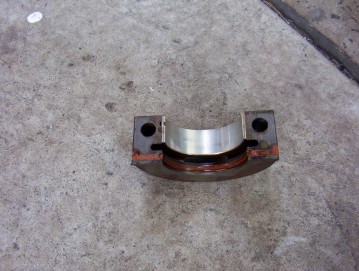
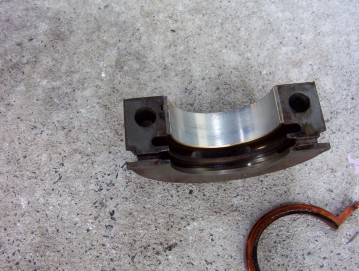
You may need to tap the cap to loosen it. Once out you are faced with above. Just simply remove the old lower half of the rear main seal. I also removed the old sump gasket at this point which just pulled off and needed no further cleaning but older Jeeps will require a good gasket scraper to get the old off or a Scotchbrite wheel on a drill or Dremel was suggest by Mike Straw to work the best.

Now to get the top half out I used a nail punch directly on the wire that sits inside the seal. Just showing where I placed it but actually punched from the other side. Be better to use a brass punch if you have one but be very careful regardless of not marking the crank in anyway! You only need to tap it out a little way like shown.
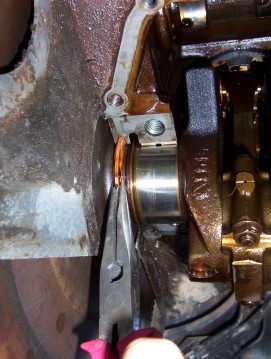
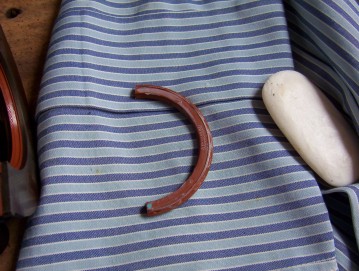
Pull it out the rest of the way in a circular pull keeping the needle nose pliers off the crank at all times. Prepare the new seal by coating it thoroughly in soap and the lip with a little oil. This is stated in the factory service manual so don't use anything else which may effect the sealing of it later. Now quickly place the seal on the crank push it in with the lip pointing towards the front of the engine the same as the bottom half like shown below. Have even seen dealerships get this wrong so pay attention to it! Make sure you keep a finger hard against the seal where it goes into the block pushing across it. If you don't you can damage the seal as it will try to bend outwards and nick the outside of the seal. I could not take a picture of doing this as was on my own. If with some one you can get them to rotate the crank by using a breaker bar on the harmonic pulley retaining bolt while pushing the seal into place. Stop when the ends are level.
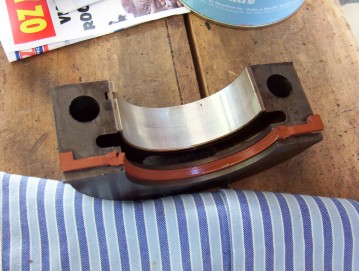

Clean the bearing cap carefully and then place the new seal into the grove in which it sat. On my model at least there was only one way this seal could go in with the lip facing towards the front of the engine as shown. Now place some sealant ( Loctite 518 or similar ) right along where it joins against the block exactly like shown. It needs also to extend forward toward the bolts holes but only in a small bead like shown. Also oil the lip of the seal as well as the bearing surface. Bolt it back into place and torque the bolts up in stages. First 54 Nm ( 40 ft. lbs ) then 95 Nm ( 70 ft. lbs ) and finally 108 Nm ( 80 ft. lbs ). If you needed to remove a bearing brace, replace it and tighten the nuts that hold it in position to 47 Nm ( 35 ft. lbs ).
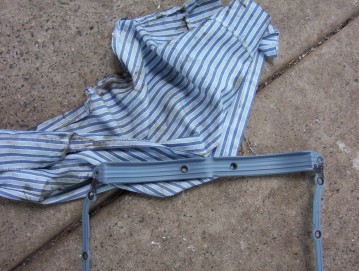
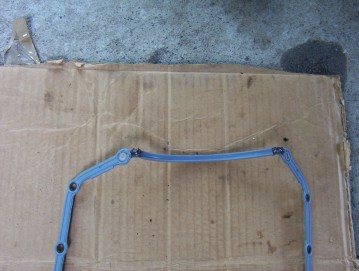
Now use only the one piece gasket for the pan, #53007568, which is all that is available in Australia but not in the USA. Place some sealant as shown between the two bolt holes close to the corner and as the other end where the curve part starts. Make sure gasket surface on the block are oil free before placing the gasket onto the sump and lifting it into place. Replace all the bolts but do not over tighten them. Start in a criss cross pattern from the centre out and do this several times until firm only.
[Index]