How a Custom Radiator is made
I had a custom radiator made as in Australia as we are limited to the standard 2 row with plastic tanks ones only. They are also very expensive at around $700 ( $490 USD ) to replace. I wanted a 3 row one to increase the area exposed to the airflow while still providing good air current through it. I could even have had a 4 row made but for the above reason choose 3 as is better at low speeds while four wheel driving when you rely on the fans pulling the air through rather than vehicle speed doing it. Four rows would be fine for those that say, do a lot of towing and not much time in 4 low. So the following shots were taken at Aussie Desert Coolers at 350 Murray rd. in Preston near Melbourne Victoria ( ph. 03 94704449 ) and is the only place that offers this sort of service to build any size you want from scratch in Australia. Believe it or not but it also worked out cheaper doing it this way as well and now I have the better setup of brass tanks and copper core which lasts far longer than the stock setup let alone 50% more tubes in the airflow!
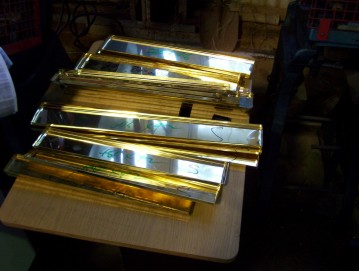
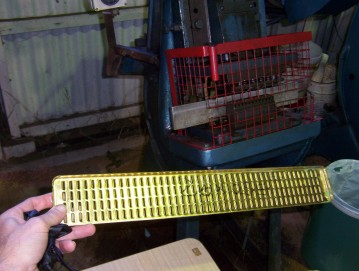
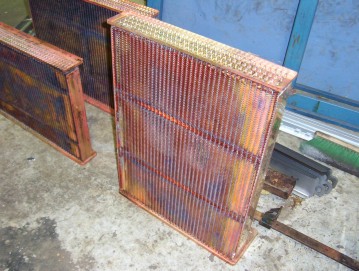
These shots were taken of various radiators that were being built at the time when I picked up my radiator. Above shows the end plates first with the lip folded up all round and then punched in then second shot. This shows one that will have four rows and you can also see that the holes have a lip around them which also greatly strengthens the plate as well as the join when the tube is soldered in place.
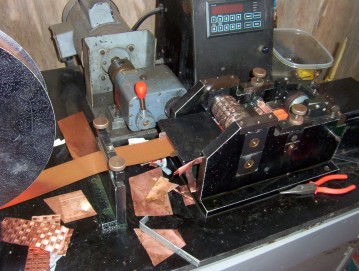
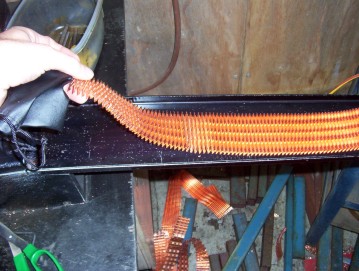
This machine starts off with a roll of flat copper sheet and the first roller perforates it and then all the folds are made. This is what sits between the tubes supporting them but also slowing the air down so more heat is transferred from the tubes into these and to the air.
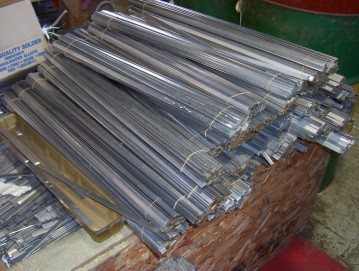
This is a pile of tubes which are then cut to length to suit each radiator. Now these come pre-coated in solder for the next part of the process. The tubes are inserted into the ends plates with a layer of fins between each row of tubes. When they are all done the core is clamped together and then placed into an over for a couple of hours. What happens is the solder softens on the tubes and the fins melt into it so when it cools it is all held together as well as the end plates. You will also see that there has been a support strip added to each side tying the end plates together.
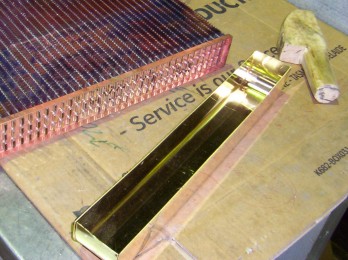
Next the tanks can be made and added. It is simply a piece of brass folded up with the ends rounded using the dolly seen in the picture. The seams as brazed and then added the core and fully soldered to the ends plates.
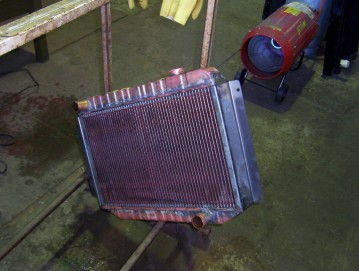
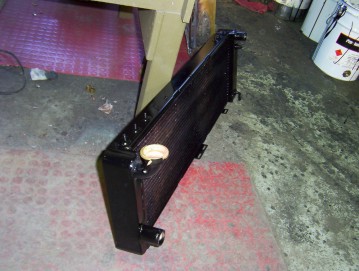
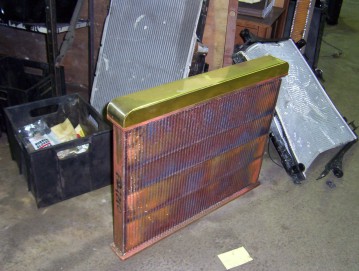
Fittings are next added including the filler, in and outlets as well as the radiator mounts. It is then pressurized with air and lowered into a tank to check for leaks. Here it is being dried so it can be painted and finished off. The finished product above is mine. I had to give him my old radiator so he could take all the dimensions and he also re-used the original top and bottom plates that have the mounts on them.
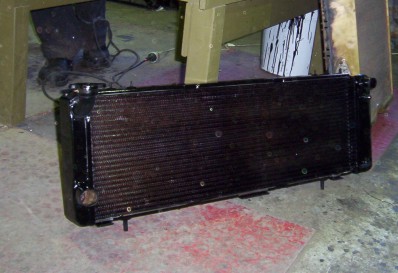
There you go with the finished product ready to be fitted as covered here.
I have since done a 6000 km trip in 100*F temps towing my trailer over beaches and one track alone had over 300 sand dunes and only problem I had was once on one very soft beach I had to turn off the aircon and the motor when I laboured the engine in high range for about 20 minutes around 3000 revs with 42.7*C or 109*F temps. This was after playing on the beaches and sand dunes for 7 hours straight. After fifteen minutes I was right to start again but this time in low range and I had no further problem for the rest of that beach or the high sand dunes back to camp so looks like my new 3 row radiator and electric fan were up to the task.
[Index]