Overhead Console Installation
My Sport did not come with overhead console so I fitted one from a Limited model of the same year from the wreckers. It is best to get a similar year so the conversion becomes plug and play so to speak. You cannot also fit a later body update ( 97+ ) to a earlier one and get the trip computer to work at all. You will require a complete console along with front and rear support brackets and screws. Also the wiring loom from the console down the A pillar to the right hand side kick panel ( on both LH and RHD's ). The temperature sensor from behind the bumper, just below the middle of the grille, along with its loom which runs up to a plug near the battery is needed as well. I found a write up for others with a 1990 model that covers much the same thing on this site. Just be careful though if using his measurements for the ceiling cut outs as he has the rear width ones around the wrong way.
To remove the console, remove the screw that goes vertically up into the ceiling right at the front. Now slide the console backwards a bit until the front part drops down. Then side it forwards until the rear drops out. Un plug the wiring to remove it completely. You will have to remove both sun visors, as most likely will have illuminated vanity mirrors, to un-plug the wires from them as are part of the loom you need to remove. You also need to pop the plastic covers over the screws that keep the A pillar trim in place so it can be removed. Also remove the kick panel so the end of the looms can be un plugged. The console brackets are just held in with self tappers.
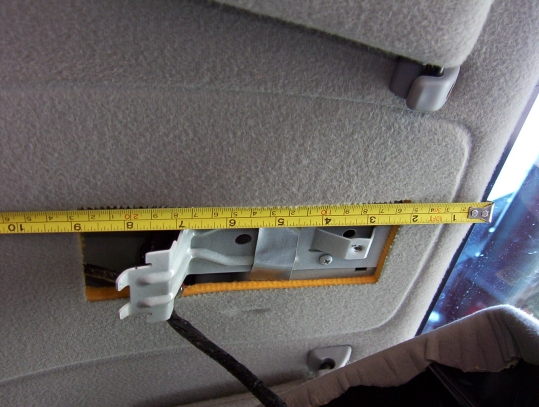
The best thing to do if you are pulling the console yourself is to take measurements of the holes yourself. But looking at my photographs the front hole starts at 52mm/2" from the windscreen and ends at 225mm/8 7/8" and is 76mm/3" wide.
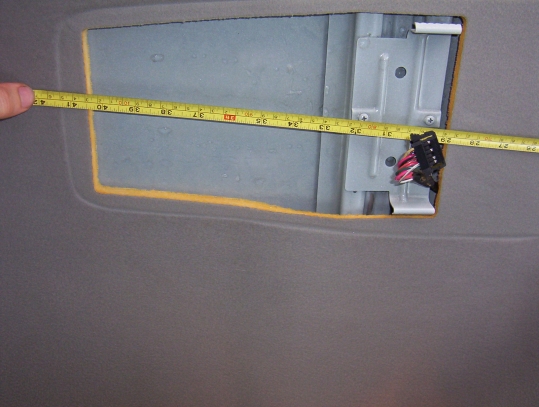
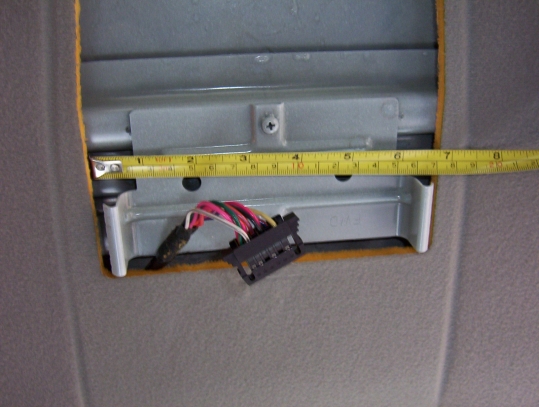
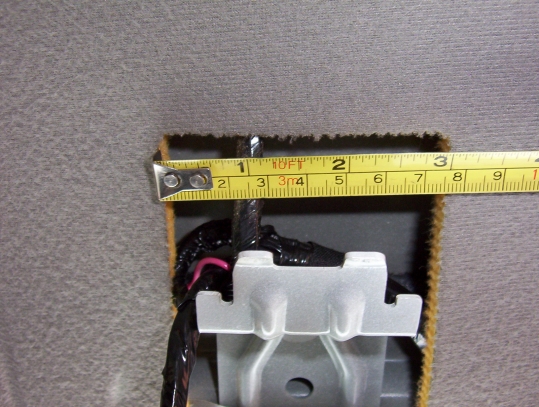
The rear just in front of the bracket at 235mm/28 7/8" and ends at 1030mm/40 1/2" measured from the windscreen as well. The width starts wider at the forward section of the hole at 170mm/6 3/4" and then tapers after the bracket down to 135mm/5 3/8"

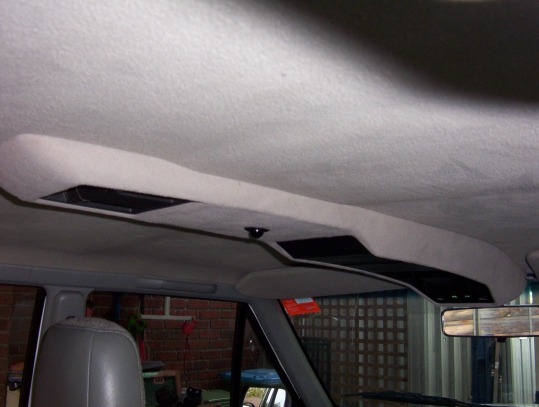
The photo above shows the loom running down the A pillar. I ran the new one along side. With the loom across the front I added it as shown. I wanted to keep the old loom in place for future things that I might add to the console later on. With the sun visors out as well as their supports and the trim above the door, I was able to carefully bend down the headlining to fit the new loom in place and take the photo above as well.
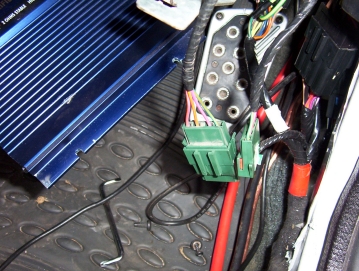
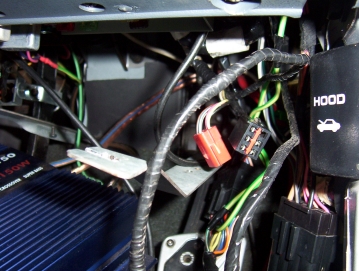
One of the plugs in the new loom just swaps over with the old. The other plug was there as well without anything plugged into it. Took quite a bit of digging but did managed to find it under there! If you do not have the loom to run to this plug, my 95 console had the following: Pin numbers in brackets 1-6 across the top and 13-7 along the bottom. (2) B/LG-Ground, (4) BK-Ground, (5) PK-Positive, (6) PK-Positive, (7)WT/BK-Ignition Switch Output, (8) YL-Courtesy Lamp Output, (9) BK/LB Ambient Air Temp Signal, (10) VT/LG- Sensor Ground, (12) DB/RD-Park Lamp Switch Output, (13) OR/BK-Panel Lamps Driver. The other wiring to be done is fit the temperature sensor behind the bumper and run the loom up behind the headlight to its plug near the underside of the battery mount.
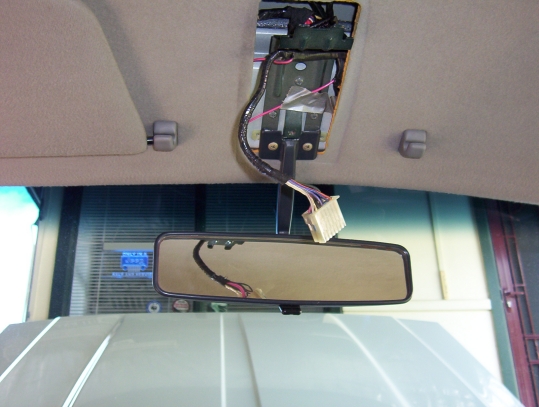
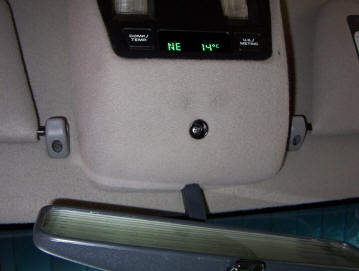
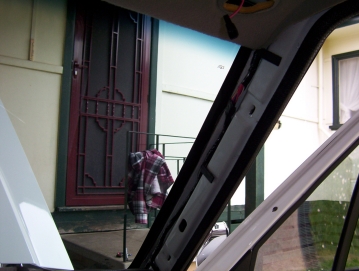
I have a fully tinted windscreen so cant fit the usual stuck on rear view mirror. Also I had problems in the Outback heat that the mirror would suddenly drop off even with the correct glues for the job. So I modified a mirror from a Ford Telstar/Mazda 626 to use instead that I bolted to the cross member. Just had to notch the console to clear it. You can also see the front support screw that holds the console in place.

I had some problem programming the sensor for the remote keys so just swapped in my old one. Everything else like the compass works perfectly straight off and have found it quite handy when navigating to double check you are going in the expected direction. I had a temperature sensor for in and outside temps already but now have it running the outside probe under the bonnet to compare temperature to outside. The console also gives a good place for my sunglasses ( need to be quite narrow ) and the garage remote.
[Index]