JDU's Light Rack
Quick over view of the light rack I made for JeepDownUnder as he is known on the Ausjeepoffroad forum. He had imported a Wilderness rack from the USA but was un-happy about the amount of wind noise he got from it. Something about like a Jet taking off he described it! He also wanted to add some lights to light the camp site at night when he has been out fishing for the day but didn't want a 'in your face' look. Something along the lines of the KJ factory bar. So I set about in my spare time to make something that would cover all his needs.
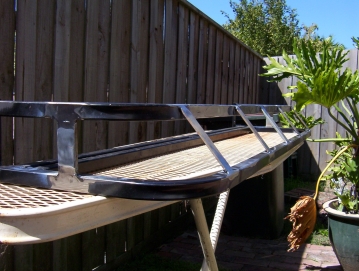
Un-bolting the front section of the rack made it easier to work with as they come in three sections for easier shipping. I removed the V bar supports it had and replaced them with flat bar in the places I was to rivet the sheet metal on. The sheet metal is only about 1.2 mm to keep it light and easy to bend. I used a side of a filing cabinet as was much cheaper than having to buy a whole sheet. I cut the middle straight section out first but left the rest much wider and then clamped it to the supports. Next by hand I pulled the sheet around the corner and then marked off the shape it needed to be.
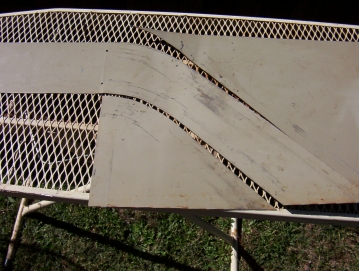
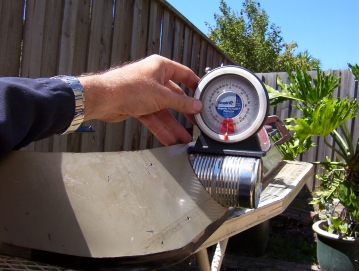
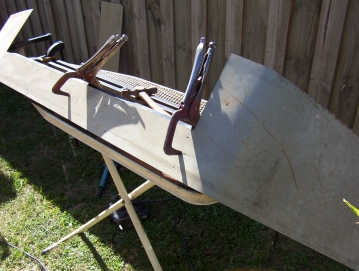
After flattening it back out I cut the rest out with a jigsaw with a fine metal blade so I got no distortion. After showing JDU a few shots of different light spacing I got into making the cut outs for the lights. Using a cat food tin cut to the right angle I could then trace around it. I then tested the shape on some scrap steel to make sure it was right before cutting them all out.
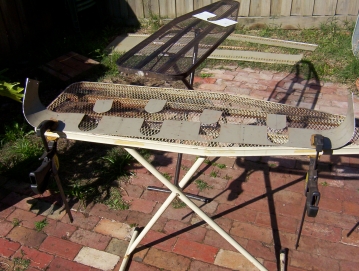
The shape ended up looking like the old cloth badges you once got your mum to sew onto to your tracksuit tops! The tabs for the lights were welded on. Also not shown was a under tray that covered the whole underside was cut out to be fitted later. This is important too in reducing the wind noise going under the rack.
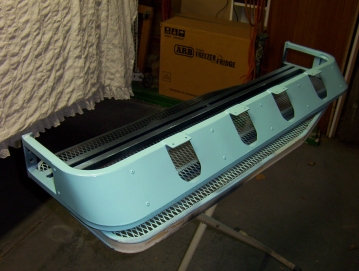
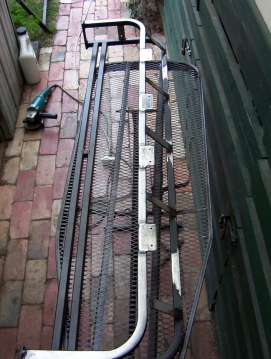
The rack was sprayed in sections with the frame, under tray and deflector done separately in under coat and then all the surfaces that were to be covered by something, in top coat before assembly. Then all were riveted together before the final top coats were added after a sealant was added where they joined. You can see above also how they are half in and half out of the defector. The light used are made by Narva #71810 for the centers and #71820 for the fog on the outer. I have also installed these before under Jeeps for rock lights as withstand going underwater briefly quite well. For wiring it I used twin core wire that was already in a plastic sheath. It was run inside the top tube of the rack with one of the wires to go to the fogs and the other to the spot beams. The lights were grounded through the roof itself. I then ran the wire between the two doors at the very top and then straight into the inside of the door seal all the way down the level of the bottom of the dash and then out. You can see how here as it is the same as my CB cable. The alternative is to run the wire inside the roof rail right to the back and then inside through the same spot as the hatch wires.

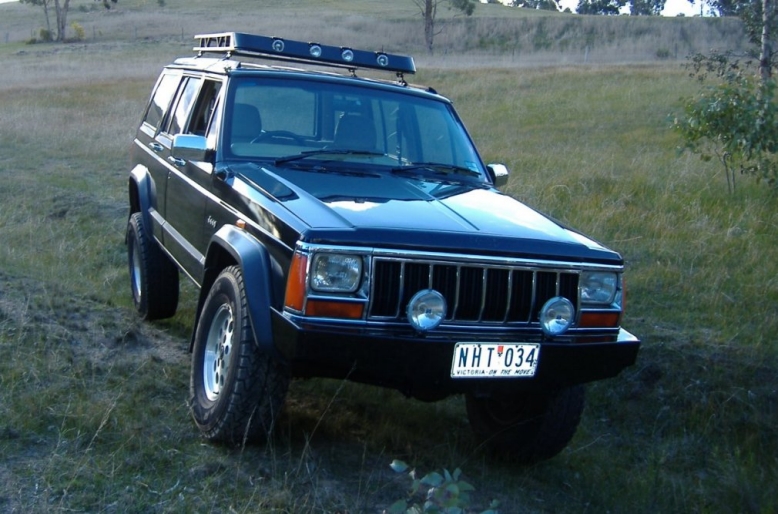
The results were exactly what he was after and hears the wind going pass the door pillar more than anything else so the deflector and under tray worked as hoped. They are great for lighting up a camp site without blinding you on taking too much power. If you want to see more on his Jeep you can see it here on my site.
[Index]