
Dana 30 Axle Seal Replacement
The front Dana 30 axle seals are a little more work than the rear axle as it requires the diff centre to be removed. There is no need to have any diff setup knowledge as this is not disturbed at all on the removal and replacement and even the shims cant be mixed up as they are pressed behind the carrier bearings which stay in place.
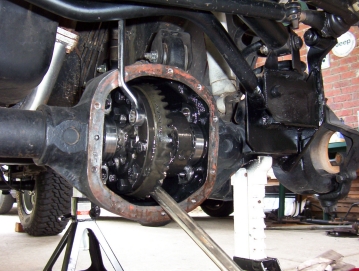
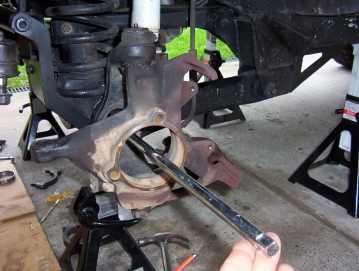
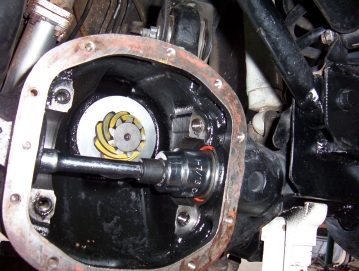
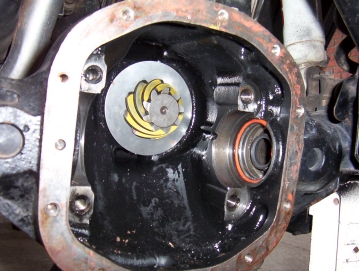
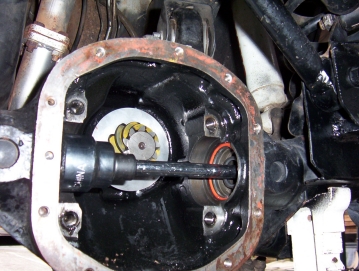
Start by removing the wheels, calipers and rotors like I show in my hub replacement write up. What will save some effort, and buying of a socket if you don't have one, is that there is no need to remove the hub from the axle. Just simply leave the the large centre nut in place and remove the hubs along with the axles after removing the three bolts on the back of the knuckle that holds the hub in place. Drain the oil by removing the diff cover. Next remove the two bolts each that hold the bearing caps in place. Take close notice which side they came from and which way up the caps are. You should find a letter stamped in both the cap and the housing next to it matching each other and the way they face. See photo above where you see the letter F on the cap and just above the cover bolt at the same height. The other cap had the letter F too but was the letter was on its side. To remove the diff, put a ring spanner on one of the crown wheel bolts to stop the carrier rotating as shown. Then place a pry bar or tyre lever under the diff into one of the recesses and just lever it out. No need for a diff spreader.
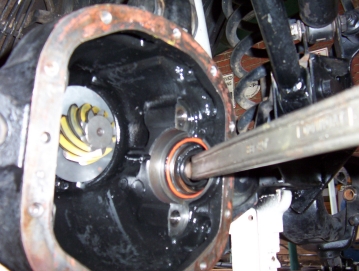
You can pry the seal out from the front side or tap it out using a socket extension instead. I found the second way a bit easier.
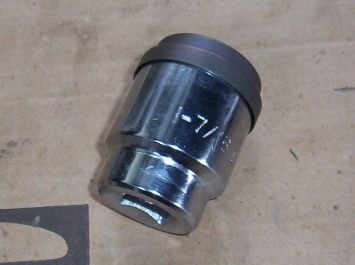
This photo shows the seal removed. The orange ring is not part of the seal so leave in place. To install the new seal I used a 1-7/16" socket, by the look of the photo, that fitted inside the seal nicely.
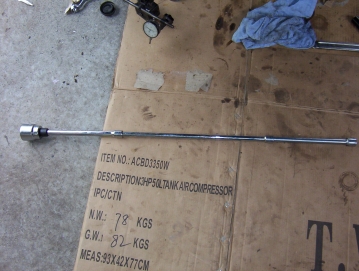
You will need a fair amount of extensions so you might have to borrow some? I had some long ones already to make changing the CPS and removing the top bellhousing bolts easier. The next photo shows the seal with the socket and extension in place about to drive the seal in. You slide the extensions in first and then attach the socket and seal to the end of it afterward. Make sure you have the extensions centered in the axle housing, not like shown where it is just laying in the axle tube so I could take the shot, to to keep the seal square when driving it in.
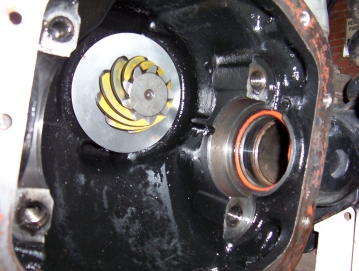
The photo shows the new seal in place. The other side can now be done passing the extension through the newly installed seal taking care not to damage it. Place the socket and seal on the end of it after it is through and repeat the process. Re-install the diff center using a large rubber or nylon mallet to tap it into place and replace the bearing caps. Make sure you have them on the right side and way up. Torque them to 61 Nm or 45 Ft. lbs. Replace axles and then the cover using Loctite Grey or similar and refill diff with SAE 75W-90 API-GL5 grade. Hub bolts to be torqued to 102 Nm or 75 ft. lbs.
[Index]