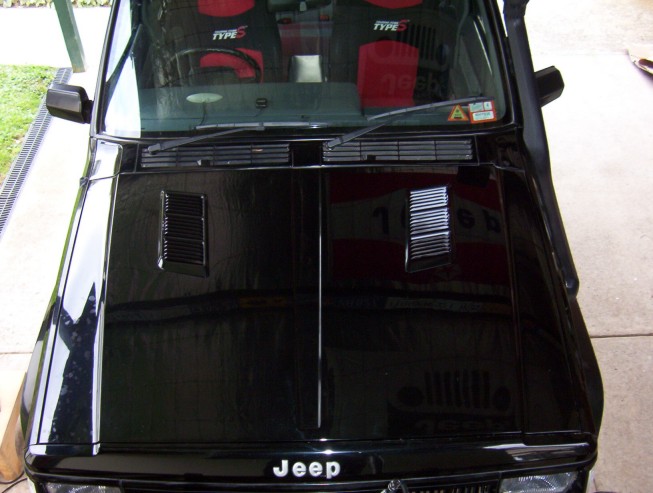
260Z Bonnet Vents
Just showing the fitting of 260Z bonnet vents ( Nissan part # 65820-N4700 & 65821-N4700 ) to David's XJ to cure some heat build up problems he has on long slow hill climbs. The heat is drawn through the radiator and pushed to the back of the engine bay directly under the bonnet as hot air raises. Due to the over crowded engine bay of a XJ and David having a dual battery taking even more room up, the heat has a lot of trouble escaping. So these have been fitted particularly as the cheap after market stick on ones from Auto stores sag on hot days as really meant just for show. These are not cheap though at $70 AUD each new but were made to be functional from the start and suit the XJ square style perfectly. Anyone thinking of doing this should soon as no new stock has been made in over 20 years so once it has gone, that the end of it and you will have to rely on second-hand ones. Be careful with old ones as the ones I looked at often were missing mounting studs.
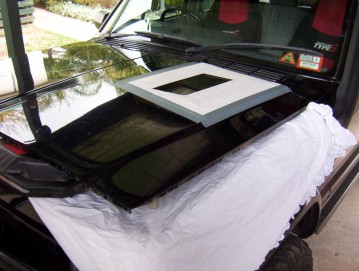
The first thing to work out was the best possible position. You don't want it over the distributor and want it as rearward and to the side as possible to get the optimum hot air extraction at low speed that a XJ needs it the most. You don't want to cut into the main bonnet support either so it worked out that 150 mm in from the bonnet crease and 90 mm forward of the rear of the bonnet worked out the best. Don't do as others have done and add them near the middle and have to replace the TPS all the time which will happen! Next is to make up a cardboard template that lines up along the crease and the back of the bonnet. Best way is the turn upside down the opposite vent and trace around it and then measure how far in each cut needs to be from that.
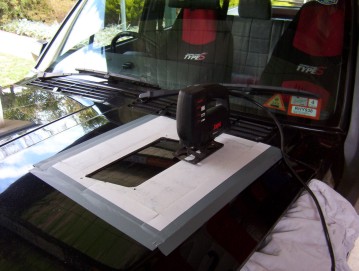
The mounting holes were also marked in the template by lining up the vent over the traced outline and then pressing the screws into the cardboard to leave an impression. The holes were then made with a hole punch making very sure they are accurate as one in particular is very close to the edge. I drilled a 1/2" hole in three of the corners to not only start the jigsaw from but the leave the rounded corners afterwards. The fourth corner has a large enough radius that is could be done with the jigsaw using a fine blade. I placed a old doona cover over the engine bay to collect the metal fillings.
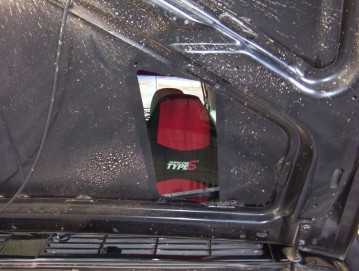

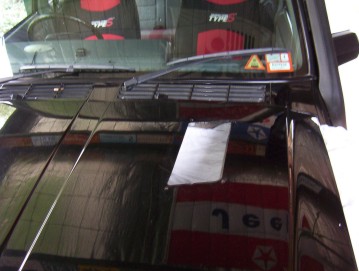
You can see from this shot that the hole cut out just nicks into the edge of the frame at both ends showing that it could not have gone more back or across. The holes for the 6 mm metric bolts were drilled at 6.5 mm.
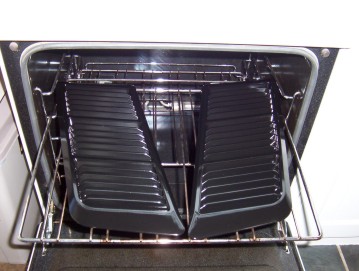
The vents were painted in VHT High Temperature Engine Enamel. After a rub down before the last final coats the vents were place in the kitchen oven at 95*C for one hour to cure the paint. This also improves the finish and increases the solvent resistance. Cheaper paint has a problem with the heat and can fade very quickly or even bubble off.
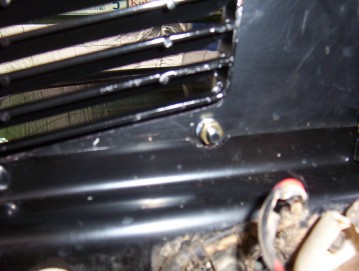
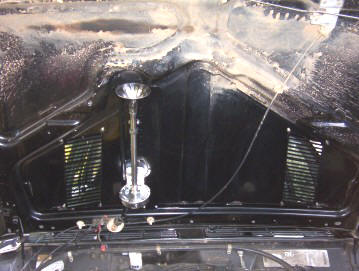
Pay attention when screwing down the nuts that you don't over tighten them. I used a socket on the end of a screw driver type handle to prevent over doing them. Also make sure that when part of the frame is in the way that it is scalloped out of the way as you don't want the pull the bonnet skin down onto the frame distorting it. Even the stud that goes right through the frame you must make sure that either the glue has packed it out or slide in a spacer to make sure that the skin stays where it is. More details about bonnet vents are covered here.
[Index]